Clay is a wonderful medium to work with and can be used to create beautifully intricate and detailed pieces. Working with clay can seem daunting at first, but if you break it down into the 4 basic techniques, you’ll find that it’s actually quite easy. These four techniques are handbuilding, slab method, coil method, and pinch method for handbuilding, and wheel-throwing for throwing vessels on a potter’s wheel. Read on to find out more about each technique and how to use them to create amazing things out of clay.
Hand-building Techniques for Clay
Hand-building techniques involve forming clay pieces by hand without the aid of a potter’s wheel. This is a great place for beginners to start exploring clay as there are a few different options you can try. The first is the slab method, which typically involves taking a lump of clay and rolling it out like a pizza or cookie dough. You can then form sculptures and other decorative items with this flat clay by cutting and joining pieces together in creative ways.
The second technique is the coil method, which involves rolling strips of clay into coils and then joining them together to form a larger structure. This method is often used when making things such as vases, mugs, and bowls. Lastly, you have the pinch method, which involves pinching pieces of clay into shape. This is a great way to make small figures, tiles, and other small items.
In addition to these three hand-building techniques, you can also use a combination of them to create more complex pieces. For example, you can use the slab method to create a base and then use the coil and pinch methods to add details and texture. With a little practice and creativity, you can create beautiful and unique pieces of art with clay.
Wheel-Throwing Techniques for Clay
Wheel-throwing is the technique used to make larger vessels on a potter’s wheel. It’s important to understand the basics of wheel-throwing before attempting any projects, as there is more of a learning curve when using a potter’s wheel. The first step is to center the clay on the wheel by using your hands to coax it into place. Once the clay is centered, you can use your hands or tools to shape it into whatever you wish to create.
Once you have shaped your vessel, the next step is to trim the excess clay from the base. This will help your piece stand upright on its own and give it a more finished look. Finally, you’ll need to pull the handle of the wheel away from the clay piece. This will help remove any air bubbles that may prevent it from drying and firing correctly.
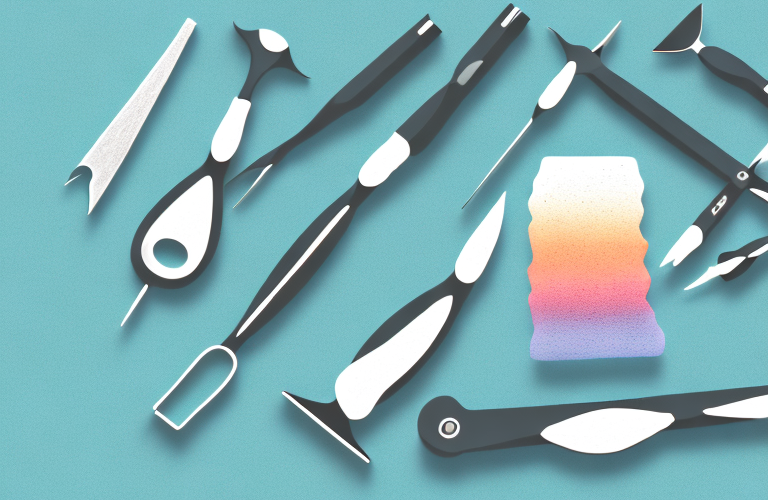
Once your piece is finished, you can use a variety of glazes and finishes to give it a unique look. Glazes can be applied with a brush or sprayed on, and can be used to create a glossy or matte finish. You can also use a variety of decorative techniques such as carving, stamping, and inlaying to add texture and interest to your piece.
Finishing Touches for Your Clay Project
Once your piece is finished and allowed to dry, it’s time to clean and sand it before moving on to glazing and firing. Cleaning and sanding the clay will help it look more professional, while also helping to prevent any further warping during the firing process. After sanding your piece, you can then apply an acrylic sealant in order to protect it from dust or dirt.
Once the sealant has dried, you can now move onto glazing your piece. Glazing is an important step as it will help protect your clay piece from any water or other liquids that may come into contact with it. Finally, your piece is ready for firing in order to make it waterproof. This can be done in either an electric kiln or using a gas kiln.
When firing your clay piece, it is important to keep an eye on the temperature and time. Depending on the type of clay you are using, the firing temperature and time can vary. It is important to follow the instructions for your specific clay in order to ensure that your piece is fired correctly. Once the firing process is complete, your clay piece is now ready to be enjoyed!
How to Display Your Clay Project
Once your clay project has been fired, the last step is to decide how you would like to display it. There are many options available, including glass cases, metal stands, or even just displaying it on a bookcase or shelf. If you want something a bit more eye-catching, you can also purchase metal plinths or display boxes that can add a unique touch to any room.
No matter how you choose to display your creation, by completing all of these steps you have taken the art of working with clay from intimidating to enjoyable. After learning all four of these techniques, you’ll be ready to begin exploring new ways to bring your clay creations to life.
When displaying your clay project, it is important to consider the environment it will be placed in. If you are displaying it outdoors, make sure to use a sealant to protect it from the elements. If you are displaying it indoors, make sure to keep it away from direct sunlight or other sources of heat, as this can cause the clay to crack or warp. Additionally, if you are displaying your project in a humid environment, make sure to use a sealant to protect it from moisture.