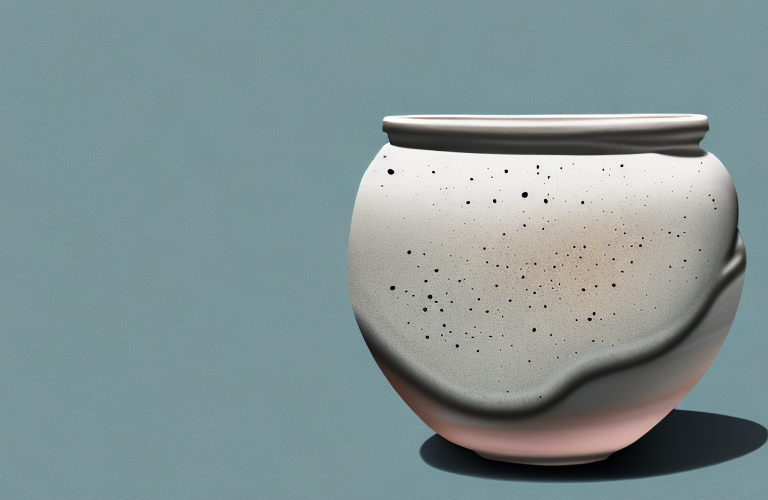
When it comes to finishing clay pieces, few methods give you the same sparkle and professional look that a glaze does. The process of adding glaze to clay certainly isn’t as simple as slapping it on and calling it done. It involves several steps in order to achieve the desired result, and how many layers you need is one of the more important factors to consider.
What are the Benefits of Applying Glaze to Clay?
Glaze not only adds color and texture to a clay piece, it serves a few key functions. It prevents staining and fading in extremely hot temperatures, as well as any other extreme circumstances. Glaze also helps unify the colors of the clay, bringing all them together into one beautiful piece. Lastly, glaze is also a way to make a clay piece food-safe and waterproof.
What Materials are Needed for Applying Glaze to Clay?
Before glazing clay, you will need to make sure you have the necessary supplies. For starters, you will need to get a lump of glaze (a slab of wet clay with glaze embedded into it), several cups for mixing, as well as a paintbrush (preferably a flat and wide one). You should also have a few glaze colors in mind that you want your piece to have, and if you don’t want the piece to be colored then you’ll need to use a clear glaze.
Step-by-Step Guide for Applying Glaze to Clay
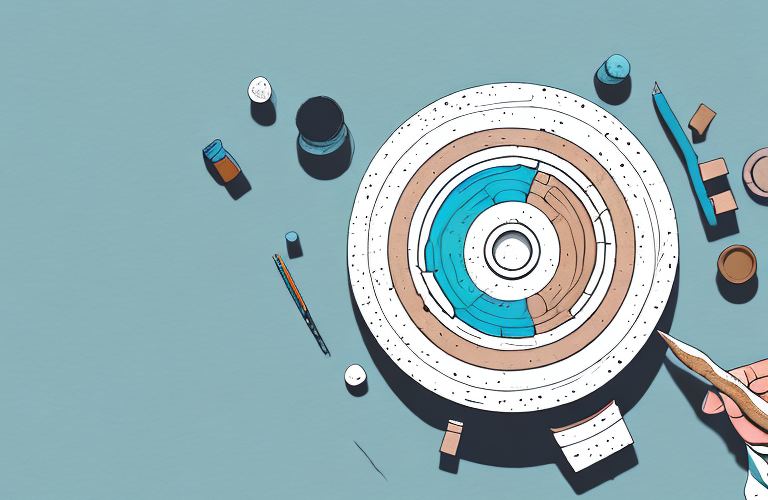
Once you have all the materials gathered and chosen your colors, it’s time to start glazing. The first step is to take the lump of glaze, break it up into small pieces and place them into your cups. Then, depending on the colors you chose, mix them together until they are completely blended. Once the glaze is mixed and blended, it can be applied using the paintbrush. You should start with the main body and work your way around the different parts of the piece. Make sure to coat each part evenly and without any pooling of the glaze.
The next step is to apply the second layer. When you’re applying this layer, you want to make sure to use a gentle touch. Applying too much pressure when glazing can cause the piece to become rough and uneven. The same goes for the second layer: apply light pressure and make sure that the first layer is completely dry before adding the second layer.
Tips for Applying Glaze to Clay
When applying glaze to clay, there are some tips that can help you get the perfect result. The first tip is to use thin layers of glaze and allow each layer to dry before applying the next. This will help ensure that the glaze is even and consistent throughout. When applying the second layer, make sure to use a light hand and avoid applying too much pressure so that the first layer doesn’t become rough and uneven.
It’s also a good idea to apply at least two thin coatings when glazing instead of one thick coating. This will help create smoothness and evenness throughout. Lastly, if you’re unsure about how many layers of glaze are needed for your piece, it’s best to refer to specific instructions for the type of clay or glaze you’re using.
Potential Problems When Applying Glaze to Clay
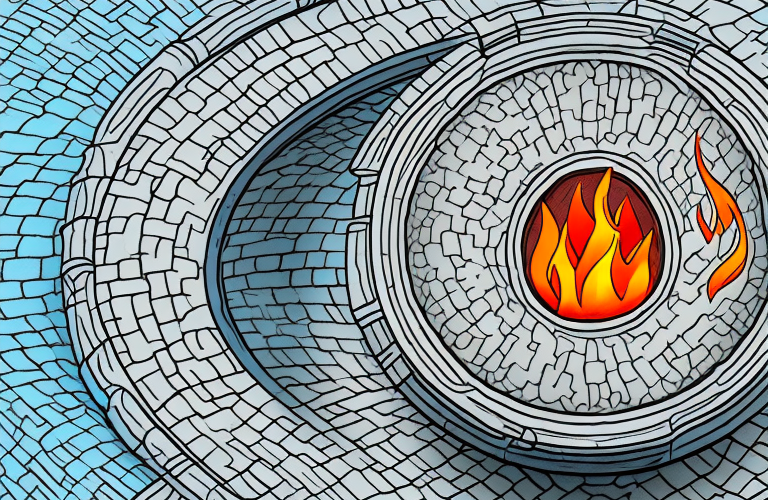
When glazing clay pieces, there are several potential problems that can arise. One of the most common issues is bubbles arising in between layers or after the final layer. Bubbling can be caused by air pockets trapped in between layers or not allowing the first layer to dry completely before applying the second layer (the latter is most common). Another issue that can arise is cracking, which can happen if the piece wasn’t allowed to dry completely before being fired. The piece warps from not being dried properly and then cracks in the kiln.
How to Fix Issues When Applying Glaze to Clay
If you find yourself with any of these issues when it comes to glazing clay pieces, there are ways to fix them. In order to fix bubbles, you can use a brush with a damp cloth and gently dip it into the area around the bubbles. This will soften up any hardened spots in the glaze and help pop any bubbles.
In relation to cracking, there unfortunately isn’t much you can do unless it’s a large piece that is able to be re-wetted and re-formed. For smaller pieces, it’s best to just consider the piece scrap and try again on another.
Different Types of Glazes and Their Uses with Clay
When glazing clay pieces, there are several types of glazes that you can use that will give you different results. There are glossy or matte glazes which, as their names suggest, give the piece a shiny or matte finish. The same goes for transparent or opaque glazes which allow for colors behind them or not respectively. The type of clay and firing temperature can also determine which type of glazes work best with each medium.
Ways to Add Color and Design with Glazes on Clay
When it comes to adding color and design with glazes on clay, there are several options available. You can use layering techniques by building up color on multiple coats and then allowing each layer to dry between applications. This creates interesting colors that wouldn’t necessarily be possible with just one coat. You can also apply stencils or decals onto the surface which will leave behind a design after firing.
Finishing Touches: What To Do After Applying Glaze to Clay
After applying glaze to clay and firing it in the kiln, there are a few last-minute touches that will complete your piece. These can include sanding down any areas that still have hardened glaze on them or buffing out any spots that may have gotten too hot in the kiln. After this step is finished, your newly glazed clay piece is ready for display!
Adding glaze to clay certainly takes some practice but with enough patience and creativity, anyone can create beautiful pieces with just some supplies and a kiln. Ultimately, how many layers of glaze should be applied depends on your individual piece and what design you want for it. Once you know what you’re aiming for, it’s just a matter of experimenting with multiple coats until you reach perfection!