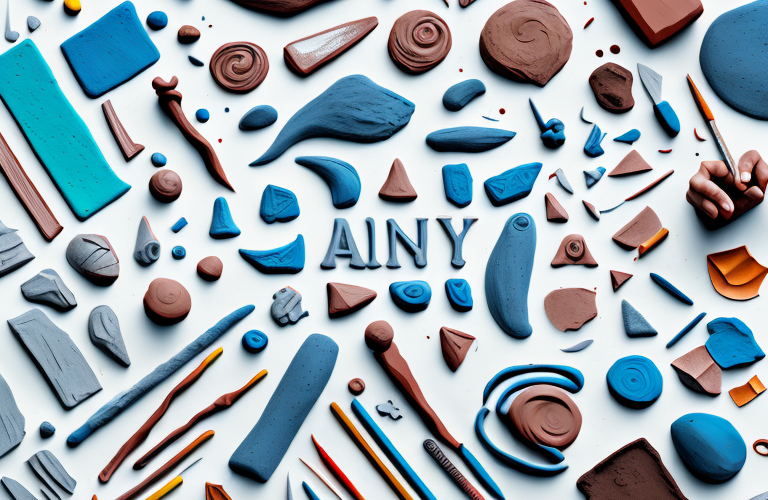
Clay is an age-old medium for crafting beautiful, three-dimensional sculptures. Using your hands to mold and shape it into shapes and forms you envision is known as “hand-building.” This technique requires you to stay vigilant about the thickness of the clay — too thick and it won’t bend, too thin and it can crack.
What are the benefits of using clay for hand building?
Hand-building with clay for art projects and crafts is a time-honored tradition. It’s a great way to express your creativity and create one-of-a-kind pieces with your own two hands. This technique allows you to add texture, dimension, and interest. Plus, clay is fun and versatile — it can be used to make functional items, decorations, and sculptures.
Clay is also a great material for children to use, as it is easy to manipulate and can be used to create a variety of shapes and forms. It is also a great way to teach children about the properties of different materials and how to work with them. Clay is also a great way to explore color and texture, as it can be painted, glazed, and decorated in a variety of ways.
What tools are needed for hand building with clay?
Before you start hand building with clay, make sure you have the right tools. You’ll need a surface on which to roll out and shape your clay, such as a slab roller, a rolling pin, or a cutting board. You also need rubber, plastic, or metal tools for carving, cutting, and shaving clay. Other useful tools include sculpting tools for making small details, textured tools for making patterns and textures, and glazing tools for finishing the piece.
How to judge the right thickness of clay for hand building
The most crucial aspect of hand-building is judging the right thickness of clay. Clay should be rolled out until it’s the thickness of a penny. Anything thicker than that may not bend to the shape you need. At the same time, any thinner will compromise the structural integrity of your piece. It’s important to judge the right thickness to ensure maximum flexibility without compromising strength.
Tips for maintaining consistent thickness when hand building with clay
If you want to craft high-quality pieces of art, you need to make sure the thickness of your clay stays consistent. Here are some tips to help you maintain an even thickness:
- Use a rolling pin, slab roller, or cutting board for even thickness.
- When cutting shapes, always use the same tool.
- Turn the clay several times as you roll it out so that the thickness remains consistent.
- Mark the preferred thickness with a pencil or a ruler before rolling it out.
How to ensure even distribution of clay during hand building
In order to create an even distribution of clay during hand-building, it’s important to remember these three steps:
- Roll out a slab of clay at the desired thickness.
- Cut out the necessary shapes from this slab.
- Gently press each piece into place for an even distribution of clay.
What techniques can be used to join pieces of clay during hand building?
Joining pieces of clay is an important step in the hand-building process. It’s necessary to make sure your pieces form one solid shape. There are several ways to join pieces of clay: pinching, scoring, slipping, and using slurry. Pinching is when you pinch two pieces together with your fingers. Scoring is when you lightly scratch the surface until they’re slightly indented. Slipping is when you make a paste with water and use it as glue between two pieces. Slurry is when you mix together water and clay to make a thicker paste.
How to finish your piece when hand building with clay
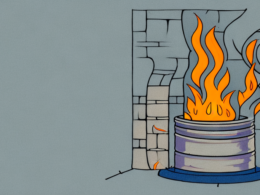
Once your piece is hand built to satisfaction, you can move on to finishing it. This involves trimming off any unevenness or excess pieces, smoothing out any lines or uneven textures, and adding details or texture. Keep in mind that this is dependent on what kind of piece you’re making and what effect you want it to have. Finally, when your piece is ready for firing, glaze it with low or high fire glazing.
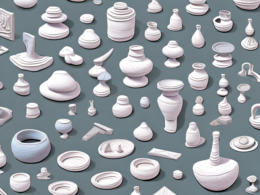
Different types of clay suitable for hand building
When it comes to hand building with clay there are many types of clay from which to choose. Earthenware clay is the most recommended for beginners since its dark color makes mistakes easier to disguise. It’s also more tolerant of warping when fired in a kiln. Porcelain, stoneware, and raku clays are also used, each offering different colors and textures. It’s important to select the right type of clay for your project at hand.
<
Troubleshooting common issues when hand building with clay
When working with clay, there are bound to be some difficulties experienced along the way. To troubleshoot common issues with handbuilding clay such as cracking, warping and breakage: roll out thin sheets of clay over slightly damp newspaper; use tools with care; sand any rough edges or cracks; keep your clay pieces damp until ready for firing in the oven; store extra pieces in sealed plastic bags; and spray lightly with water after joining pieces.
In conclusion, hand building with clay is a great way to express yourself through art. However, mastering this technique requires discipline and patience. Paying close attention to the thickness of your pieces and using the right tools will help you achieve beautiful results.