Firing clay is a popular pastime for many potters and hobbyists who enjoy creating long-lasting, durable works of art – but it isn’t just as simple as taking a lump of clay and throwing it in the oven. Different types of clay have different firing requirements and not all clay can be fired the same way. If you want to make the most out of your clay-firing experience, you’ll need to understand the specific requirements for each type of clay, as well as the more general firing process.
Different Types of Clay
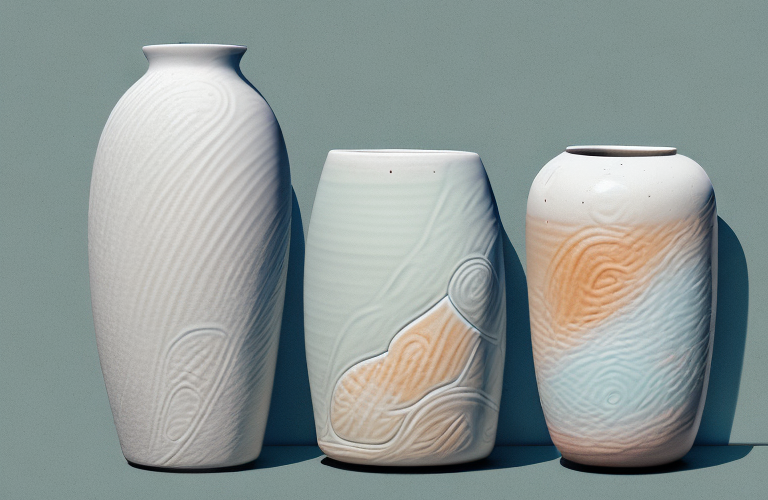
The most important factor to consider when firing clay is the type you’re working with. Some common types of clay include earthenware, stoneware, porcelain, and blackware. Each type requires different temperatures and have their own unique properties, so it’s important to determine what type of clay you’re dealing with before starting your project. Earthenware, for example, is typically bisque fired at lower temperatures and doesn’t need to be glazed like other types of clay.
Staying organized and having a plan for each type of clay is essential. Try to keep each type of clay separated so you don’t mix them up before firing. If you’re unsure about the types of clay you’re working with, ask your local art supply store or a more experienced potter for help.
Firing Clay at Different Temperatures
Once you know what type of clay you’re dealing with, it’s time to start thinking about the firing temperatures. Different clay bodies require different temperatures depending on the porosity and texture of the pieces. Generally speaking, earthenware needs temperature between 950-1150 degrees Fahrenheit while stoneware requires between 1250-1900 degrees Fahrenheit. Porcelain should be fired between cone 6 (around 2230 degrees Fahrenheit) and cone 10 (around 2300 degrees Fahrenheit).
It’s important to fire within the appropriate range each time to ensure proper glazing and formability. However, simply firing within the range isn’t enough – you also need to make sure that the clay doesn’t cool down too quickly or too slowly. The cooling rate should be controlled using a slow cooling schedule that takes into account the size and type of the pieces you’re firing.
Understanding the Firing Process
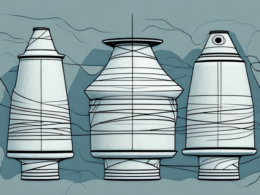
Firing clay isn’t a linear process – there are several steps involved. First, the pieces should be dried uniformly to remove excess moisture. Typically, you’ll dry pieces in stages starting with a slow dry at a warm temperature, then a quicker dry at a higher temperature, and finally a “bisque fire” – which is a higher temperature firing used to make pieces more durable. Once a piece is bisque fired, it can be glazed and then fired again at higher temperatures.
It’s important to note that each step of the firing process needs to be done correctly to ensure the pieces are safe and don’t crack or warp during the process. So make sure you’re following directions carefully each step of the way.
Heat Sources for Clay Firing
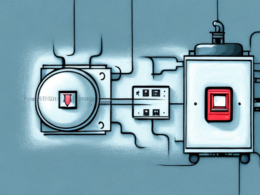
When it comes to heating your pieces up, there are two main options: electric kilns or gas kilns. Electric kilns fire using electrically controlled temperatures and are generally used for one-off pieces or small batches of ceramics. Gas kilns use natural gas to fire and are often used in commercial settings due to their large capacity and consistency.
It’s important to choose a kiln that’s able to achieve the temperatures needed for your specific type of clay. Make sure that you read the manufacturer’s directions carefully before firing any pieces.
Tools Needed for Clay Firing
Aside from the kiln itself, there are some basic tools you’ll need to complete your firing process. One of the most important tools is kiln posts (or props). This helps ensure even heat distribution by keeping your pieces off the ground or floor of the kiln. You may also need thermometers, cones, or pyrometers in order to measure the temperatures during the bisque and glaze fire stages.
For projects that require glazing, you’ll also need glazing tools like sponges, wax resist sheets, wire loops, and masking tape. Other miscellaneous items such as tongs, safety gloves, safety glasses, and an oven glove may also come in handy during your firings.
Safety Considerations When Firing Clay
Firing clay is a potentially hazardous process and it’s important to take all necessary precautions. When using high-temperature kilns and tools, it is essential to wear protective clothing such as gloves and safety glasses. You should also take steps to minimize flame hazards and ensure proper ventilation in your workspace. Lastly, make sure that your kiln is installed according to manufacturers instructions.
Many people also choose to use a self-heating kiln in order to minimize risks associated with flame hazards and electric shorts. However, even self-heating kilns require proper safety precautions so be sure to read all instructions before use.
Tips for Successful Clay Firing
Now that you know the basics of how to fire clay and all the necessary safety precautions, you’re ready to get started on your project! Here are some tips that will help ensure success:
- Choose clay carefully – make sure you know which types of clay can do what tasks.
- Measure temperatures accurately – use thermometers or pyrometers to measure temperature accurately.
- Dry clay pieces uniformly – drying time can affect shape and strength of pieces.
- Use a slow cooling schedule – this helps prevent cracking during cooling.
- Use glazing tools carefully – glazing tools such as wire loops and wax resist sheets should be used carefully and in accordance with manufacturer’s instructions.
Troubleshooting Common Clay Firing Issues
Sometimes things don’t always go as planned – either during drying or firing processes. Here are some common troubleshooting tips:
- Check for cracks or warps – cracks or warps could be caused by uneven drying or cooling too quickly. To fix this, try re-firing or filling in any cracks with a crackle filler.
- Check for improper firing – improper firing can result in parts that don’t fit together properly or weak points in the material. To fix this, consider changing temperatures or switching to a different type of clay.
- Check for glaze runs – glaze runs are caused by too much or too little glaze applied during firing. Adjust your process as needed to prevent further issues.
Finishing Touches on Fired Clay Pieces
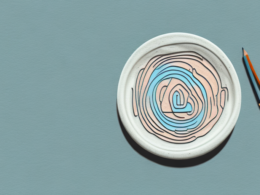
Once all firing is complete, it’s time for the finishing touches. These can involve buffing pieces with fine sandpaper or applying wax sealant for a polished look. Other finishing touches may involve using epoxy or paint to add bright colors or special designs onto the pieces. Finish pieces according to instructions for best results.
And that’s all there is to firing clay! With these tips in mind, you’re sure to create some amazing works of art.