Since ancient times, pottery has been a popular craft for making beautiful and functional pieces for decoration and practical use. Today, anyone can learn how to fire and glaze pottery, making their own unique and custom works of art. In this article, we’ll explore the basics of pottery firing and the necessary tools, materials, and steps required to fire your own pottery.
The Basics of Pottery Firing
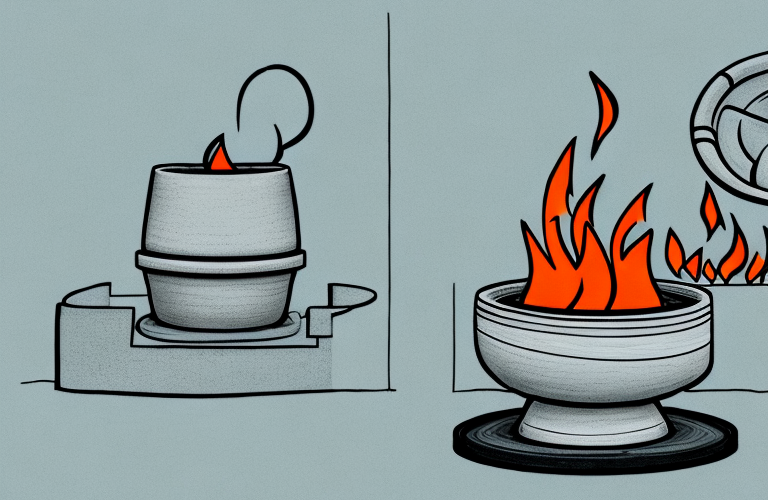
Firing is the process of using heat to fuse clay and glazes together. This transforms them into beautiful, usable pottery. Most potters fire their pieces at relatively low temperatures, between earthenware (1,829 – 2,202 °F) and stoneware (2,302 – 2,552 °F) on a traditional kiln or electric oven. Some potters are even experimenting with high-fire techniques (2,232-2,572 °F), which give rustic and distinctive effects.
The firing process is an important part of the pottery-making process, as it is what gives the pieces their strength and durability. It is also what gives them their unique colors and textures. The firing process can take anywhere from a few hours to several days, depending on the type of clay and glaze used, as well as the desired outcome. It is important to be patient and to follow the instructions carefully to ensure the best results.
Safety Considerations When Firing Pottery
Before attempting to fire your pottery, you should take certain safety precautions. First and foremost, ensure that the area you are working in is well ventilated. Ventilation helps to reduce any potential dangers from smoke or fumes. In addition, use oven mitts or other protective gear when touching heated surfaces. Consider setting a timer and regularly checking on your work to make sure that it is not in danger of becoming over-fired.
It is also important to wear protective clothing such as long sleeves and pants, as well as safety glasses or goggles. Additionally, make sure that the area is free of any flammable materials, and that all tools and equipment are in good working order. Finally, never leave the kiln unattended while it is in use.
Tools and Materials Needed
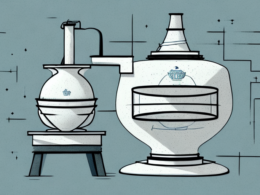
In addition to your clay and glazes, you will need a reliable kiln (or a convection oven if you’re using low-fire techniques) in order to fire your pottery. If you are using a kiln, make sure that you read the manufacturer’s instructions carefully in order to understand its operation and maintenance. You’ll also need basic tools like wire cutters, pliers, and needle-nose pliers for forming and cutting clay pieces.
Step-by-Step Guide to Firing Your Own Pottery
Once you’ve gathered all of your supplies and safety equipment necessary for firing, follow these steps in order to create your own beautiful works of ceramics:
- Create a clay base for whatever shape you are firing. Make sure to pack it firmly, as this will increase its stability during firing.
- Bisque fire the clay at approximately 1,800°F for 1-3 hours to form a strong foundation.
- Once the clay has cooled, glaze the piece as desired. Make sure to use the right glazes for firing at the desired temperature.
- Carefully arrange the glazed pieces in the kiln.
- Fire according to the manufacturer’s instructions at your desired temperature.
- Once fired, carefully remove the pottery from the kiln using oven mitts and allow it to cool completely.
Troubleshooting Common Issues
If your pottery cracking or has any other imperfections once it is removed from the kiln, there may be a few issues behind it. A few common culprits include underfiring (not firing for long enough), overfiring (firing too long), improper glazing technique, or the wrong thickness of the clay base. Make sure to follow the instructions above closely to avoid these problems.
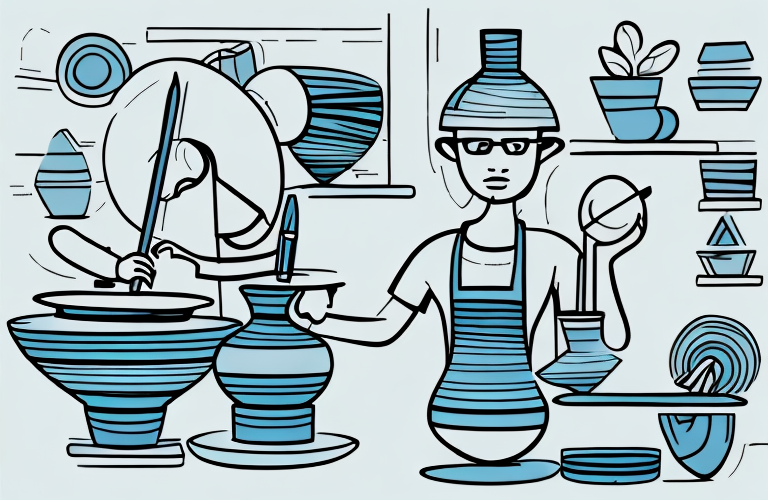
Tips for Glazing and Finishing Your Pottery
Once you’ve fired your pottery, it’s time to get creative with how you finish it. There are a variety of methods for glazing and finishing your pieces that yield interesting results. Try different techniques like dipping your piece in a pit of glaze, applying glazes with brushes or sponges, or even adding hand-painted details for even more personalized touches.
Pro Tips for Getting the Most Out of Your Firing Process
To get the most out of your firing process, there are a few tricks and tips you should keep in mind. For instance, firings take time and practice to perfect, so don’t get discouraged if you don’t get it right away. Additionally, make sure to use a pyrometer to accurately measure the temperature of your kiln before each use. Finally, make sure you experiment with different glazing techniques and temperatures; different glazes can give completely different results!
Resources for Further Reading
Firing pottery is a complex craft that requires meticulous work and attention to detail. If you’re looking for further resources to deepen your understanding of the craft, here are a few great places to start:
- How To Fire Pottery In An Electric Kiln – Ceramic Arts Network
- Pottery Firing Techniques – YouTube
- Pottery Firing Temperatures – Ceramics Program
With the right tools, materials, instruction and practice, anyone has the potential to create beautiful pottery with successful results. Firing your own pottery can be a deeply rewarding experience with stunning results!