If you’re a beginner to pottery, the idea of using a pottery wheel can be intimidating. However, using a pottery wheel can be an incredibly rewarding experience. In this guide, we’ll cover everything you need to know to get started on the pottery wheel, from choosing the right pottery wheel to finishing and glazing your pottery.
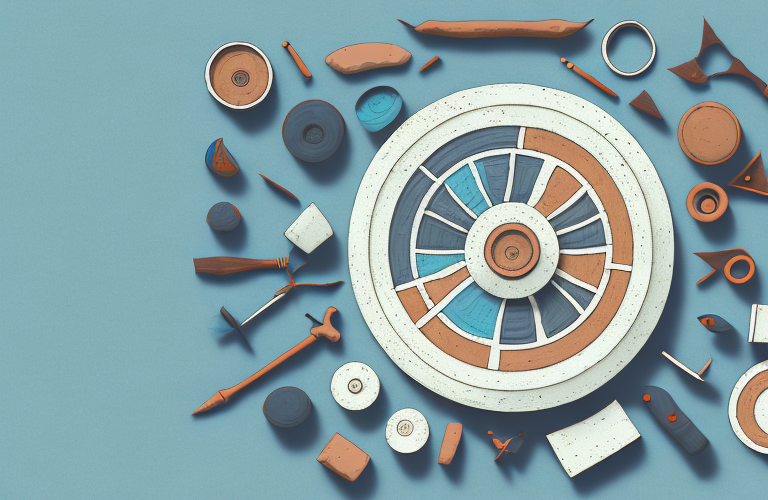
Types of Pottery Wheels: Which One Is Right for You?
Before starting, you need to choose the right kind of pottery wheel. There are two primary types of pottery wheels: electric and kick-wheels. Electric pottery wheels run on electricity, while kick-wheels require your physical input to make the pottery wheel spin. Electric pottery wheels are usually more expensive but offer greater precision and ease of use, while kick-wheels are ideal for those who prefer a classic or traditional feel.
Another type of pottery wheel that is gaining popularity is the hybrid pottery wheel. This type of pottery wheel combines the best features of both electric and kick-wheels. It runs on electricity but also allows the potter to control the speed and direction of the wheel with their feet. Hybrid pottery wheels are a great option for those who want the precision of an electric wheel but also enjoy the tactile experience of using a kick-wheel.
It’s important to consider the size of the pottery wheel as well. If you plan on making larger pieces, you’ll need a larger wheel. Most pottery wheels have a wheel head diameter of 12-14 inches, but some larger models can have a diameter of up to 24 inches. Keep in mind that larger pottery wheels are usually more expensive and take up more space in your studio.
Essential Pottery Tools and Materials for Wheel Throwing
To get started with wheel throwing, you will need a few essential pottery tools and materials. This includes clay, water, a wheel, and tools such as a pottery needle or wire, a sponge, and a paddle. It’s also important to have a workspace set up and ready with an appropriate surface to work on, as well as a source of water.
In addition to these basic tools and materials, there are a few other items that can be helpful for wheel throwing. A throwing rib, for example, can be used to shape and smooth the clay as it spins on the wheel. A trimming tool is also useful for removing excess clay and refining the shape of the piece. Additionally, having a set of calipers can help ensure that your pieces are consistent in size and shape. While these tools are not strictly necessary for beginners, they can make the process of wheel throwing easier and more enjoyable.
Setting Up Your Pottery Studio: Tips for a Successful Start
Having a dedicated space for pottery can make a significant difference in the quality of your work. You’ll want to set up a clean and organized space that has proper ventilation, lighting and temperature control. You should also have proper storage solutions for tools, clay, and finished work to ensure that your space stays organized and tidy.
Another important aspect to consider when setting up your pottery studio is the type of kiln you will use. Kilns come in different sizes and types, and you’ll want to choose one that fits your needs and budget. Electric kilns are the most common and easiest to use, but gas and wood-fired kilns can produce unique effects on your pottery.
It’s also important to invest in quality tools and materials. While it may be tempting to buy cheaper options, investing in high-quality tools and materials will ultimately save you time and money in the long run. Look for tools made from durable materials and choose clay that is appropriate for your skill level and desired outcome.
Understanding the Basics of Clay: Types, Properties, and Preparation
One of the essential aspects of pottery is understanding the clay. There are different types of clays available, each with their own properties, such as texture, color, and plasticity. The preparation of clay is also important, including wedging, centering, and opening up the clay to create a foundation for shaping the pottery.
Another important factor to consider when working with clay is the firing process. The temperature and duration of firing can greatly affect the final product, as well as the type of kiln used. Understanding the firing process is crucial in achieving the desired outcome for your pottery.
It is also important to note that clay can be sourced from different locations, each with their own unique properties. For example, clay from a riverbed may have a different texture and color than clay from a quarry. Understanding the source of your clay can provide insight into its properties and how it may behave during the pottery-making process.
Preparing the Clay: Wedging, Centering, and Opening Up
Wedging the clay involves kneading it to create an even texture and remove air bubbles, while centering is positioning the clay at the center of the pottery wheel. Opening up the clay involves creating an even base with an opening to create a vessel or form for the pottery.
Once the clay has been wedged, centered, and opened up, the potter can begin to shape the clay into the desired form. This can be done using a variety of techniques, such as pulling, pushing, and shaping the clay with the hands or tools. The potter must be careful to maintain an even thickness throughout the form to prevent cracking or collapsing during firing.
After the form has been shaped, the potter may choose to add decorative elements to the surface of the clay. This can be done using techniques such as carving, stamping, or painting. The potter must also consider the glaze or finish that will be applied to the piece, as this will affect the final appearance and durability of the pottery.
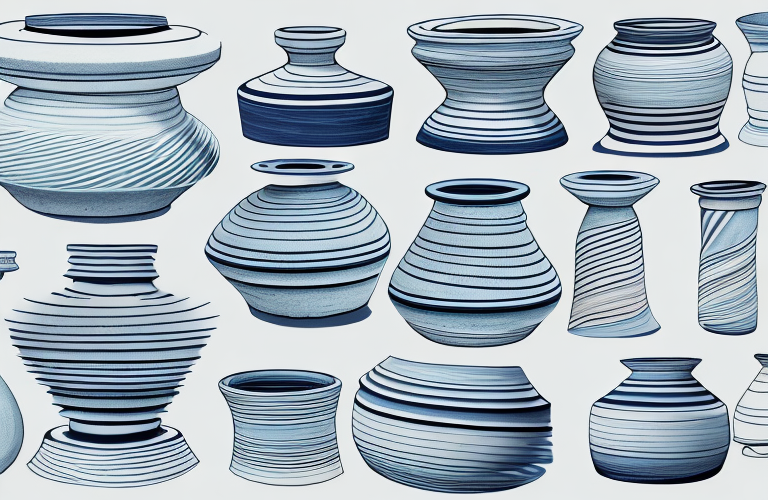
Creating Basic Forms on the Wheel: Cylinders, Bowls, and Plates
Once the preparation is complete, it’s time to create your pottery. Basic forms, such as cylinders, bowls, and plates, are a great way to start. You can use your hands and tools to shape the form while the pottery wheel spins. It’s important to continue adding water to the clay to keep it pliable and malleable.
When creating cylinders, it’s important to keep the walls even and straight. This can be achieved by applying consistent pressure with your hands and tools. For bowls, you can start by creating a cylinder and then shaping the walls inward to create the bowl shape. Plates can be made by flattening a cylinder and then trimming the edges to create a round shape.
Once you have created your basic form, you can add additional details and decorations. This can include adding handles to mugs or carving designs into the surface of the pottery. It’s important to let the pottery dry completely before firing it in a kiln to prevent cracking or breaking during the firing process.
Adding Texture and Decoration to Your Pottery: Techniques and Ideas
After creating basic forms, you can move on to adding texture and decoration to your pottery. There are numerous techniques and ideas to explore, including sgraffito, slip-trailing and stamping, and engraving. These techniques add a personal touch to your work and allow you to explore your creativity.
One popular technique for adding texture to pottery is called “scoring and slipping.” This involves scoring the surface of the clay with a tool, applying slip (a mixture of clay and water) to the scored area, and then attaching another piece of clay to the slip-covered area. This technique can be used to create intricate designs and patterns, and can also be used to attach handles or other decorative elements to your pottery.
Trimming and Finishing Techniques to Achieve a Professional Look
Trimming and finishing techniques are essential in creating a professional-looking piece. Trimming involves removing excess clay from the foot of the pot, while finishing the edges and smoothing out surfaces to make them even and seamless. These processes are vital in creating a polished final product.
Drying and Firing Your Pottery: Dos and Don’ts
After finishing the shaping and texturizing of your pottery, it’s time to dry and fire your work. Drying the pottery should be done gradually to minimize cracking, while firing the pottery should also be done with care and patience. It’s important to follow the instructions for your specific clay and kiln and to avoid common mistakes like blowing air into the pottery or using a damp kiln shelf.
Glazing Your Pottery: Understanding the Process and Choosing the Right Glazes
Glazing is the final step in the pottery process, and choosing the right glaze can be crucial in achieving the desired look and feel of your work. It’s essential to understand the process of glazing, including the different methods like dipping, brushing, and spraying. There’s also a wide range of glaze finishes like glossy, matte, and textured, to choose from, and you can experiment with various combinations.
Troubleshooting Common Problems in Wheel Throwing
Even experienced potters encounter problems during the wheel throwing process. Some common issues include cracking, warping, and uneven shaping, among others. It’s essential to identify the problem and find a solution quickly to correct the issue before the pottery is too far gone.
Tips for Improving Your Skills on the Pottery Wheel
With practice and patience, you can improve your wheel throwing skills. It’s important to maintain consistency in shaping, applying even pressure, and understanding the needs of your clay. Taking classes or workshops and watching videos can also help you develop your skills and gain new insights into the pottery-making process.
Exploring Advanced Techniques in Wheel Throwing
After gaining experience with the basics, the pottery wheel offers endless opportunities to explore more advanced techniques, such as altering the form of the pot or creating more complex structures like teapots or pitchers. Trying out these techniques can help you develop a personal style and push the limits of what you can create.
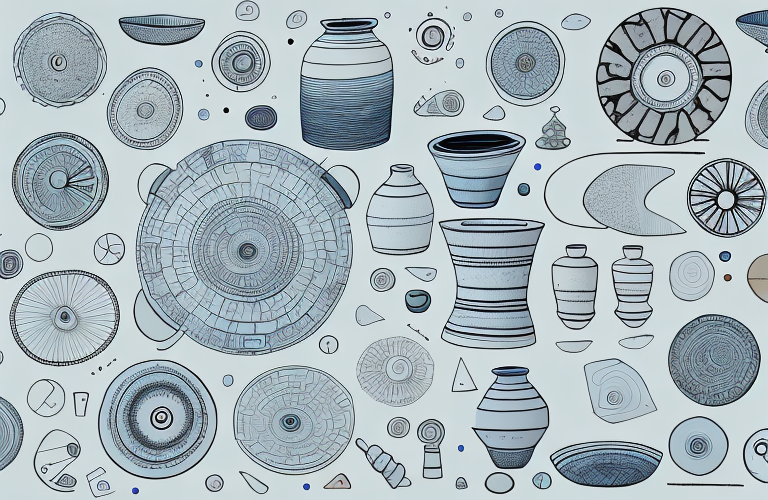
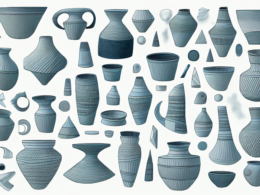
Inspiring Examples of Wheel Thrown Pottery to Fuel Your Creativity
Looking at inspiring examples of wheel-thrown pottery can provide suggestions on form, texture, decoration, and so much more. Explore galleries, online resources, or visit in-person exhibits to gain inspiration, motivation and to spark your creativity.
This guide is an overview of the pottery wheel-making process. Remember that pottery is a personal and creative venture, and you can develop your own unique style with time and practice. Whether you’re a beginner or an experienced potter, the wheel is an excellent way to express your creativity and create beautiful functional and decorative objects.