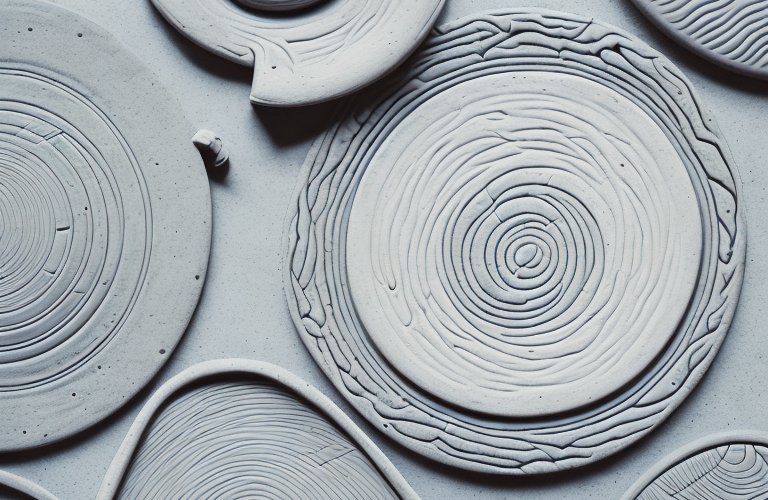
Clay is a versatile material that has been used since ancient times to create works of art in all forms and sizes. It’s available in many different colors and textures, and can be used to construct a variety of items. To make sure the best results are achieved, clay must go through a series of stages, from wet to fired, to ensure the most desirable outcome.
Introduction to Clay and Its Different Stages
Clay is a natural material derived from soil. It can be fired in an oven, or heated in an open flame to add strength and durability. Clay can also be glazed to give it a unique appearance. Clay is widely used in pottery, sculpture, and jewelry-making, as well as other artistic applications. Depending on the final desired outcome, clay will go through a series of stages to produce the desired result.
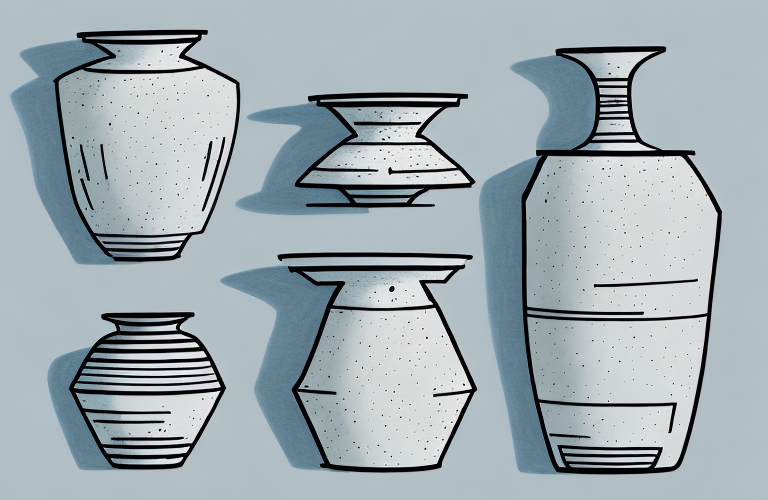
The first stage of clay is the raw material. This is the clay in its natural state, before it has been fired or glazed. The second stage is the forming stage, where the clay is shaped into the desired form. The third stage is the firing stage, where the clay is heated in an oven or open flame to give it strength and durability. The fourth stage is the glazing stage, where the clay is coated with a glaze to give it a unique appearance. Finally, the fifth stage is the finishing stage, where the clay is polished and finished to give it a smooth, glossy finish.
Stage 1: Wet Clay
The first stage of clay is “wet clay”, which is the most common form of the material. It requires minimal processing to prepare it for use, and can be shaped by hand or with tools to create a variety of forms. The amount of moisture in wet clay is important as too much moisture will result in an overly pliable clay while too little will cause it to crack and break.
Stage 2: Leather Hard Clay
The second stage of clay preparation is called “leather hard clay”. It is a drier form of clay with more structure and body, which makes it more suitable for certain applications. In this stage, the clay is ready to be carved, textured, or molded into more intricate shapes. The leather hard stage also allows for some additional reshaping, such as trimming and combining two separate pieces of clay.
Stage 3: Greenware Clay
The third stage of clay preparation is known as “greenware” or “green-ware clay”. At this point, the clay has been left to air dry until it is stiff but pliable. This stage allows additional sculpting and detailed carving or painting to take place on the clay. It’s important to note that greenware should never be fired as it can become brittle and crack when exposed to high temperatures.
Stage 4: Bisque Fired Clay
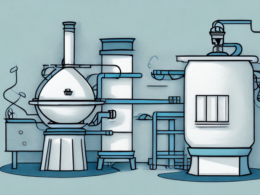
The fourth stage of preparation is the bisque-fired clay, which is fired in a kiln at about 900 degrees Celsius. This process burnishes the surface of the clay, adding strength and resilience. This stage is ideal for ceramic pieces that have been glazed as the glaze will adhere better due to the increased surface area.
Stage 5: Glazing and Refiring of Clay
In the fifth stage, glaze and refire, glaze is applied to the bisque-fired clay pieces to give them a distinct finish. Glaze acts as a barrier between the clay and the elements, protecting it and giving it a unique look. Glaze can come in many colors, textures, and sheens. After the glaze has been applied, the pieces are typically fired again in the kiln.
Stage 6: Glaze Fired Clay
Stage six is the glaze-fired clay stage. This stage ensures a strong bond between the glaze and the surface of the clay, resulting in a long-lasting piece with vibrant colors. Glaze fired clay is ready for decoration or display once cool.
Stage 7: Cold Finishing of Clay
The seventh stage in preparation is cold finishing, where additional decorations are added to the clay. This can include brushing on matte finishes or other non-fired finishing techniques such as engraved lines or surface textures. Cold finishes are meant to add a unique look to the piece without affecting its functionality.
Stage 8: Final Finishing of Clay
The eighth and final stage is the finished clay stage, in which the finished piece is inspected for any mistakes or additional decorations that may need to be applied. This can include applying final touches such as small details and signature marks. Finally, the piece is checked for any flaws before being wrapped or packaged according to the artist’s specifications.
Benefits of Working with Different Stages of Clay
There are many benefits to understanding the various stages of clay and working with them. By knowing what each stage entails and how to prepare it correctly, you can yield high-quality results every time. Additionally, by learning how to work with different stages of clay you can achieve distinct looks for your pieces without sacrificing strength or resilience.
Tips for Working with Different Stages of Clay
When using clay, it’s critical to work with care at all stages, from wet to finished pieces. Make sure that you understand the specifications for each stage so that there will be no surprises when you are ready to fire your piece. Additionally, sanding and filling any imperfections in the bisque-fired clay is essential for achieving a smooth surface before glazing.