Pottery wheels have been in use for thousands of years, and they remain a vital tool for modern potters. In this step-by-step guide, we will walk you through the process of using a pottery wheel, from preparing your clay to finishing your piece. While some steps may seem daunting at first, with practice and dedication, you can become a skilled potter capable of creating beautiful, functional pieces.
The History of Pottery Wheels: From Ancient Times to Today
The earliest known pottery wheel dates back to 3129 BC in Mesopotamia, where it was used to create simple vessels for storage and transportation. Over time, the design of pottery wheels evolved, and they became a crucial tool in the production of ceramics around the world. Today, pottery wheels come in many different styles and sizes, from traditional kick wheels to electric models equipped with advanced features.
During the Middle Ages, pottery wheels were used extensively in Europe to create decorative and functional ceramics. The kick wheel, which was operated by foot, was the most common type of pottery wheel used during this time. In the 18th century, the invention of the treadle wheel revolutionized pottery production, allowing potters to create larger and more intricate pieces with greater ease.
In modern times, electric pottery wheels have become increasingly popular due to their ease of use and ability to produce consistent results. These wheels are equipped with features such as variable speed control and reversing capabilities, which allow potters to create a wider range of shapes and designs. Despite the advancements in technology, many potters still prefer to use traditional kick wheels, as they offer a more tactile and hands-on experience.
Understanding the Different Types of Pottery Wheels
There are several types of pottery wheels available, including electric wheels and manual kick wheels. Electric wheels are powered by an electric motor, while kick wheels are operated by foot, with the potter controlling the speed and direction of the wheel. Some wheels feature a reversing switch, which allows the potter to change the direction of rotation. Ultimately, the type of wheel you choose will depend on your preferences and the type of pottery you wish to create.
When it comes to electric pottery wheels, there are two main types: direct drive and belt drive. Direct drive wheels have the motor directly attached to the wheel head, providing a smooth and consistent rotation. Belt drive wheels, on the other hand, use a belt to transfer power from the motor to the wheel head, which can result in a slightly less smooth rotation. However, belt drive wheels are often quieter and easier to maintain than direct drive wheels.
Manual kick wheels, also known as treadle wheels, have been used for centuries and are still popular among many potters today. They require more physical effort to operate, but some potters prefer the tactile experience and control they offer. Kick wheels are also often more affordable than electric wheels and can be used in areas without access to electricity.
Essential Tools and Materials for Using a Pottery Wheel
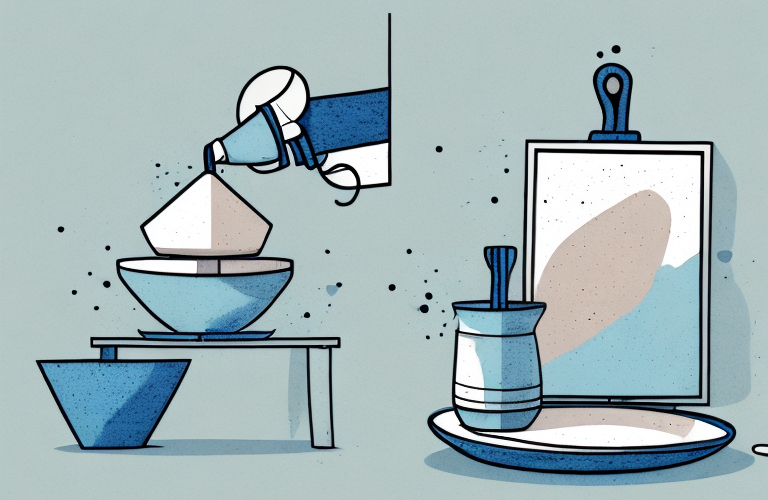
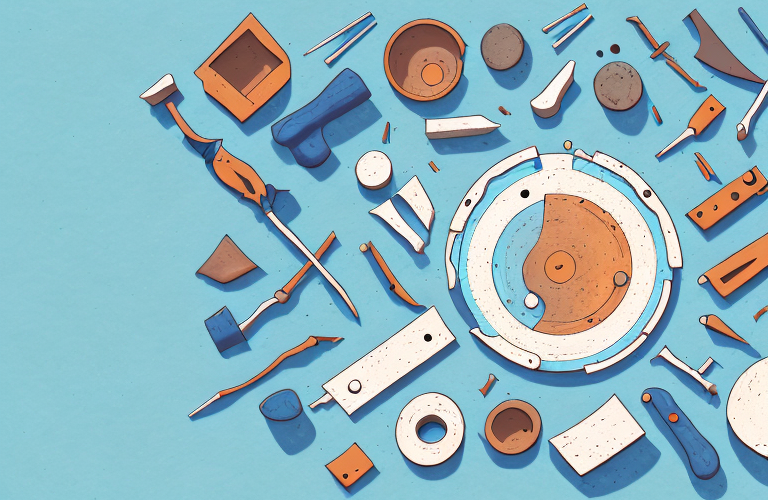
Before you begin using a pottery wheel, you will need to gather a few essential tools and materials. These include clay, water, a sponge, cutting wire, a pottery rib, and a bucket. You may also wish to use a slip tray, a bat, or other accessories to help with the forming and shaping of your clay. Make sure you have everything you need before you begin so that you can focus on the task at hand.
It is important to note that the type of clay you use can greatly affect the outcome of your pottery. There are various types of clay available, each with their own unique properties and characteristics. Some clays are better suited for throwing on a pottery wheel, while others are better for hand-building. It is recommended that you do some research and experimentation to find the type of clay that works best for your desired outcome.
Preparing Your Clay: Tips and Techniques
The first step to using a pottery wheel is to prepare your clay. Begin by wedging your clay to remove any air pockets and achieve a uniform consistency. Next, form your clay into a ball and place it in the center of your wheel. Wet your hands and the wheelhead to prevent the clay from sticking. Finally, use your hands to apply even pressure to the clay and center it on the wheelhead.
Once your clay is centered on the wheelhead, it’s time to start shaping it. Begin by using your thumbs to create a depression in the center of the clay. This will form the base of your piece. From there, use your fingers to gently pull the clay upwards and shape it into your desired form. Remember to keep your hands wet to prevent the clay from drying out and cracking.
As you work with your clay, you may find that it becomes too dry or too wet. If your clay is too dry, add a small amount of water and knead it in. If your clay is too wet, let it sit out for a few hours to dry out slightly. It’s important to find the right consistency for your clay to ensure that it’s easy to work with and will hold its shape during firing.
Centering Your Clay: A Critical Skill for Using a Pottery Wheel
Centering your clay is a crucial step in creating pottery on a wheel. This involves using a combination of hand pressure and wheel speed to bring your clay into a perfect, symmetrical form. To center your clay, place your hands on either side of the ball and press down gently. Increase the wheel speed and continue to apply pressure until the clay is centered. Repeat this step until you achieve the desired shape and form.
It is important to note that centering your clay is not a one-time process. As you work with the clay, it may become off-center and require re-centering. This is especially true when creating larger pieces of pottery. It is also important to pay attention to the consistency of your clay. If it is too dry or too wet, it may be difficult to center and shape properly.
Another tip for centering your clay is to use your body weight to apply pressure. This can be done by leaning into the clay with your hands and arms, using your body as a lever to apply more force. This technique can be especially helpful when working with tougher or thicker pieces of clay.
Throwing Techniques for Creating Different Shapes and Forms
Once your clay is centered, you can begin throwing it to create different shapes and forms. For example, you can create a cylinder by using even pressure along the walls of the clay, or you can create a bowl by opening up the center and shaping the walls with your hands. There are endless possibilities when it comes to creating pottery on a wheel, so it’s important to experiment and find the techniques that work best for you.
Trimming and Finishing Your Pottery: Best Practices
Once you have formed your piece, you will need to let it dry out to the right consistency for trimming. This involves removing excess clay from the base of your piece and applying finishing touches to create a polished, uniform look. You can use a range of tools and techniques to trim and finish your pottery, including a trimming tool, a sponge, and a pottery rib.
Decorating Your Pottery: Techniques and Ideas
Decoration is a crucial part of creating beautiful pottery. There are many different techniques you can use to decorate your piece, including carving, stamping, and painting. You can use glaze to add color and texture or experiment with different finishes, such as a matte or gloss finish. The options are endless, so take your time to explore different techniques and find the ones that suit your style.
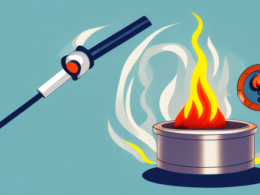
Firing Your Pottery: Kiln Basics and Safety Precautions
After you have finished decorating, it’s time to fire your pottery in a kiln. Firing your piece involves heating it to a high temperature to harden and set the clay. This is a critical step in the pottery-making process, so it’s important to have a good understanding of kiln basics and safety precautions. Always follow the manufacturer’s instructions for your kiln and wear appropriate protective gear when handling hot pottery.
Troubleshooting Common Problems When Using a Pottery Wheel
Even experienced potters encounter problems when working on a pottery wheel. Common issues include uneven walls, wobbling, and collapsing forms. If you encounter any of these problems, there are a few troubleshooting steps you can take to correct them. For example, you can try slowing down the wheel speed or using a different technique to shape your piece. Don’t get discouraged by setbacks – every potter encounters them at some point.
Advanced Techniques for Experienced Potters
If you’re an experienced potter, you may wish to experiment with advanced techniques, such as altering or combining different forms, creating textured surfaces, or using multiple colors of glaze. There are virtually no limits to what you can do on a pottery wheel, so it’s worth exploring different techniques and challenging yourself to create new and exciting pieces.
The Pros and Cons of Using a Pottery Wheel vs Hand-Building Techniques
While pottery wheels are a popular tool for creating ceramics, they are not the only option. Hand-building techniques, such as pinch pots or coil building, offer a different set of advantages and disadvantages. Hand-building techniques allow for more creativity and flexibility when forming your clay, while using a pottery wheel requires a greater degree of precision and control. Ultimately, the choice of technique will depend on your preferences and the type of pottery you wish to create.
Top Brands and Models of Pottery Wheels to Consider
There are many different brands and models of pottery wheels available, each with its own set of features and capabilities. Some popular brands include Shimpo, Brent, and Skutt. Factors to consider when choosing a pottery wheel include size, speed, and power source. Do your research and read reviews from other potters to find a wheel that suits your needs and budget.
Conclusion: How to Use a Pottery Wheel Like a Pro
Using a pottery wheel is a rewarding and challenging experience. With practice and dedication, you can hone your skills and create beautiful, functional pieces that you can be proud of. Remember to take your time, experiment with different techniques, and above all, have fun. The more you work with clay, the more you will develop your own unique style and approach to pottery-making. Happy potting!