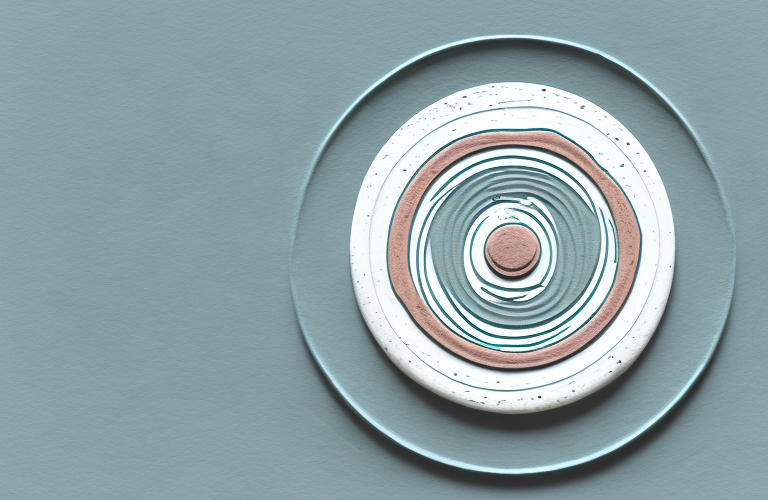
Underglaze layering is a technique that can add depth, texture, and a range of colors to your pottery. In this article, we will dive deep into the art of layering underglazes and discuss the various techniques and tips to help you achieve maximum visual impact in your next pottery project. So, let’s get started!
Understanding Underglazes: A Beginner’s Guide
Before we begin, it is important to understand what underglazes are. Underglazes are special paints that are formulated for use on ceramics. They are often used on unfired pottery ware or biscuit ware. Underglazes are typically applied on wet clay, bisque fired pottery, greenware or leather-hard clay. They can be used for a wide range of applications, including painting intricate designs, outlining, and adding texture. When it comes to layering, underglazes offer a wide range of application options and are perfect for achieving maximum visual impact.
It is important to note that underglazes come in a variety of colors and finishes, including matte, glossy, and metallic. They can also be mixed together to create custom colors and shades. Underglazes are versatile and can be used on both functional and decorative ceramics. However, it is important to follow the manufacturer’s instructions for firing and glazing to ensure the underglaze is properly set and sealed. With practice and experimentation, underglazes can be a valuable tool for any ceramic artist or hobbyist.
Choosing the Right Underglazes for Layering
When you are choosing underglazes for layering, it is important to select a range of colors and types that complement each other. Matte, satin, and glossy finishes can all be used on the same piece to create a textured look, depth, and movement. You can also mix different brands and types of underglazes to get the desired effect.
Another important factor to consider when choosing underglazes for layering is the firing temperature. Some underglazes are designed to be fired at lower temperatures, while others require higher temperatures. It is important to choose underglazes that are compatible with the firing temperature of your clay body to ensure that they will fuse properly and not cause any cracking or other issues.
It is also important to consider the opacity of the underglazes when layering. Some underglazes are more opaque than others, and layering too many opaque colors can result in a muddy or dull appearance. To avoid this, try layering opaque colors with more translucent ones to create depth and interest in your design.
Planning Your Underglaze Layering Design
As with any project, it is important to plan out your design beforehand. Consider the color palette and the placement of various layers when mapping out your design. With layering, it is important to decide on a pattern or design that will repeat throughout the piece to create a cohesive look. Plan out how many layers you want and how the colors will blend or contrast with each other, to achieve the maximum visual impact.
Another important factor to consider when planning your underglaze layering design is the type of surface you will be working on. Different surfaces may require different techniques or layering strategies to achieve the desired effect. For example, a curved surface may require more attention to the placement of each layer to avoid smudging or uneven coverage.
It is also important to consider the firing temperature and duration when planning your underglaze layering design. Some colors may change or fade at higher temperatures, while others may become more vibrant. Understanding how your chosen colors will react to the firing process can help you make informed decisions about your layering design.
Preparing Your Pottery for Layering Underglazes
Preparation is the key to achieving great results. Start with cleaning your pottery piece thoroughly and ensure it is dry before starting to apply underglazes. If needed, protect certain areas with masking tape or other materials to ensure clean lines with every layer. Also, it’s important to work in a well ventilated area and always wear a mask when working with underglazes for your safety.
Before applying underglazes, it’s important to consider the color scheme you want to achieve. Plan out the colors you will use and the order in which you will apply them. This will help you achieve a cohesive and visually appealing design.
When applying underglazes, use a soft brush and apply thin layers. Allow each layer to dry completely before applying the next one. This will prevent the colors from blending together and ensure that each layer is distinct. Once you have applied all the layers, allow the piece to dry completely before firing it in the kiln.
Techniques for Applying Underglaze Layers
When applying underglaze layers, there are several techniques you can use. You can use brushes, sponges or airbrushes. Brush work in particular, requires a lot of precision so take your time and avoid using too much pressure to create clean lines. Sponging allows to apply underglazes quickly and with great textures. Airbrushing can add depth and layers of color with great effect. Choose the technique that suits your style and desired impact.
Another technique for applying underglaze layers is called slip trailing. This involves using a fine-tipped applicator to draw designs onto the surface of the pottery. Slip trailing can create intricate patterns and designs that are difficult to achieve with other techniques. It is important to let the slip dry completely before applying the underglaze layer to prevent smudging or blending of colors.
It is also important to consider the firing temperature when applying underglaze layers. Some underglazes are designed to be fired at lower temperatures, while others require higher temperatures to achieve their full potential. Make sure to read the manufacturer’s instructions carefully and choose the appropriate firing temperature for your underglaze to ensure the best results.
Tips for Achieving Perfect Color Gradation
To achieve smooth color gradation, start with the lightest color and work your way up to the darkest. It is also important to blend the colors to create a smooth transition. Layer the colors, allowing each layer to dry before applying the next one, while experimenting with different the application techniques for each color. The amount of water added to the underglaze can also affect the layering effect, you can also try applying more or less pressure when brushing the underglaze.
Another important factor to consider when achieving perfect color gradation is the type of brush you use. A soft, round brush is ideal for blending colors, while a flat brush is better for layering. It is also important to clean your brush thoroughly between each color to avoid muddying the colors.
Additionally, the firing temperature of the underglaze can affect the final color result. It is important to follow the manufacturer’s instructions for firing temperature and time to achieve the desired color outcome. Experimenting with different firing temperatures can also lead to unique and interesting color variations.
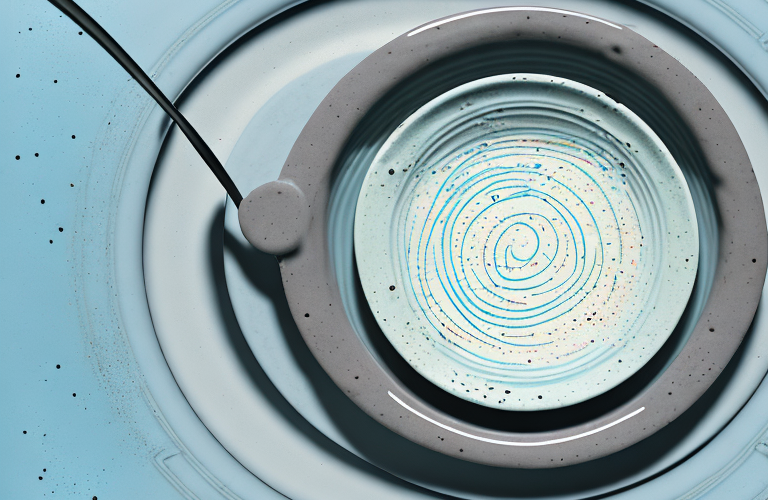
Adding Texture with Underglaze Layers
Adding texture is one of the best ways to enhance the look of your pottery. You can use tools, stamps, or even the natural texture of the clay to create unique patterns and designs. Textured layers add depth and a tactile quality that enhances the visual impact of the piece.
One way to add texture to your pottery is by using underglaze layers. Underglaze is a type of ceramic paint that is applied to the clay before it is fired. By layering different colors of underglaze, you can create a textured effect that adds depth and interest to your piece.
Another benefit of using underglaze layers is that they can be used to create intricate designs and patterns. You can use a brush or sponge to apply the underglaze, or even use stencils to create specific shapes and designs. This allows you to create pottery that is truly unique and personalized.
Troubleshooting Common Problems in Layering Underglazes
Layering underglazes can present its own set of challenges, such as smudging or cracking during firing. One of the best ways to avoid cracking is to ensure your layers are nicely thin and dry before firing. Always follow the instructions provided by the brand to lessen the chances for smudging during firing. Remember, patience is key!
Firing and Finishing Your Layered Underglaze Pottery
After applying the underglaze, the pottery must be fired in a kiln. There are a few different types of firing, including low fire and high fire, each with their benefits and drawbacks. Choose the right type of firing according to the underglaze type, the clay body and the color you need for maximum impact. Once the pottery piece is fired, it’s time to finish up by applying clear glaze or finishing coats to get a vibrant, glossy finish
Using Layered Underglaze Techniques in Mixed Media Art
The versatility of layering underglazes isn’t limited to pottery, you can also use it on other materials such as canvas, paper or fabrics. You can mix it with other mediums, like oils or acrylics, to create a variety of textures and designs. This opens up a range of artistic possibilities beyond pottery, making it an even more worthwhile investment.
Advanced Techniques for Layering Underglazes
If you are confident in your layering skills, it’s time to try some advanced techniques. One of the best ways to get a marbled effect is to mix the colors and temperatures, simply apply one color on a hot surface, and then another of a different temperature to get the desired effect. You can also experiment with cutting layers into the underglaze, or incising design into each layer by using a fine-tipped tool. These advanced techniques can create truly unique pieces and enhance the visual impact of your underglaze layering.
Creating Unique Designs with Multiple Layers of Underglazes
Layering allows you to create detailed designs and unique visual impressions. To get the best effect, try a combination of complementing colors that evolves with each layer, creating an intricate pattern. With each layer, refine your design so that the final layer can bring everything together into a beautiful piece of art.
Enhancing Your Pottery Business with Creative Layered Underglaze Designs
For anyone operating pottery-making businesses, incorporating layered underglazes can be a lucrative business strategy. Custom, hand-painted pieces offer a special appeal that machine-made pieces cannot match. Experiment with different layering techniques, use innovative designs, textures, and designs to create pieces that your customers will love.
In conclusion, layering underglazes is an art form that requires technical skills, creativity, and patience. With the right application techniques, color combinations, and advanced methods, you can create pottery that will captivate and awe your audience. Take the time to plan out your design, prepare your materials and follow best practices when layering underglazes, and you will create beautiful pieces with maximum visual impact that will last for years to come.