Pottery is a type of ceramic material that is often used to create functional or decorative objects. Although pottery is typically durable, it is not uncommon for it to break or chip over time. Rather than throwing away broken or damaged pottery, it is possible to repair it using a few simple tools and materials. In this article, we will guide you through the steps involved in repairing broken pottery, so you can restore your treasured pieces to their original condition.
Why Repairing Broken Pottery is Important
Reparability is a crucial attribute of pottery, as it allows you to restore broken pieces to their original form, shape, and function. Repairing broken pottery can save you money, as you won’t have to replace damaged pieces with new ones. Additionally, repairing pottery preserves its value, as repaired pottery is often viewed as a more valuable collectible than its broken counterpart. Finally, repairing pottery is an environmentally sustainable practice, as it reduces the amount of waste that ends up in landfills.
Moreover, repairing broken pottery can also be a therapeutic and fulfilling activity. It allows you to exercise your creativity and problem-solving skills, as you figure out how to piece together the broken fragments. Repairing pottery can also be a way to connect with the history and cultural significance of the piece, as you learn about the techniques and materials used to create it. Overall, repairing broken pottery is not just about fixing a broken object, but also about preserving its history, cultural significance, and personal value.
Tools and Materials Required for Pottery Repair
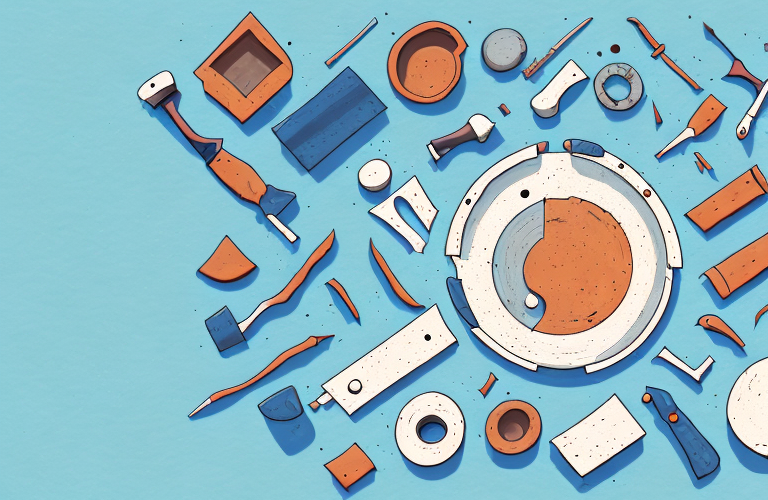
The tools and materials required for pottery repair vary depending on the extent of the damage. The following is a list of basic tools and materials that you’ll need to repair most pottery types:
- Cotton swabs
- Solvent (e.g. acetone or denatured alcohol)
- Adhesive (e.g. epoxy or cyanoacrylate)
- Clay or putty
- Plastic wrap or wax paper
- Sandpaper or abrasive sponge
- Paintbrush
- Paint or glaze that matches the original finish
It’s important to note that some pottery repairs may require additional tools and materials, such as a kiln for firing the repaired piece or specialized clamps for holding the broken pieces together during the repair process. Additionally, it’s important to carefully assess the damage before beginning any repair work to ensure that the piece can be safely and effectively repaired without causing further damage.
Preparing the Broken Pieces for Repair
The first step in repairing broken pottery is to clean the pieces thoroughly. Use a cotton swab and solvent to remove any dirt, dust, or debris from the broken edges of the pottery. Next, dry the pieces completely with a clean cloth or paper towel. If the pottery is porous or has absorbed moisture, let it dry for at least 24 hours before proceeding with the repair.
It is important to note that not all broken pottery can be repaired. If the pieces are too small or if the break is too severe, it may be impossible to restore the pottery to its original state. Additionally, if the pottery is a valuable antique or has sentimental value, it may be best to seek the assistance of a professional restorer to ensure the best possible outcome.
Choosing the Right Adhesive for Pottery Repair
The next step in repairing broken pottery is to choose the right adhesive for the job. Epoxy and cyanoacrylate are commonly used adhesive types for pottery repair. Epoxy is a two-part adhesive that consists of a resin and a hardener. Cyanoacrylate is a fast-drying, superglue-type adhesive that works well on small, delicate pieces of pottery. Consider the type of pottery you are repairing and the extent of the damage to determine which adhesive will work best.
It is important to note that not all adhesives are suitable for all types of pottery. For example, if you are repairing a piece of pottery that will be used for food or drink, you should choose an adhesive that is non-toxic and food-safe. Additionally, if the pottery will be exposed to water or other liquids, you should choose an adhesive that is waterproof. Always read the label and instructions carefully before choosing an adhesive for your pottery repair project.
Step 1: Applying Adhesive to the Broken Pieces
Once you have selected the adhesive, apply it to the broken edges of the pottery. Use a small brush or a toothpick to apply the adhesive evenly. Be careful not to apply too much adhesive, as it can seep out of the joint and create a mess. If the adhesive is a two-part epoxy, mix the two components together before applying.
After applying the adhesive, hold the broken pieces together firmly for at least a minute to allow the adhesive to set. If the pieces are large or heavy, use clamps or tape to hold them in place while the adhesive dries. Avoid moving the pieces around too much during this time, as it can weaken the bond.
Once the adhesive has dried, use a fine-grit sandpaper to smooth out any rough edges or excess adhesive. Be gentle when sanding, as you don’t want to accidentally break the pottery again. If the pottery has any missing pieces, you can use a clay-like material to fill in the gaps before sanding and painting to match the rest of the piece.
Step 2: Fitting the Broken Pieces Together
After the adhesive is applied, fit the broken pieces together carefully. Check for alignment and adjust as necessary. If the pieces do not fit together perfectly, use clay or putty to fill in any gaps. Be sure to smooth out the clay or putty so that it is flush with the surrounding pottery surfaces.
It is important to note that the type of adhesive used will depend on the material of the pottery. For example, a different adhesive may be needed for ceramic versus porcelain. It is recommended to consult with a professional or do research to ensure the correct adhesive is used.
Once the broken pieces are fitted together and any gaps are filled, allow the pottery to dry completely before moving on to the next step. This may take several hours or even days depending on the size and thickness of the pottery.
Step 3: Securing the Bonded Pieces in Place
Once the pieces are fitted together, secure them in place using plastic wrap or wax paper. Place a weight or clamp over the plastic wrap to hold the pieces together while the adhesive dries. Allow the adhesive to cure for the duration specified by the manufacturer.
It is important to note that the curing time may vary depending on the type of adhesive used and the environmental conditions. For example, a high humidity environment may prolong the curing time. It is recommended to check the manufacturer’s instructions for specific guidance on curing time and conditions.
After the adhesive has fully cured, remove the plastic wrap or wax paper and any excess adhesive that may have seeped out. Sand the surface of the bonded pieces to smooth out any rough edges or bumps. The final result should be a seamless bond between the two pieces.
Sanding and Smoothing Out Imperfections on Repaired Pottery
After the adhesive is dry, remove the plastic wrap and check the joint for any imperfections or rough edges. Use sandpaper or an abrasive sponge to smooth out any rough spots or bumps. Be sure to sand lightly, as excessive sanding can damage the pottery surface.
If the pottery has any cracks or chips, it may be necessary to fill them in with a putty or filler before sanding. Allow the putty to dry completely before sanding it down to a smooth finish. It is important to choose a putty or filler that is compatible with the type of pottery you are repairing.
Once you have sanded down any imperfections, wipe the pottery with a damp cloth to remove any dust or debris. You can then apply a coat of glaze or paint to the repaired area to match the rest of the pottery. Allow the glaze or paint to dry completely before using or displaying the pottery.
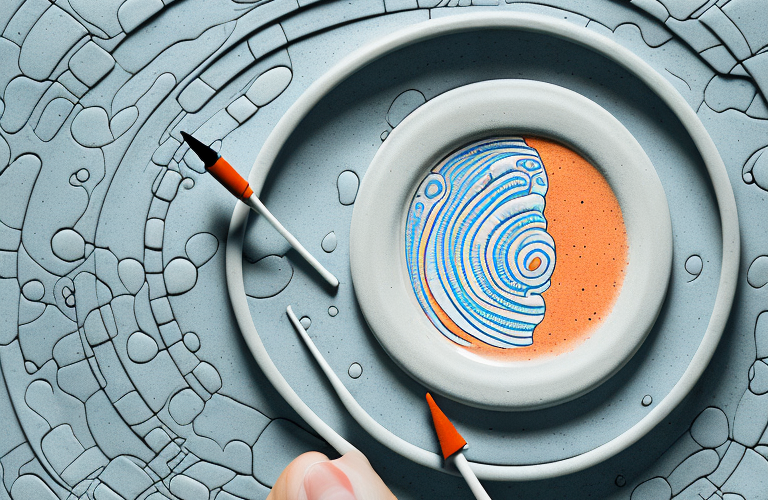
How to Paint or Glaze Repaired Pottery to Match Original Finish
Once the repaired pottery is smoothed out, you can paint or glaze it to match the original finish. Choose a paint or glaze that matches the original color and texture of the pottery. Use a small paintbrush to apply the paint or glaze evenly over the repaired area. Allow the paint or glaze to dry completely before using or displaying the pottery.
It is important to note that if the original pottery had any decorative designs or patterns, you may need to recreate those on the repaired area as well. This can be done using a fine-tipped paintbrush and carefully following the original design. If you are unsure about how to recreate the design, consider consulting a professional or doing some research on pottery restoration techniques.
Tips for Preventing Future Damage to Pottery
To prevent future damage to your pottery, consider the following tips:
- Avoid placing heavy objects on top of pottery
- Store pottery in a safe place and handle it with care
- Avoid exposing pottery to extreme temperatures or humidity
- Use a protective layer (e.g. felt or foam) between pottery pieces when storing or transporting them
Another important tip for preventing future damage to your pottery is to avoid using harsh chemicals or abrasive materials when cleaning it. Instead, use a soft cloth or sponge and mild soap to gently clean the surface of the pottery. Also, be sure to dry the pottery thoroughly after cleaning to prevent any moisture from seeping into the material and causing damage over time.
Common Mistakes to Avoid When Repairing Pottery
When repairing pottery, it’s important to avoid the following common mistakes:
- Using too much adhesive
- Rushing the repair process and not allowing the adhesive to cure completely
- Sanding too aggressively, which can damage the pottery surface
- Using the wrong type of adhesive for the type of pottery being repaired
By following the steps outlined in this article, you can successfully repair your broken pottery and restore it to its original condition. Not only will you save money and preserve the value of your pottery, but you will also contribute to a more sustainable future by reducing waste in landfills.