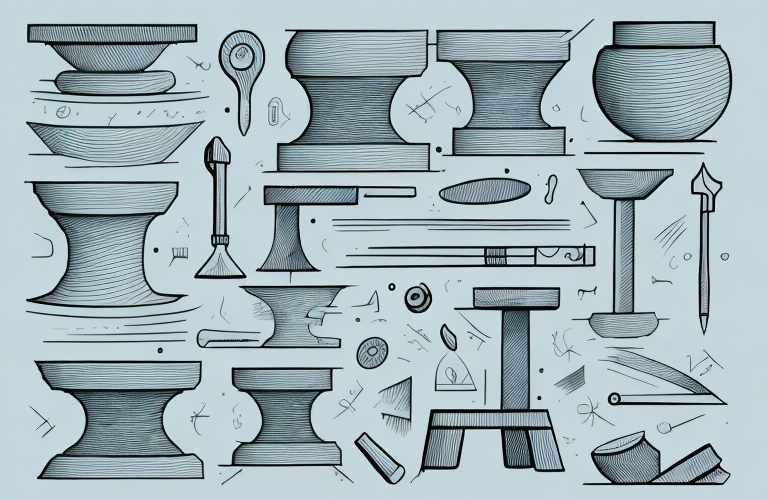
Pottery is a therapeutic art that allows one to mold clay and create beautiful works of art. With every project, however, a potter needs a comfortable and sturdy stool to sit on. A well-designed stool is essential for a comfortable and healthy potting experience.
Introduction to Pottery and the Need for a Potter’s Stool
Before we attempt to create a potter’s stool, it is important to understand why one needs it. Pottery involves a lot of time sitting at a potter’s wheel or a table, working on the piece in front of you. Without proper support, sitting for long hours can lead to back pain, discomfort and, in severe cases, chronic injury. Therefore, having a comfortable and supportive stool is necessary for any pottery enthusiast.
Additionally, a potter’s stool can also improve the quality of your work. When you are comfortable and properly supported, you can focus more on the details of your piece and maintain a steady hand. This can lead to smoother lines, more intricate designs, and an overall better finished product. So not only is a potter’s stool important for your physical health, but it can also enhance the artistic quality of your pottery.
Choosing the Right Materials for Your Potter’s Stool
When choosing the materials for your potter’s stool, it is essential to opt for sturdy and durable materials. The stool should withstand constant weight and movement without collapsing, so the strength and quality of the wood are crucial. We recommend strong, durable wood such as oak, teak or ash for your stool’s frame and legs. The material for the seat should also be soft and comfortable. For this, you can opt for foam or leather.
Another important factor to consider when choosing materials for your potter’s stool is the height of the stool. The height of the stool should be adjustable to accommodate different potters’ heights and preferences. This can be achieved by using adjustable legs or by designing the stool with different height options. Additionally, it is important to choose materials that are easy to clean and maintain, as pottery can be a messy process. Consider using materials that can be wiped down easily with a damp cloth or that are resistant to stains and spills.
Measuring and Cutting Your Wood Pieces for the Stool
Measuring and cutting the wood pieces for your stool is a crucial step in the process. You don’t want any uneven or unstable pieces, as it will affect the stool’s stability. After preparing your wood pieces, measure and cut them to the required dimensions. Ensure that the four legs and frame are even and well-proportioned.
It’s also important to consider the type of wood you’re using for your stool. Hardwoods like oak and maple are more durable and can withstand more weight, while softwoods like pine and cedar are more prone to dents and scratches. Additionally, the grain pattern of the wood can affect the overall appearance of the stool. Take some time to choose the right type of wood for your project, and consider the aesthetic you’re going for.
Assembling the Legs and Frame of Your Potter’s Stool
The next step is to assemble the legs and frame of your stool. This is where you need to be particularly careful and precise. Plant the legs square cut; then, attach them to the stool’s seat with the help of screws and bolts. Ensure that the legs are in line and securely connected to the seat to avoid any wobbling or instability.
Once you have attached the legs to the seat, it’s time to add the crossbars that will provide additional stability to your stool. Measure and cut the crossbars to the appropriate length, then attach them to the legs using screws and bolts. Make sure that the crossbars are level and securely fastened to the legs to prevent any wobbling or shaking while you work at your pottery wheel.
Attaching the Seat to the Frame of Your Potter’s Stool
After assembling the stool’s legs and frame, the next step is to attach the seat to the frame securely. This helps ensure that the seat will stay in place, even when you move or shift around. Secure the seat to the frame properly using screws to prevent any wobbling or instability.
When attaching the seat to the frame, it’s important to make sure that the screws are long enough to go through both the seat and the frame. This will provide a stronger hold and prevent the seat from coming loose over time. Additionally, you may want to consider using wood glue in addition to screws for added stability.
It’s also a good idea to test the stability of the stool before using it for extended periods of time. Sit on the stool and shift your weight around to make sure that it feels secure and stable. If you notice any wobbling or instability, double-check the screws and make any necessary adjustments before using the stool for pottery work.
Sanding and Finishing Your Potter’s Stool for Durability and Aesthetics
Once you have assembled and attached all the parts of the stool, it’s time to sand and finish it. Smooth the edges, seat and legs with sandpaper. Ensure that the stool is free of any sharp or rough edges to avoid any harm. Finishing your stool will help protect it from weathering, and you can use a variety of finishes such as paint or varnish to add aesthetic appeal.
When choosing a finish for your potter’s stool, consider the environment in which it will be used. If it will be exposed to the elements, a waterproof finish such as marine varnish may be necessary. If it will be used indoors, you may want to choose a finish that complements the decor of the room.
It’s important to note that the type of wood you use for your stool can also affect the finishing process. Some woods, such as oak or mahogany, may require a different type of finish than softer woods like pine or cedar. Research the best finishing techniques for the specific type of wood you are using to ensure the best results.
Tips and Tricks for Using Your Potter’s Stool for Maximum Comfort and Safety
Here are a few tips and tricks to make your potting experience more comfortable and safer:
- Sit straight on your stool with your feet flat on the ground, to maintain a good posture and support your back.
- Take breaks and stretch your muscles to avoid cramps or muscle strains.
- Use a cushion or a pad to make the seat more comfortable and support your back better.
- Adjust your stool’s height to match your comfort level and the height of your table or potter’s wheel.
Another important tip is to make sure your stool is stable and secure. Check the legs and make sure they are not wobbly or uneven. If necessary, adjust the legs or add rubber pads to the bottom to prevent slipping. A stable stool will prevent accidents and injuries while you work.
Maintenance and Care for Your Potter’s Stool: Keeping it in Good Condition
Finally, to keep your potter’s stool in good condition and safe to use, it is crucial to maintain and care for it. Wipe the stool regularly to keep it clean and dry. Avoid placing heavy objects on the stool, as it can affect the stool’s stability. If necessary, repaint or refinish the stool to restore its strength and beauty.
Additionally, it is important to check the stool’s legs and joints regularly for any signs of wear and tear. Tighten any loose screws or bolts to ensure the stool remains stable during use. If you notice any cracks or damage to the stool, stop using it immediately and seek professional repair or replacement.
Finally, consider investing in a cushion or padding for your potter’s stool to make it more comfortable during long periods of use. This can help prevent discomfort or strain on your back and legs, allowing you to focus on your pottery work without distraction.
Conclusion: The Joy of Creating a Personalized Potter’s Stool
Congratulations! You have successfully crafted your personalized potter’s stool. Having your customized stool ensures comfort and safety whenever you are working on your pottery. This stool can help improve your posture, cushion your back, and maintain stability while you work.
Not only is your personalized potter’s stool functional, but it also adds a unique touch to your workspace. You can choose to paint or decorate it to match your studio’s aesthetic or your personal style. This stool can become a statement piece that reflects your creativity and passion for pottery.
Additionally, creating your potter’s stool can be a fulfilling experience. It allows you to practice your woodworking skills and gives you a sense of accomplishment when you see the finished product. You can take pride in knowing that you made something that is not only useful but also beautiful.