This is an often-asked question for people who are just getting into the world of ceramics and pottery. Many people think that glaze and underglaze are the same due to their similar sounding names, but they are actually very different and have distinct uses.
Types of Glaze
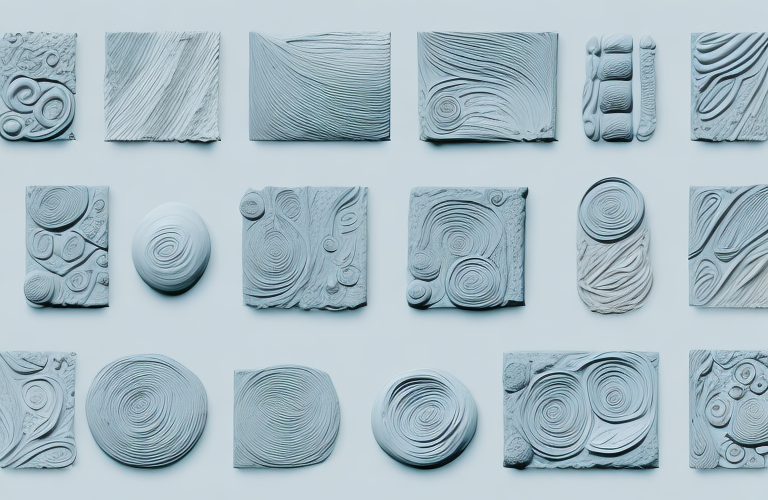
Glazes are primarily used to add visual and functional qualities to the surface of pots and figurines. Glazes are generally made of silica, alumina, and fluxes that work together to create a smooth, glossy finish on the surface of the ceramic piece. Traditionally, potters found their materials like clay and fluxes in nature. Now, glazes are typically made of a mix of commercial oxide colors and suspensions of glass powders. There are many different types of glazes, such as high-fire, low-fire, glaze-like slips and lusters.
Types of Underglaze
Underglaze is a type of ceramic material that is applied underneath the glaze. It can be used to add texture, depth, and color to an object prior to glazing. Underglazes are typically made of clay, minerals, and water and can come in both earthenware and stoneware formulas. Commonly seen underglazes include stencils, stamps, carved and molded reliefs, sgraffito designs, sponged designs and hand painting.
Preparing to Glaze
In order to successfully glaze a piece of pottery or sculpture, it is important to first prepare the surface properly. This includes cleaning the piece from any dust or texture unevenness, firing it in a kiln to the desired hardness, and allowing it to cool. Once the piece has cooled down, it is then ready to receive glaze.
Preparing to Underglaze
Preparing to use underglaze is very similar to preparing to glaze. It is important to ensure that the surface of the pottery is clean and free of any dust or debris before starting. It is also important to ensure that the pottery is bisque fired properly. This means that the temperature should be high enough in the kiln to promote proper bonding between the underglaze material and the pottery surface.
Applying Glaze
When applying glaze to a piece of pottery, it is important to use a variety of tools such as a brush or spray bottle. A brush is great for creating an even surface and for controlling how thickly the glaze is applied. A spray bottle can be used to apply thinner layers of glaze which can create subtle depth variations in the finished product. Additionally, special glazing techniques can also be used such as raku,horsehair and smoke firings.
Applying Underglaze
When applying underglaze it is important to take your time and pay attention to detail. Underglazes can be applied using a variety of tools such as brushes or sponges, carving tools for detailed work, or even stamps for a more uniform design. Once a design has been applied using an underglaze it will need to be bisque fired before it can be glazed.
Finishing the Piece with Glaze
Once a piece has been glazed it is important to finish it properly. This includes clearing away any excess glaze that may have run onto the body of the piece and ensuring that all the details of the glazing process have been taken into account. After the pieces have been cleared off they can be allowed to dry and finally fired in a kiln.
Finishing the Piece with Underglaze
When finishing a piece with underglaze it is important to first allow it to dry and cure before proceeding with any other steps. Once dry it will need to be bisque fired where it will become durable and ready for glazing. After it has been bisque fired, any final textures or effects can be added using overglazes before finally firing again.
Advantages and Disadvantages of Using Glaze and Underglaze
Glaze and underglaze both have their respective advantages and disadvantages when being used on a ceramic piece. Glaze helps protect the ceramic from being scratched or damaged by adding a thin layer of glass on top, however it also means that any texture or detailing underneath it won’t be visible. On the other hand, underglaze adds texture and detailing but also means that any damage or scratches to the ceramic underneath will be visible.
Tips for Working with Glaze and Underglaze
When working with both glazes and underglazes it is important to remember a few simple tips. First, make sure that any clay pieces you are working with are dry prior to beginning any glazing or underglazing process – this will help ensure that the finished product has a smooth finish. Second, be mindful of how much glazing you apply – too much can cause runs on the piece while too little can create an unbalanced shape or look on your ceramic piece. And lastly, always pay attention to details when working with either glaze or underglaze – making sure each layer has fully dried before applying another layer will help you achieve the desired results.
As you can see, there are distinct differences between using glazes and underglazes in ceramics. While both of them offer different advantages in terms of texture and detailing, it’s important for anyone working with these materials to understand how they are different so that they can utilize them to their fullest potential.