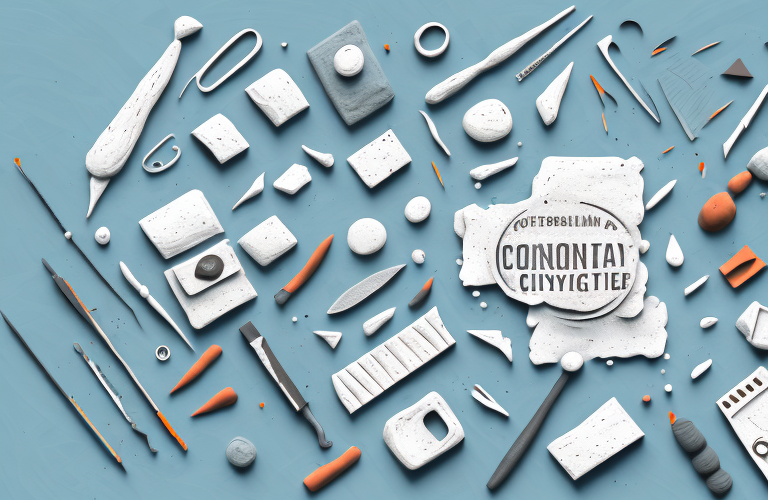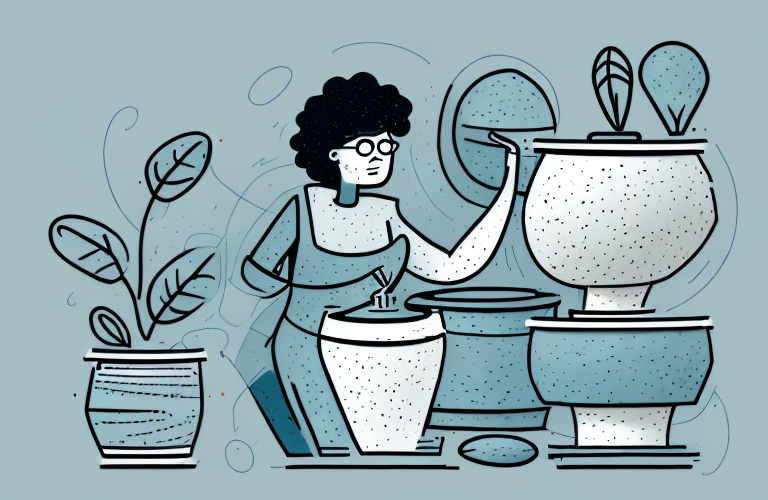
Clay is a wonderfully versatile material that has been used for thousands of years in art, architecture, and decorative objects. It can be manipulated by hand to create a wide variety of shapes, from small figurines to large architectural elements. Hand building with clay is a great way to explore new techniques, experiment with the material, and create unique objects. In this article, we’ll explore one technique for hand building with clay: the Slab Technique.
Overview of Hand Building Techniques
The first step in hand building with clay is understanding the different techniques that can be used. Clay is incredibly malleable and can be shaped in a number of ways. Here are some of the most popular techniques:
- Slab Technique – this method involves rolling out slabs of clay and creating shapes by cutting, joining, and layering the slabs.
- Coil Technique – this technique involves rolling out long strips or coils of clay and then forming the object by joining and manipulating the coils.
- Pinch Pot Technique – this technique involves using your fingers to pinch and shape the clay into a desired form.
The Basics of Working with Clay
Before you start hand building with clay, it is important to understand the basics of working with the material. Clay is sensitive to moisture, so you will need to keep it damp by spraying it with water or covering it with a moist cloth. Before working with clay, make sure that your work surface is well-protected and moisture resistant. You should also wear gloves or use a non-porous surface when working with clay, to avoid staining your hands.
Clay can be easily manipulated when it’s moist, but it will become harder as it dries. You should keep this in mind when working with clay, as time constraints can be an issue. It’s best to work quickly so that your clay does not dry out before you have finished your project. If it does dry out, you can always re-moisten it by spraying it with water.
Different Types of Clay for Hand Building
When you start hand building with clay, it’s important to choose a type of clay that is suited to your project. There are a variety of different types of clay available, and each type has its own unique characteristics. Here are some of the different types of clay that can be used for hand building:
- Earthenware – this is a high-fired clay, best suited for decorative objects such as cups or jars.
- Stoneware – this is a low-fired clay that is best suited for large, structural projects such as sculptures.
- Stoneware – this is a mid-fired clay that is great for creating objects that are both decorative and strong.
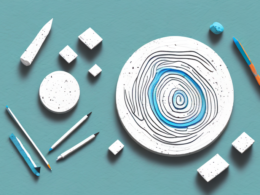
Slab Technique
The Slab Technique is a great way to create distinct shapes with clay. It involves taking rolling out flat slabs of clay and manipulating them into the desired shape. This technique can be used to create walls, shapes, or other forms that would not be possible with other techniques. The Slab Technique is often used in architectural projects such as walls, fence posts, and flooring.
In order to use this technique, you will need to roll out slabs of clay that are at least 1/4 inch thick. If you need thicker walls or shapes, you will need to roll out multiple slabs and layer them together. You can also cut the slabs into different shapes and join them together to create complex forms. Once you have created the desired shape, you will need to let the clay dry completely before firing.
How to Choose the Right Clay for Hand Building
When choosing a type of clay for hand building, you should consider the purpose of the project. For example, if you are making objects that need to be structurally sound, such as walls or furniture, you should choose a higher firing temperature clay such as stoneware or earthenware. These clays are capable of being fired at a temperature hot enough to make them strong and durable.
On the other hand, if you are creating decorative objects or sculptures, you may not need to use a high firing temperature clay. In this case, you should choose a low-fire clay such as terracotta or porcelain. These clays have wonderful colors and textures, and can be easily manipulated by hand.
Creating Texture in Hand Built Clay Projects
When manipulating clay by hand, you can create interesting textures for your project. You can use various tools such as needles, wooden dowels, wires, or brushes to create different textures on the surface of your project. You can also emboss designs into the surface of the clay or carve out shapes or patterns. The possibilities are endless!
Glazing and Firing Hand Built Clay Projects
Once your clay project is complete, you will need to glaze and fire it to make it permanent. Glazing is a process where a glass coating is applied to the surface of the clay object; it helps protect it from moisture and makes it more durable. Firing is when the object is heated in a kiln to a high temperature; this hardens and vitrifies the clay so that it is strong and permanent.
It’s important to note that some clays require more time in the kiln than others. For example, stoneware and earthenware clays require longer firing times than terracotta or porcelain clays. You should consult with your pottery teacher or local ceramic supply store for more information about glazing and firing times for specific clays.
Tips for Working with Clay
Lastly, here are some tips for working with clay:
- Keep Your Work Area Clean: Make sure your work area is clean and free of dust and debris; dust can settle into the wet clay and make it difficult to work with.
- Wear Gloves or Use a Non-Porous Surface: Always wear gloves or use a non-porous surface when working with clay; this will help prevent staining your hands.
- Keep Your Clay Damp: Clay needs to remain damp as you work, so make sure to moisten it regularly throughout the process.
- Take Your Time and Have Fun!: Working with clay can be an enjoyable experience; take your time and enjoy experimenting with different techniques.
Now that you’ve learned the basics of working with clay and understand one technique for hand building – The Slab Technique – you are ready to start creating your own unique art forms! Whether you’re making decorative objects or structural elements, let your creativity shine!