Working with clay can seem daunting, but it doesn’t have to be. With some basic supplies, some knowledge, and a bit of practice, you can be on your way to creating beautiful works of art with clay in no time. Before diving in too deeply, it’s important that you understand what the first step is. In this article, we’ll discuss what the first step when working with clay is, and provide a detailed guide for what to do and what not to do so that you can get started on a successful clay-working journey.
What tools are necessary for working with clay?
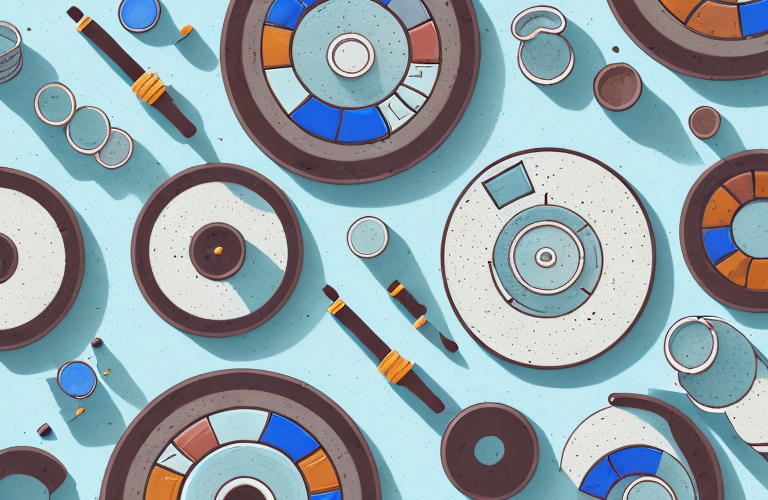
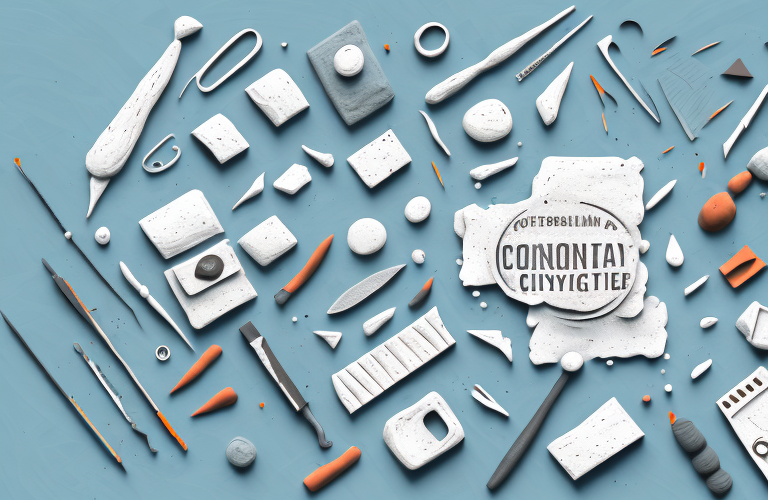
The first step, when beginning to work with clay, is to gather the necessary tools and materials. A few must-haves include: clay, a potter’s wheel or another tool to shape the clay, a rolling pin, a set of pottery tools such as needles, ribbons, wires, and tweezers, a sponge, a container to add water as needed, and a kiln.
How to prepare clay for use
Once you’ve gathered all your supplies, it’s time to get started! The first step is to prepare the clay for use. Different types of clay require different preparation, so it’s important to read up on your particular type of clay before starting. Generally speaking, though, clay should be kneaded and worked with your hands for a few minutes before use. This helps to even out any air pockets in the clay that would otherwise cause problems when shaping it.
What techniques are used when working with clay?
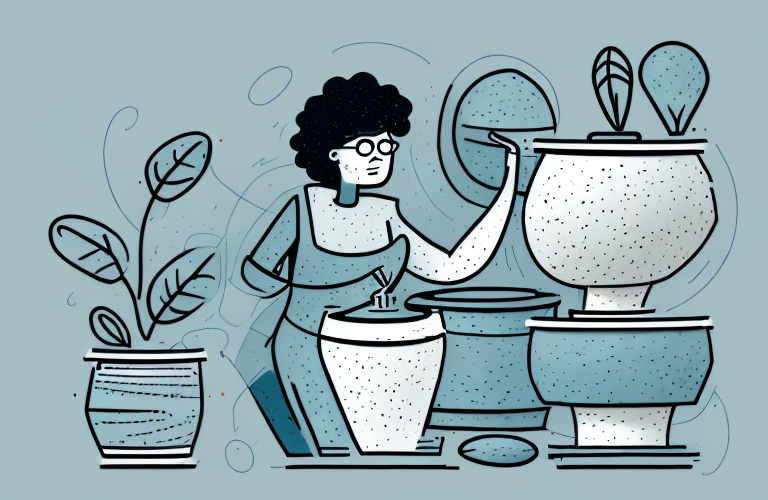
Once the clay is prepared, learners can use any number of techniques to shape and form their sculptures. For those just starting out, some of the most common techniques include wedging and wedging techniques, pinching techniques, coil techniques, and slab techniques. Additionally, some artists may use molds or build up layers as well. How you choose to shape your clay will depend on the project you want to create.
How to shape and mold clay
Shaping and molding clay is not as complicated as it may seem. The most important thing is to create an evenly smooth surface before applying any shaping techniques. This can be done by using a rubbing stone or piece of wet canvas – never use water! – over the surface of the clay. This will help you achieve a uniform consistency for further shaping. For example, for cylinders or bowls, use the potter’s wheel or some other tool (a hammer or spoon will work in a pinch) and shape accordingly. For flat objects, you can use the slab technique.
What types of glazes can be used with clay?
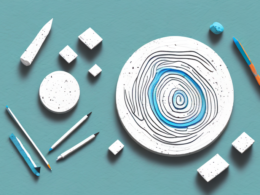
To bring out the beauty of your creation, you may choose to glaze your sculpture. Glazing helps make the piece stronger and more durable while giving life to the colors of the fired piece. There are many types of glaze available depending on the type of work being done. Generally speaking, common glazes include low-fire glazes that work best for low-temperature firings, mid-range glazes for stoneware firings, high-fire glazes for higher temperatures such as those used for porcelain or earthenware, and raku glazes which are used for a more traditional Japanese firing method.
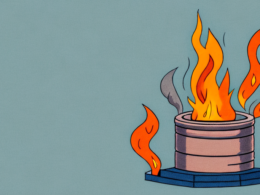
How to properly fire clay
The next step of the process is to fire your piece. Firing is important because it makes the clay more durable and gives it strength. Different glazes require different firing temperatures, so it’s important to be familiar with your glaze before you start firing. Generally, low-fire (cone 04) glazes sit in the 900-1100 degree range while mid-range (cone 5-6) glazes sit in the 1350-1600 degree range; high-fire glazes require temperatures ranging from 1750-2200 degrees. Raku fires are made between 1500 and 1800 degrees. Before firing your piece, make sure that you read all safety guidelines and warnings that come with your kiln.
Tips and tricks for working with clay
As you become more familiar with the basics of working with clay, there are some tips and tricks that can help you along your journey. One important tip is to make sure that you keep your workspace clear – working in a cluttered environment can lead to inaccuracies in the creating process. Additionally, practice makes perfect – if you’re having trouble getting a specific technique to come out correctly, don’t be afraid to practice until you get it right! Keep repeating the process until it feels natural.
Common mistakes when working with clay
While learning how to work with clay can be an exciting experience, it’s important to understand that there are some common mistakes that can be easily avoidable. For instance, overworking the clay or not preparing it correctly can lead to cracks along the surface or unevenness throughout the sculpture. Additionally, constantly dipping the hands in water while working can cause air bubbles in the clay that won’t go away. Lastly, taking a break during forming will lead to misproportioned pieces.
Creative ways to use clay
When it comes to creative projects with clay, there are many possibilities! From making jewelry and coiled pots to creating mosaics and figures – really, anything can be created from this versatile material! Have fun with it – play around with abstract shapes, add a pop of color with glaze techniques, and let your creativity flow freely into each project! Many artists find that experimenting with exciting techniques helps them to better hone their craft.
Getting started with clay can be intimidating, but with the proper tools and techniques it does not have to be! Making sure you understand what the first step is when beginning a project with clay is essential. Once this is established, the rest of the steps become easier – so gather your supplies and get ready to start creating some beautiful sculptures!