Clay has been used to make a vast range of objects for thousands of years, from pottery to fine art sculptures. But clay isn’t just for art – it can also be used in industry and architecture, to create terracotta tiles, bricks and more. With so many uses for clay, it’s important that the material is handled in a safe and effective manner. Here, we will explore the golden rules when it comes to clay handling, from the benefits of clay handling to the best techniques for working with different types of clay.
The Benefits of Clay Handling
Handling clay can be incredibly beneficial, both in terms of creativeness and safety. Firstly, clay provides an opportunity for your creativity to flourish – a slab of clay can be transformed into almost any shape imaginable, depending on your skills and imagination. Clay also offers a way to practice valuable skills and techniques, such as detailed sculpting and molding. On top of this, clay is lightweight and non-toxic, and it’s easy to clean up after a hard days work with just water and a few tools.
How to Prepare Clay for Use
Before you use clay, it’s important to prepare it correctly. This is a simple process, and can be broken down into just a few steps:
- Remove any clumps or chunks in your clay as these can cause deformities and uneven surfaces.
- If your clay is wet, you need to wedge it before use. To do this, cut the clay into manageable pieces and press them into a cone shape, rotating and folding the clay as you go. For dry clay, skip this step.
- Once you have the correct consistency (typically soft but not squishy), begin kneading the clay. This will help work out any air bubbles and will give you a smooth and consistent clay with no lumps that can be used for almost all projects.
Safety Measures for Clay Handling
It’s important to take safety measures into consideration when handling clay. This is especially important when using the clay in industry or crafts, as kilns and an array of tools can make the process hazardous. When working with clay, you should take the following steps to ensure your safety:
- Wear protective goggles. Even though clay isn’t a hazardous material by itself, accidents can happen when handling tools.
- Use a respirator if you’re working with kilns or industrial tools. The air can be filled with dangerous particles.
- Wear gloves while moulding the clay. This protects your hands from blisters and cuts.
- Keep ventilation in mind – open windows where applicable.
- Don’t use any tools or materials if they’re damaged or broken.
Tips for Storing and Organizing Clay
If you want to ensure that your clay remains in perfect condition for future use, it’s important to store and organize it correctly. Ideally, you want to keep your clay in airtight containers so that it doesn’t dry out or get contaminated by other particles in the air. Additionally, make sure that you label each container with a description of what is inside so that you can easily identify it later on. Finally, keep your clay away from any heat sources as extreme temperatures can change the shape and texture of the material.
Best Practices for Working with Different Types of Clay
Clay comes in a variety of different types which can be suited to different uses. Each type of clay offers its own properties and challenges. Here we discuss some of the best practices for working with different types of clay:
- Pottery Clay: This type of clay is very porous and must be fired at very high temperatures in order to properly set. It is best suited for making stained-glass pieces or dishware.
- Sculpting Clay: Sculpting clay is much softer than pottery clay and can be molded relatively easily. This type of clay is generally used for sculpting figures and animals.
- Stoneware Clay: Stoneware is stronger than pottery and sculpting clays and is typically used for creating larger items such as planters or terracotta tiles.
- Porcelain Clay: Porcelain is similar to stoneware but is much more brittle and difficult to work with. This type of clay should only be used by experienced potters.
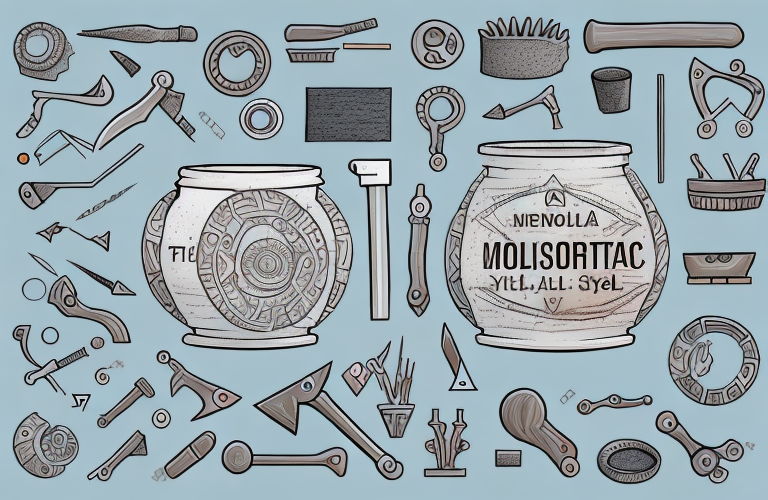
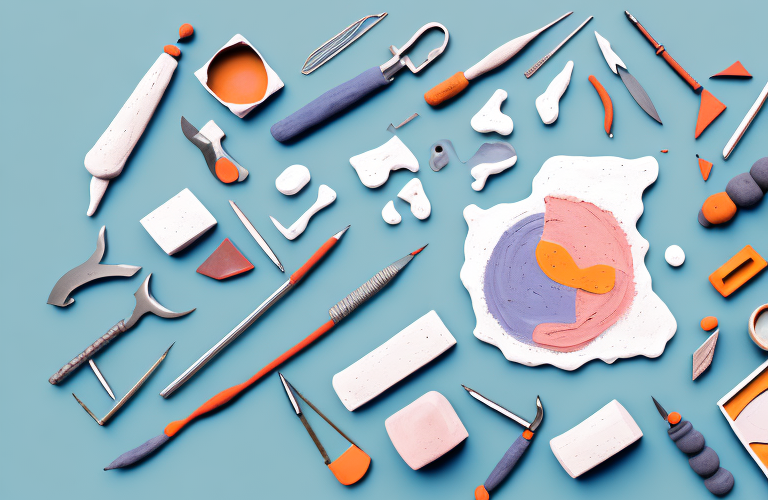
The Tools Needed for Clay Handling
To help speed up the process of working with clay, there are several tools available which can make the task easier. Some of the essential tools required when working with clay include:
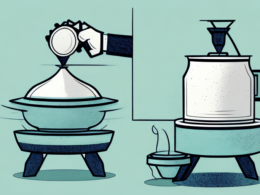
- Potter’s Wheel: Essential for creating dishes and vases with regular shapes.
- Kiln: Used to heat ceramic pieces in order to ensure that they will be strong enough to handle everyday use. Kilns come in different sizes and shapes, depending on what you need them for.
- Wire Tools: Used to cut and trim pieces of clay; perfect for shaping more intricate details.
- Clay Modeling Tools: This set typically consists of knives, ribbons and other tools used to shape and mold pieces of clay.
- Palette Knife: Used for smearing, blending or scrimshanking pieces of clay amongst other uses.
- Detail Tools: Instruments such as needles or tweezers are great for adding fine details on smaller pieces of clay.
- Embossing Tools: Used for creating raised textures on pieces of clay before it hardens.
Common Mistakes to Avoid When Handling Clay
When handling clay, there are some common mistakes which could ruin your work – here are a few important ones to avoid:
- Not Removing Air Bubbles: It’s important to wedge your clay before each use in order to remove any air bubbles that may have formed since prior use.
- Using Too Much Water: Adding too much water can make the clay too wet and weak; this should be avoided at all costs.
- Not Allowing Clay to Fully Dry: Leaving the clay wet or partially dry can cause deformities on the surface after firing or firing-related issues.
- Making Pieces Too Thin: Thin pieces of pottery can crack or shatter during or after firing. You should aim for pieces at least 0.125 inches thick.
- Not Heating Clay Evenly: When using a kiln, it’s important that the heat isn’t applied unevenly as this can cause deformities or inconsistencies in the finished piece.
Troubleshooting Techniques when Working with Clay
Clay can be an incredibly fickle material when not handled correctly – here are some troubleshooting techniques which can help get you out of a sticky situation when working with this material:
- Kneading: If you’re having trouble moulding something due to air bubbles forming within the clay, try kneading it until they disappear.
- Adding Texture: If you’re having difficulty making detailed sculptural pieces such as faces, try using texturing tools such as rubbers stamps or wire mesh before firing.
- Firing Issues: If the piece you’ve created has come out unevenly fired, try applying heat more evenly on the piece next time or add additional layers of glaze if required.
- Making Repairs or Refinements: If you need to make any repairs or minor refinements on a piece, try using tools such as palette knives or grindstones.
Finishing and Polishing Techniques for Clay Handlers
Once the piece has been fired, there are several techniques which can be used to give it a professional finish. These include brushing with sandpaper or steel wool to remove any lumps or bumps and applying sealers to protect the piece from dirt or damage. Additionally, burnishing tools can be used to smooth out the surface, while glazing can be used to add colour or texture.