It’s a common question for those beginning their journey into ceramics: How long should a bisque fire take? In this article, we’ll try to provide an answer to that question, and talk about the overall process of bisque firing in greater detail. So that you know what to keep in mind and gain an understanding of the necessary steps, as well as how to troubleshoot any potential issues that might arise.
What is a bisque fire?
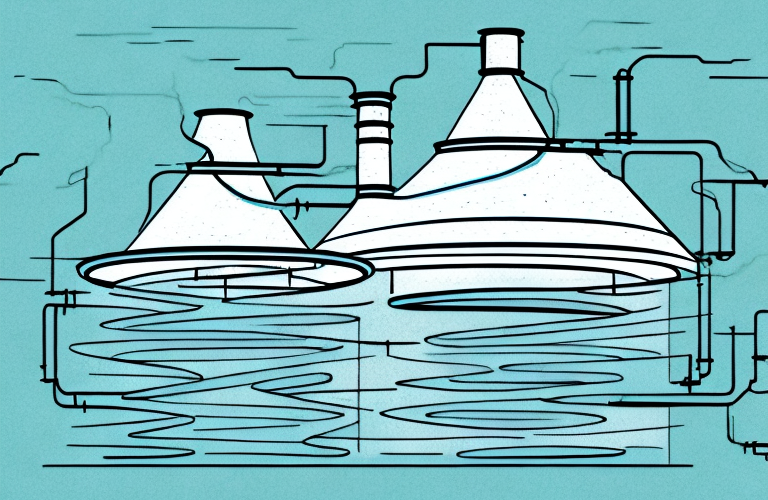
Bisque firing is a two-part process used in ceramics. The first stage is referred to as ‘bisqueing,’ where the clay is fired at low temperature, usually ranging around 1880-2000°F (1020-1093°C). This usually takes 6-12 hours, depending on the amount of ware in the kiln. During this process, the clay is not yet vitrified, as it has not yet been fired to its maturation temperature. In the second stage, ‘glazing,’ the ware is fired at much higher temperatures, around 2230–2290°F (1220-1260°C). This generally takes 10-14 hours.
Benefits of Bisque Firing
The primary benefit of bisque firing is that it makes the clay more absorbent, so that glazes can more easily adhere to it. In addition to this, bisque firing helps to strengthen the clay as well as minimize warpage and ensure accurate size. Further, much of the shrinkage and some of the variations in color that occur during glaze firing take place during bisque firing, saving time in the later stages of glazing.
Steps for Bisque Firing
To correctly preform a bisque fire, there are a few steps you must take prior to firing:
- Clean the ware: Any unwanted debris must be removed from the ware prior to firing.
- Make sure all ware is dry: Generally speaking, 1 day per 1.5 cm (0.6”) thickness of the clay should be allowed for drying to help ensure thorough drying.
- Prepare kiln elements: Make sure the elements are properly aligned and secured. For better results, clean the elements and check their condition before starting a bisque fire.
- Packing the kiln: Make sure that there are no air pockets in the kiln and that the ware is securely packed and easily accessible.
- Start the bisque fire: Be sure to start out at a low temperature and gradually work your way up to the desired firing temperature for the period of time allotted in your firing schedule.
Temperature Considerations for Bisque Firing
As mentioned above, the temperature range that clay must be fired between to achieve bisque quality is 1880-2000°F (1020-1093°C). Additionally, it is important to also consider the ramp up and cool down times during firing. Generally speaking, maximum heating should not exceed 200°F per hour or dramatic warping or cracking of your ware can occur. A slow and steady temperature increase is best when firing ceramic pieces.
Troubleshooting Tips for Bisque Firing
It can sometimes be difficult to determine what the cause of an issue with a bisque fire might be. However, there are few things you can check if you’re experiencing issues:
- Size Consistency: Make sure all pieces are relatively uniform in size. Any inconsistencies in size can create difficulties during firing.
- Structure: Ensure that the ware is properly structured before beginning a bisque fire. Poorly constructed pieces can cause cracking due to heat shock.
- Thermocouple Spacing: Make sure that your thermocouples are properly spaced throughout the kiln. This will help to ensure accuracy when determining kiln temperature.
- Dryness of Ware: Make sure all pieces are thoroughly dry before attempting any sort of firing. Any moisture content in the clay can cause issues during firing.
Safety Precautions During Bisque Firing
Bisque firing, like any other kind of heating process, should be completed with extreme caution. Care must be taken when prepping a kiln, making sure all elements are properly aligned, and that any flammable materials such as clothing or paper are kept away from near. Additionally, wearing protective gloves when unloading a hot kiln is essential, as well as using extreme caution and care when packing, loading and unloading ware.
Alternative Methods for Bisque Firing
Though the typical way to fire bisqueware is in an electric or gas kiln, there are alternative methods for those who may not have access to one. One such method is raku firing, whereby ware is heated at different temperatures over fire, then rapidly cooled and subjected to smoke afterwards for coloration effects.
Tips for Optimizing Your Bisque Fire Results
There are also a few tips to keep in mind when attempting to optimize your bisque firing results:
- Check Your Kiln: Make sure all elements are aligned correctly before beginning a bisque fire. Proper kiln alignment helps ensure uniform heating.
- Double Check Dryness: Make sure all pieces are thoroughly dry before attempting any sort of firing. Any moisture content in the clay can cause issues during firing.
- Pay Attention to Packing: Make sure all pieces are correctly packed before beginning a bisque fire. Leaving too much room between pieces during packing can lead to uneven results.
- Clean Elements Regularly: Kiln elements should periodically be inspected and cleaned to help ensure accurate readings from thermocouples.
- Ventilate Your Space: Ensure sufficient ventilation for your workspace when working with high heat sources. Fumes can be hazardous to your health.
How long should a bisque fire take?
As established above, a typical bisque fire should take anywhere between 6-12 hours depending on what quantity of ware is in your kiln. It’s important to note that glaze firing takes much longer – usually 10-14 hours – so be sure to plan accordingly when allotting time for preperation and completion.
Bisque firing is an essential step for any aspiring ceramic artist; understanding the process as described here will help you fire with confidence and create beautiful pieces with great results.