Kilns have been used for thousands of years to create ceramics, pottery, and other heat-treated materials. If you are an artist, craftsperson or simply interested in firing your own clay, making your own kiln can be a rewarding experience. Building a kiln at home can also be a worthwhile project for those seeking to save money on pottery firing costs. In this article, we will guide you through the process of building your own kiln step-by-step.
The Benefits of Building a Kiln at Home
Building a kiln at home has several advantages. For one, it allows you to have complete control over the firing process, which can improve the quality of your finished pieces. Additionally, maintaining a kiln on your property means that you no longer have to rely on community kilns or pay for expensive firings at a studio. Building a kiln can also be a great educational experience, allowing you to learn about the various components that make up a kiln and how they work together.
Another benefit of building a kiln at home is the convenience it provides. You can fire your pieces at any time, without having to worry about scheduling time at a community kiln or waiting for an available slot at a studio. This can be especially helpful if you have a busy schedule or if you live in a remote area without easy access to a community kiln.
Finally, building a kiln at home can be a cost-effective option in the long run. While the initial investment may be significant, over time, you can save money on firing costs and transportation fees. Additionally, if you plan on selling your pottery, having your own kiln can increase your profit margins by eliminating the need to pay for outside firing services.
The Materials You Need to Build a Kiln at Home
The materials you need to build a kiln at home will depend on the type of kiln you want to build. However, some of the basic materials required include firebricks, refractory coating, insulation material, steel angle iron or rebar, screws, bolts, washers, and nuts. You will also need proper wiring and heating elements for your kiln.
When choosing the type of kiln to build, you should consider the size and shape of the objects you want to fire, as well as the temperature range you need. For example, a small electric kiln may be suitable for firing small pottery pieces, while a larger gas-fired kiln may be necessary for larger sculptures or ceramics.
It is important to note that building a kiln at home can be a complex and potentially dangerous process. It is recommended that you seek guidance from experienced kiln builders or take a kiln-building workshop before attempting to build one on your own. Additionally, you should always follow proper safety precautions and obtain any necessary permits before starting your project.
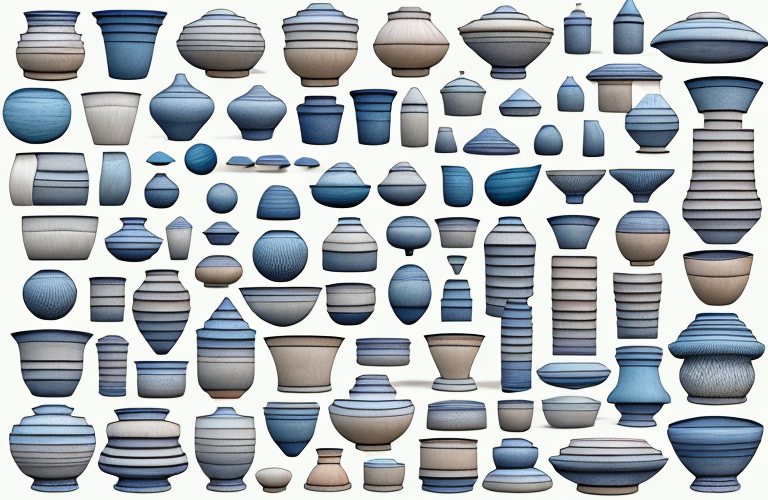
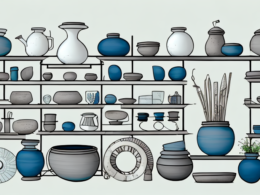
The Different Types of Kilns You Can Build at Home
There are several types of kilns that you can build at home, including electric kilns or fuel-fired kilns. Electric kilns are the most popular option for home use, whereas fuel-fired kilns require more extensive installation and ventilation. Electric kilns are also easier to maintain and can provide more consistent heat.
Another type of kiln that you can build at home is a wood-fired kiln. This type of kiln is popular among potters who prefer the unique effects that wood firing can produce on their pottery. However, building a wood-fired kiln requires a lot of space and can be more challenging to operate than electric kilns. Additionally, wood-fired kilns require a steady supply of wood, which can be expensive and time-consuming to gather.
How to Choose the Right Location for Your Kiln
When choosing a location for your kiln, ensure that it is located in a well-ventilated area, preferably outdoors. This is because kilns can produce toxic fumes, so avoiding indoor use is best. You should also ensure that the location you choose is level and has ready access to electricity.
Another important factor to consider when choosing a location for your kiln is the climate. Extreme temperatures and humidity can affect the performance of your kiln, so it is best to choose a location that is not too hot or too cold, and has moderate humidity levels. Additionally, if you live in an area with frequent rain or snow, you may want to consider building a shelter or covering for your kiln to protect it from the elements.
It is also important to consider the size of your kiln and the space available in your chosen location. Make sure that the area you choose is large enough to accommodate your kiln and any necessary equipment, such as shelves or carts. You should also ensure that there is enough space around the kiln for you to move around and access it easily. Finally, consider any safety hazards in the area, such as flammable materials or uneven ground, and take steps to mitigate these risks.
Building the Foundation for Your Kiln
The foundation of your kiln should be made of concrete, which should be poured in a shallow trench. The foundation should be strong enough to bear the weight of the kiln while also ensuring that it is level. This will prevent any damage to the kiln due to uneven weight distribution.
It is important to note that the size of the foundation should be determined by the size of the kiln. A larger kiln will require a larger foundation to ensure stability and prevent any potential damage. Additionally, the foundation should be allowed to fully cure before the kiln is placed on top of it. This can take several days, depending on the type of concrete used and the weather conditions.
Another factor to consider when building the foundation for your kiln is the location. It should be placed on a flat, level surface that is free from any debris or obstructions. It is also important to ensure that the kiln is not placed near any flammable materials or structures, as it can pose a fire hazard. Taking these precautions will help ensure the safety and longevity of your kiln.
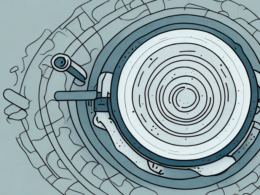
Constructing the Frame of Your Kiln
The frame of your kiln is made of steel angle iron or rebar, which is used to create the shape of the kiln. You will need to use screws, bolts, washers, and nuts to secure the frame. Once the frame is complete, you can begin adding insulation to the interior of the frame.
It is important to ensure that the frame is sturdy and level before proceeding with the insulation. Any unevenness in the frame can cause the insulation to shift, which can lead to uneven heating and potential damage to the kiln. Additionally, it is recommended to use high-temperature insulation materials, such as ceramic fiber or refractory bricks, to ensure the kiln can reach and maintain the desired temperature.
Insulating Your Kiln to Improve Efficiency
Insulating your kiln is essential to ensure that it is energy-efficient. Refractory coatings and insulation materials such as ceramic fiber insulation and grog can be used to insulate the interior of the kiln. Additionally, adding a layer of reflective insulation to the exterior of the kiln can help to prevent heat loss.
It is important to note that the thickness of the insulation layer also plays a crucial role in the efficiency of the kiln. The thicker the insulation layer, the better it will be at retaining heat. However, it is important to balance the thickness of the insulation layer with the size of the kiln, as a thicker layer may reduce the interior space of the kiln. Therefore, it is recommended to consult with a professional to determine the appropriate thickness of insulation for your specific kiln.
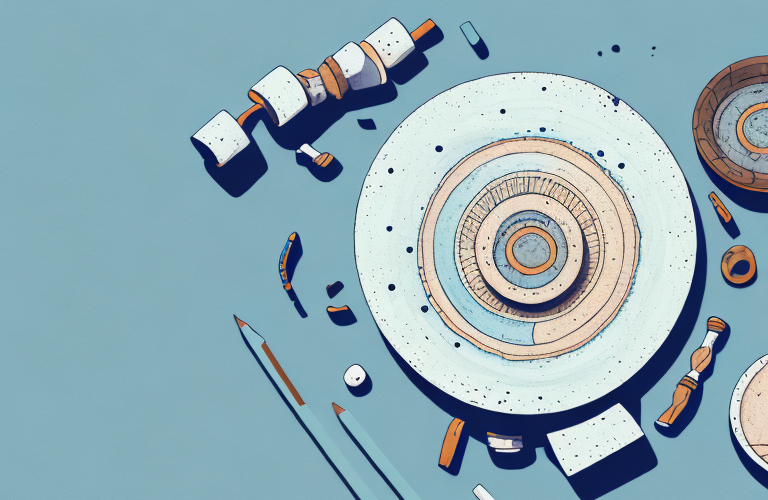
Adding Heating Elements to Your Kiln
Once the insulation is in place, you can begin adding the heating elements to your kiln. Heating elements can be purchased at any pottery supply store. You will also need to ensure that your kiln’s electrical system is wired correctly to provide proper heating.
When selecting heating elements, it is important to consider the type of firing you will be doing in your kiln. Different types of heating elements are better suited for different firing temperatures and durations. For example, if you plan on doing a lot of high-temperature firings, you may want to invest in more durable heating elements that can withstand the extreme heat.
It is also important to properly install the heating elements to ensure they are evenly distributed throughout the kiln. This will help to prevent hot spots and ensure that your pottery is fired evenly. Be sure to follow the manufacturer’s instructions carefully when installing the heating elements, and consider consulting with a professional if you are unsure about the process.
Wiring and Testing Your Kiln’s Electrical System
When wiring your kiln’s electrical system, ensure that the wiring is correctly installed and that all connections are secure. Once the wiring is in place, you can test the kiln’s electrical system to ensure that it is functioning correctly. It is important to note that working with electrical components can be dangerous, so it is best to seek expert help if you are not comfortable doing this part of the process.
Controlling Temperature and Humidity in Your Kiln
Controlling the temperature and humidity in your kiln is crucial to ensure that your pieces are fired correctly. You can use a digital controller to monitor and adjust the temperature inside the kiln. Additionally, you can use a humidity gauge to monitor the moisture level inside the kiln. By controlling these factors, you can ensure that your pieces are fired correctly and achieve the desired results.
Finishing Touches: Painting and Decorating Your Kiln
Once your kiln is complete, you can add a coat of paint to the exterior to protect it from the elements. Additionally, you can personalize and decorate your kiln to make it truly unique.
Tips for Maintaining and Repairing Your Homemade Kiln
Maintaining and repairing your homemade kiln is essential to ensure that it lasts for many years. Regular cleaning, checking for signs of wear and tear, and tightening screws and bolts are all essential maintenance tasks that you should carry out regularly. If any parts of your kiln become damaged, it is important to address the issue promptly to prevent further damage.
Building a kiln at home can be a great way to explore new creative projects and save money on pottery firing costs. By following these steps, you can build a functional and efficient kiln that will last for many years to come.