Broken pottery can be understandably upsetting. Whether it holds sentimental value or is simply a beloved piece of your collection, the last thing you want to do is toss it in the trash. Fortunately, with the right tools and technique, it is possible to repair broken pottery and restore it to its former glory. In this step-by-step guide, we’ll walk you through everything you need to know about fixing broken pottery.
Why It’s Worth Fixing Broken Pottery Instead of Throwing It Away
Before diving into the repair process, it’s worth considering why you should bother fixing your broken pottery in the first place. Aside from sentimental reasons, repairing pottery can also be a more sustainable and eco-friendly option than simply discarding it. Additionally, repairing a broken piece adds character and history, making it all the more special and interesting.
Furthermore, if you happen to own a valuable or collectible piece of pottery, repairing it can help maintain or even increase its value. Often, the cracks or breaks in a piece of antique pottery add to its charm and authenticity, and a professional repair job can help ensure its longevity.
Another reason to consider repairing broken pottery is the sense of accomplishment and satisfaction that comes with fixing something that was once considered damaged beyond repair. It can be a rewarding experience to see a broken piece of pottery transformed into a beautiful and functional object once again.
Finally, repairing broken pottery can also be a way to connect with the history and culture of the piece. By learning about the techniques and materials used in the original creation of the pottery, you can gain a deeper appreciation for the art form and the people who made it.
Essential Tools and Materials for Pottery Repair
Before tackling a repair job, you’ll need to gather a few essential tools and materials. This includes:
- Protective gloves: Gloves will help protect your hands from any sharp pieces of broken pottery.
- Epoxy or ceramic cement: These are the most common adhesives used for repairing pottery.
- Q-tips or a soft-bristled brush: These can be used to apply the adhesive evenly and precisely.
- Sandpaper: Sandpaper will help you smooth out rough edges and create an even surface for the adhesive to bond.
- Clamps or masking tape: These can help hold the broken pieces in place while the adhesive dries.
Aside from the essential tools and materials mentioned above, there are other items that can come in handy when repairing pottery. One of these is a magnifying glass, which can help you see small cracks or chips that may be difficult to spot with the naked eye. Another useful tool is a dental pick, which can be used to remove any excess adhesive or debris from the repair site.
It’s also important to note that not all pottery repairs require the use of adhesives. In some cases, a technique called kintsugi can be used to repair broken pottery. Kintsugi involves using a mixture of lacquer and gold powder to fill in the cracks and create a unique, decorative repair. This technique can be time-consuming and requires a certain level of skill, but it can result in a beautiful and functional piece of pottery.
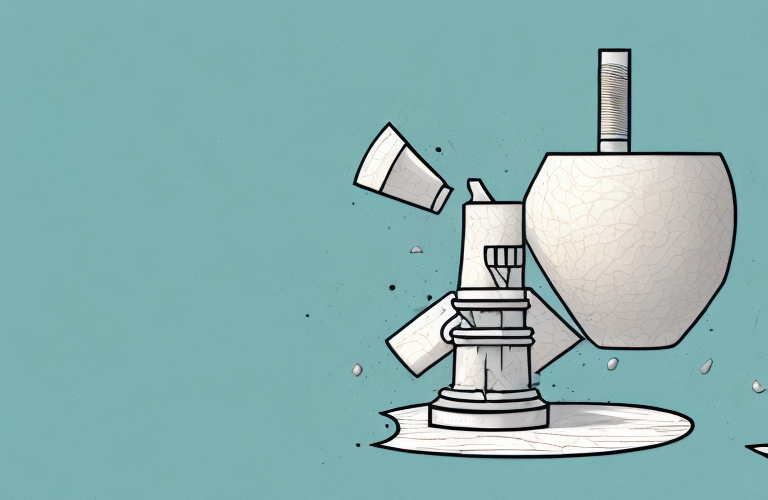
Assessing the Damage: Identifying the Type of Break and Severity
Before beginning the repair process, it’s important to assess the damage and determine the severity of the break. This will help guide your approach to the repair and ensure the best possible results.
There are three main types of pottery breaks: clean breaks, jagged breaks, and shattered breaks. Clean breaks are the easiest to repair as the pieces fit together easily. Jagged and shattered breaks, on the other hand, require a bit more finesse in order to create a seamless repair.
Additionally, it’s important to assess the severity of the break. If it’s a minor crack or chip, you may be able to repair it on your own. However, if the break is more severe or affects the overall structure of the piece, it’s best to seek professional help to ensure a safe and successful repair.
It’s also important to consider the type of pottery when assessing the damage. Porcelain, for example, is more delicate and prone to breakage than stoneware. The type of glaze used on the pottery can also affect the repair process. Matte glazes are more forgiving and can hide imperfections, while glossy glazes can make repairs more noticeable. Taking these factors into account can help you determine the best approach to repairing your pottery.
Preparing the Broken Pieces: Cleaning and Sanding for a Stronger Bond
Once you’ve assessed the damage, it’s time to prepare the broken pieces for repair. Start by cleaning both the broken pieces and the areas where they will be bonded together. This can be done using a mild soap and water, or by wiping them down with rubbing alcohol.
After cleaning, use sandpaper to create a more porous surface where the adhesive will be applied. This will help create a stronger bond between the pieces and help prevent future breaks or cracks.
It is important to note that the type of adhesive used will depend on the material of the broken pieces. For example, a ceramic adhesive may not work well on a metal surface. Be sure to choose the appropriate adhesive for the job and follow the manufacturer’s instructions carefully.
Choosing the Right Adhesive: Epoxy, Cyanoacrylate, or Ceramic Cement?
Choosing the right adhesive for your pottery repair is key to creating a strong and durable bond. There are a few different types of adhesives commonly used, including epoxy, cyanoacrylate, and ceramic cement.
Epoxy is a popular choice for its strength and durability, as well as its ability to fill in gaps and cracks. Cyanoacrylate, also known as super glue, is best for clean breaks and smaller chips or cracks. Ceramic cement is another common option, particularly for repairing porcelain or bone china.
Depending on the severity and type of break, you may need to use a combination of these adhesives for the best possible repair.
It is important to note that when using any adhesive, proper preparation is key to ensuring a successful repair. This includes thoroughly cleaning and drying the surfaces to be bonded, and ensuring that they are free of any oils or debris. Additionally, it is important to follow the manufacturer’s instructions for the adhesive being used, including the recommended curing time and any safety precautions.
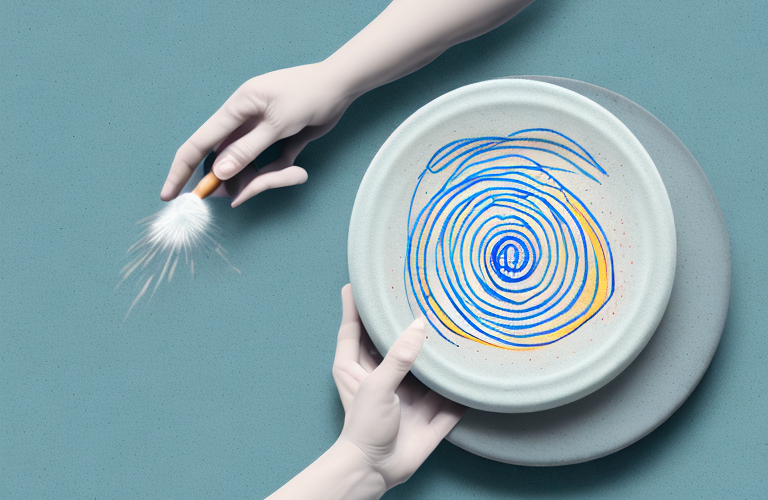
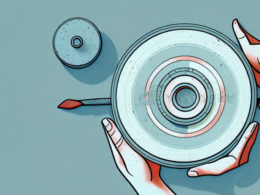
Applying the Adhesive: Tips for an Even, Secure Bond
When applying the adhesive, it’s important to do so evenly and precisely. Use a Q-tip or soft-bristled brush to apply a thin layer of adhesive to both pieces, avoiding too much excess or drips. Then, carefully press the broken pieces together and hold them in place for several minutes to allow the adhesive to set.
For more complex repairs, you may need to use clamps or masking tape to hold the pieces in place while the adhesive dries. Be sure to follow any specific instructions provided by the adhesive manufacturer to ensure the best possible bond.
Filling in Gaps and Cracks: Matching Colors and Textures
For larger gaps or cracks, you may need to fill them in using a filler material. This can be done using a mixture of the adhesive and a finely ground powder, such as crushed ceramic or a commercial filler material.
When filling in gaps, it’s important to match the color and texture of the filler material as close as possible to the original pottery. This can be done using paint or dyes, or by experimenting with different filler materials until you find the right match.
Sanding and Polishing the Repaired Area for a Smooth Finish
Once the adhesive has fully dried, use sandpaper to smooth out any rough edges or excess adhesive. Be sure to sand carefully and evenly to avoid damaging the repaired area.
After sanding, you may want to polish the area using a fine abrasive or polishing compound. This can help create a smoother, more polished finish and blend the repaired area more seamlessly with the rest of the piece.
Preventing Future Breakage: Proper Handling and Storage Techniques
To avoid future breaks or cracks, it’s important to handle and store your repaired pottery carefully. This includes avoiding extreme temperatures or sudden changes in temperature, as well as being mindful of any stress or pressure placed on the piece.
When storing your pottery, be sure to use adequate padding and support to prevent it from shifting or knocking into other objects. Additionally, avoid stacking heavy objects on top of it or placing it in a high-traffic area where it could be accidentally bumped or knocked over.
Common Mistakes to Avoid When Repairing Pottery
While pottery repair is a fairly straightforward process, there are a few common mistakes to avoid. These include:
- Using too much glue, which can create excess drips or cause the pottery to become misaligned.
- Not properly cleaning or sanding the broken pieces before applying the adhesive.
- Attempting to repair a piece that is too severely damaged or fragile, which can lead to further breakage or damage.
- Using the wrong adhesive for the type of pottery or type of break.
Advanced Techniques for More Complex Repairs
For more complex repairs, such as those involving multiple breaks or missing pieces, it may be necessary to use more advanced techniques. These may include mold making, casting, or sculpting new pieces to replace missing ones.
If you’re unsure how to tackle a more complex repair, it’s best to seek professional help to ensure the best possible outcome.
When to Seek Professional Help
If you’re not comfortable or experienced with repairing pottery, or if the repair involves a valuable or delicate piece, it’s best to seek professional help. Professional pottery restoration services can offer specialized techniques and materials to ensure the best possible repair, while also preserving the value and authenticity of the piece.
Maintaining the Value of Antique or Collectible Pottery Through Repair
When it comes to repairing antique or collectible pottery, maintaining its value and authenticity is crucial. This means using the right materials, techniques, and expertise to ensure an accurate and quality repair job.
Additionally, it’s important to keep detailed records of any repairs or restorations done to the piece. This can help maintain its provenance and history, which can be especially valuable for collectors or museums.
With the right tools, materials, and technique, repairing broken pottery is not only possible, but can also be a rewarding and eco-friendly option. By following these step-by-step guidelines, you can restore your broken pottery to its former beauty and preserve its value and history.