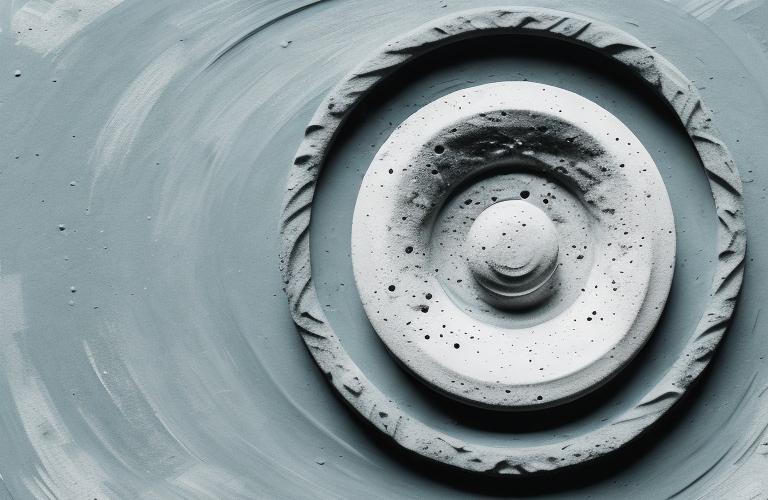
Clay, an abundant natural resource, has been used for thousands of years by people for various purposes. From making ceramic objects to building construction, clay has been an essential material due to its unique properties, such as plasticity and malleability. In this article, we will be examining the four stages of clay, from wet to fired, by delving into the properties, techniques, and equipment required for each stage.
Understanding the Raw Materials Used in Clay Making
Before we dive into the stages of clay, it’s important to understand the raw materials used in clay making. Clay is composed of different minerals, including silica, kaolinite, and feldspar. The combination of these minerals determines the properties of the clay, such as the level of plasticity, color, and shrinkage rate. Additionally, other materials such as grog, sand, or fiberglass can be added to the clay to modify its properties or improve its workability. It’s crucial to accurately measure and mix the raw materials to create the ideal clay consistency for each stage.
One important factor to consider when working with raw materials in clay making is the source of the minerals. The quality and purity of the minerals can greatly affect the final product. For example, clay sourced from different regions can have varying levels of impurities, which can impact the strength and durability of the finished piece. It’s important to research and select high-quality raw materials to ensure the best possible outcome for your clay projects.
The Importance of Wedging and Kneading Clay Properly
Wedging and kneading are essential steps in preparing clay for each stage of the process. The process involves manipulating the clay on a flat surface to get rid of any air pockets or lumps, making the clay’s consistency more uniform. Wedging and kneading also increase plasticity, making the clay’s properties more predictable and easier to work with.
Additionally, proper wedging and kneading can prevent cracking and warping during the drying and firing process. If air pockets or lumps are left in the clay, they can cause uneven drying and firing, leading to structural weaknesses and potential breakage. By taking the time to properly wedge and knead the clay, artists can ensure that their finished pieces are strong and durable.
Preparing the Clay for the First Stage: Plasticity
Once the clay has been kneaded, it’s ready for the first stage: plasticity. At this stage, the clay is highly moldable and easy to shape. It’s essential to have a good understanding of the ideal moisture content of the clay when working in this stage. Too much moisture can cause warping, cracking, and shrinkage, while too little can lead to difficulty shaping the clay.
One way to test the moisture content of the clay is by performing a simple squeeze test. Take a small amount of clay and squeeze it in your hand. If it holds its shape and doesn’t crack or crumble, it’s at the ideal moisture content for plasticity. If it’s too dry, it will crack and crumble, and if it’s too wet, it will deform and lose its shape. It’s important to adjust the moisture content accordingly by adding water or letting the clay dry out before continuing to work with it.
The First Stage: Plasticity – Characteristics and Techniques
During plasticity, the clay can be easily molded by hand or through an array of techniques such as coil, pinch, or slab building. Coil building involves using long, snake-like pieces of clay to create cylindrical shapes. Pinch building involves using fingers to shape the clay into small pots or cups. Slab building involves using flattened sheets of clay to create rectangular or square shapes.
One of the key characteristics of plasticity is that the clay is able to hold its shape once it has been molded. This allows for intricate designs and details to be added to the clay, making it a popular choice for sculptors and artists. Additionally, plasticity allows for the clay to be easily joined together, making it possible to create larger and more complex structures.
Techniques such as slip and score can also be used during plasticity to help join pieces of clay together. Slip is a liquid clay mixture that is applied to the surface of the clay, while score involves making small cuts or scratches in the clay to create a rough surface for the slip to adhere to. These techniques are particularly useful when creating pottery or other functional objects that need to be sturdy and durable.
The Second Stage: Leather Hard – How to Achieve it and Its Characteristics
Once the desired shape of the clay is achieved in the plasticity stage, it’s time to let the clay dry. The clay is considered “leather hard” when it’s dry enough to maintain its shape but also porous enough to absorb moisture. Achieving the desired level of leather hard requires a perfect balance between moisture content and drying time.
During the leather hard stage, the clay is still workable, but it’s not as pliable as it was in the plasticity stage. This means that it’s the perfect time to add details or refine the shape of the clay. However, it’s important to be careful not to apply too much pressure or force, as the clay can crack or break.
Once the clay reaches the leather hard stage, it can be trimmed or carved to create more intricate designs. This is also the stage where handles, spouts, and other attachments can be added to the clay. It’s important to keep the clay moist during this stage to prevent cracking or warping, but not too moist that it loses its shape.
The Third Stage: Greenware – Understanding its Properties and Care
Greenware is the term used to refer to the clay that’s been shaped and let to dry partially. At this stage, the clay is more delicate and porous than leather hard clay, so it requires careful handling. It’s essential to avoid applying too much force or pressure to greenware to prevent cracks or deformities. Greenware pieces are typically fired to increase their strength and durability.
It’s important to note that greenware should be handled with clean, dry hands to prevent any moisture from being absorbed into the clay. Additionally, greenware should be stored in a cool, dry place to prevent any further drying or cracking. Once the greenware has been fired, it can be glazed and fired again to achieve the desired finish. However, it’s important to follow the recommended firing temperature and time to avoid any damage to the piece. With proper care and handling, greenware can be transformed into beautiful and functional ceramic pieces.
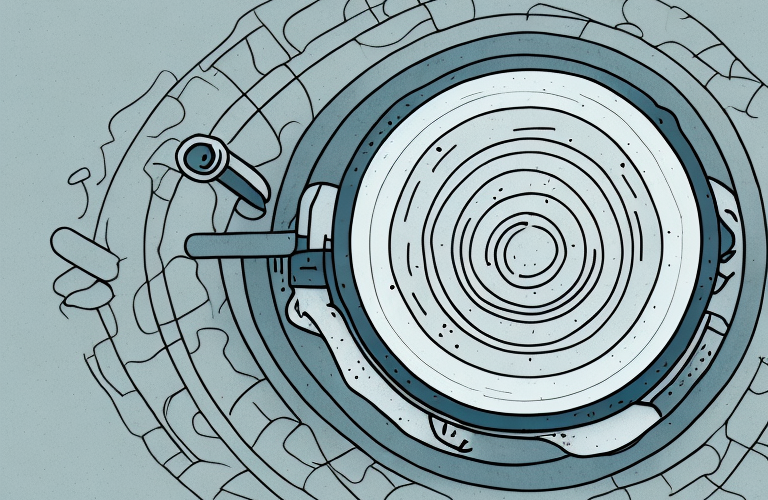
Firing Clay: A Comprehensive Guide to Kilns and Firing Methods
The firing process involves heating the clay to high temperatures in a kiln, causing the clay to harden permanently. The firing method and temperature depend on the type of clay and the desired outcome. There are generally two types of kilns: electric kilns and gas kilns. Firing temperatures can range from 1,500°F to 2,400°F. By choosing the right firing method and temperature, you can achieve the desired strength, glaze, and texture.
It is important to note that the firing process can also affect the color of the clay. For example, firing at a lower temperature can result in a lighter color, while firing at a higher temperature can result in a darker color. Additionally, the length of time the clay is fired can also impact the final color. It is important to experiment with different firing methods and temperatures to achieve the desired color and overall aesthetic of the finished piece.
The Fourth Stage: Bisqueware – What is it and How to Glaze it?
Bisqueware is clay that has been fired once but not yet glazed. At this stage, the clay is hard and durable but still absorbent. Bisqueware is covered with a layer of glaze to create a waterproof and decorative surface. To apply glaze, it’s essential to use glazing techniques such as dipping, brushing, or spraying.
Glazing Techniques for Bisqueware – Enhancing the Aesthetics of Your Work
Glazing techniques vary depending on the desired outcome. Some techniques, such as dipping and pouring, are better suited for coverage and consistency, while others, such as brushing and spraying, are ideal for creating intricate designs and patterns. Additionally, the type of glaze used will affect the final aesthetics of the piece.
The Final Firing: Achieving Perfection in Your Finished Product
After applying the glaze, the clay is fired once more to create the final product. The firing temperature and duration depend on the glaze and the desired outcome. The final firing is crucial as it seals the glaze and makes the piece fully functional, durable, and aesthetically pleasing.
Common Mistakes to Avoid in Each Stage of Clay Making
Clay making is an intricate process with its fair share of challenges. Some common mistakes to avoid include using too much or too little water, not adequately wedging or kneading the clay, and firing at the wrong temperature or for the wrong duration. Additionally, it’s crucial to handle the clay with care to prevent cracking and deformities.
Tips for Maximizing Your Success as a Clay Artist
Clay making is an art that requires patience, practice, and attention to detail. To maximize your success as a clay artist, it’s essential to invest in quality equipment, familiarize yourself with the different clay types, and experiment with various techniques and glazes. It’s also crucial to document your process and learn from your mistakes.
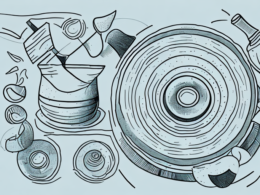
Tools and Equipment Needed for Each Stage of Clay Making
Clay making requires specific tools and equipment for each stage of the process. These include measuring tools, clay cutters, rolling pins, molds, and kilns. Choosing the right equipment can make the process more manageable and increase the chances of success.
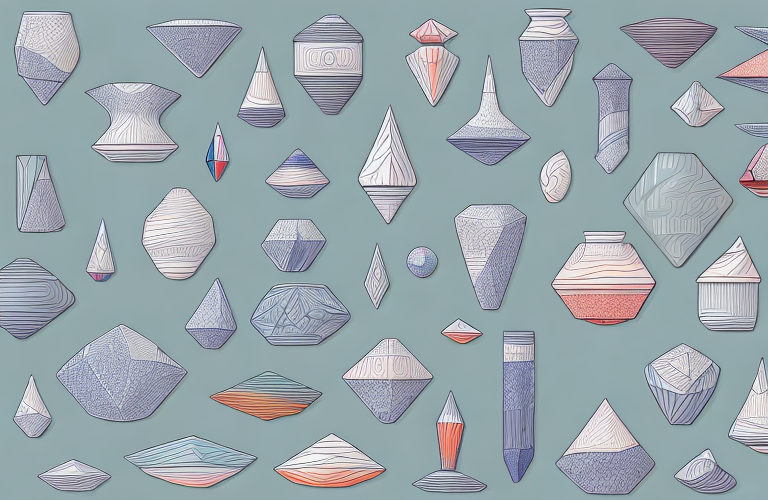
Using Different Types of Clays for Unique Results
Clay comes in different types, each with its unique properties, such as porosity, color, and texture. Experimenting with various kinds of clay can lead to exciting and unique results. Some popular clay types include earthenware, stoneware, porcelain, and terracotta.
In conclusion, clay making is a fascinating process that requires patience, skill, and the right tools. Understanding the four stages of clay, from wet to fired, is crucial to creating beautiful and functional ceramic pieces. By following the techniques and tips discussed in this article, you can maximize your success as a clay artist and achieve the desired functionality and aesthetics in your finished products.