Clay is an essential raw material for pottery and sculpture. It is a versatile substance that has been used in art and architecture for centuries. However, when working with clay, there is always some level of waste that occurs. Over time, unused clay builds up and becomes unusable. That’s where clay reclamation comes in – the process of salvaging, reusing, and recycling old, unusable clay. In this article, we will guide you through the process of clay reclamation, from understanding the basics to troubleshooting issues that may arise.
Understanding the Basics of Clay Reclamation
First, let’s discuss why clay reclamation is necessary. When working with clay, it is essential to have a continuous supply. Over time, unused clay can become dry or contaminated, making it challenging to work with. By reclaiming clay, you can save money and reduce waste. The process involves breaking down old clay and turning it into new, usable clay that is free of impurities. Reclaiming clay is not only an eco-friendly option but also an efficient way to maintain a reliable source of material.
There are several methods for clay reclamation, including the wet method and the dry method. The wet method involves soaking the old clay in water until it breaks down into a slurry. The slurry is then passed through a sieve to remove any impurities before being dried and reused. The dry method involves breaking down the old clay into small pieces and then grinding it into a fine powder. The powder is then mixed with water to create new clay. Both methods require some equipment and time, but they are cost-effective and environmentally friendly ways to reuse old clay.
The Importance of Reclaiming Clay for Pottery and Sculpture
Reclaiming clay is crucial for pottery and sculpture because both art forms require large quantities of clay to create a single piece. By reclaiming clay, artists and potters can reduce their costs and waste output, which is essential for sustainable and environmentally friendly practices. Not only does it create a more efficient process, but it also ensures that the clay is pure and free from impurities, making it easier to work with and resulting in better-quality finished products.
Another benefit of reclaiming clay is that it allows artists and potters to experiment with different types of clay without the fear of wasting large quantities of it. By reclaiming clay, they can reuse the clay that didn’t work out for a particular project and try again with a different type of clay. This not only saves money but also allows for more creativity and exploration in the art form.
Furthermore, reclaiming clay can also be a meditative and therapeutic process for artists and potters. The act of kneading and working with the clay can be a calming and centering experience, allowing the artist to focus on the present moment and let go of any stress or worries. This aspect of clay reclamation can be especially beneficial for those who use pottery or sculpture as a form of therapy or self-expression.
The Various Methods Used for Reclaiming Clay
There are several methods used for reclaiming clay, and each has its own benefits and drawbacks. The most popular methods include soaking, drying, and using a clay mixer. Soaking involves adding water to the clay and allowing it to dissolve into a slurry, so it can be filtered and separated into usable clay. The drying method involves allowing the clay to dry out entirely, then smashing and sieving it to remove impurities. Finally, using a clay mixer involves using a machine to mash and break up the old clay, then adding water to the mix until it forms a slurry that can be filtered and reclaimed.
Another method for reclaiming clay is called the pug mill method. This method involves feeding the old clay into a machine called a pug mill, which mixes and compresses the clay to remove air pockets and impurities. The clay is then extruded through a die, creating a long, continuous ribbon of clay that can be cut into usable pieces. This method is particularly useful for large quantities of clay, as it can process a lot of material quickly and efficiently.
It’s important to note that not all types of clay can be reclaimed using these methods. Some clays, such as porcelain, are more difficult to reclaim due to their fine particle size and tendency to warp during the drying process. Additionally, clay that has been contaminated with chemicals or other materials may not be safe to reclaim and should be disposed of properly.
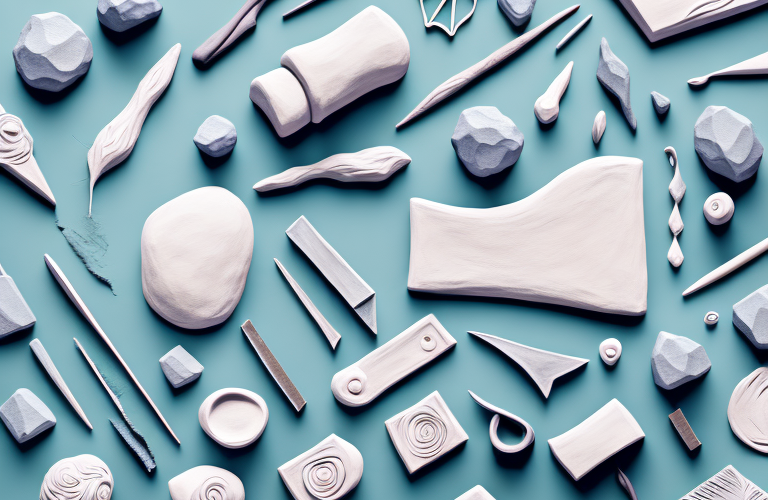
Step 1: Gather Your Supplies and Tools
Before beginning the process of clay reclamation, gather all the necessary supplies and tools. These may include a bucket, a large mixing container, a sieve or filter, a spatula or scraper, and water. Additionally, you may need a drying rack or a place to spread out the clay for drying.
It is important to note that the type of clay being reclaimed may require specific tools or supplies. For example, some clays may require a specific type of filter or sieve to remove impurities. It is important to research the specific needs of the clay you are working with before beginning the reclamation process.
Another important consideration is the safety precautions that should be taken when working with clay. It is recommended to wear gloves and a dust mask to avoid inhaling any dust particles that may be released during the process. Additionally, it is important to work in a well-ventilated area to avoid any potential health hazards.
Step 2: Preparing the Clay for Reclamation
If you are using the drying method, you should first break up the clay into small pieces and allow it to dry out completely. If using a clay mixer or soaking method, it’s best to break up the old clay into smaller pieces beforehand. This can be done by hand, with a hammer or other suitable tool. The broken-up clay should then be placed into a container, ready for the next step.
Once the clay has been broken up and placed into a container, it’s time to add water. The amount of water needed will depend on the type of clay and the method being used. Generally, you want to add enough water to create a slurry-like consistency. This can be achieved by slowly adding water and mixing the clay until it reaches the desired consistency.
After the clay has been mixed with water, it’s important to let it sit for a period of time. This allows the water to fully penetrate the clay and helps to break down any remaining impurities. The length of time needed will depend on the type of clay and the method being used. Once the clay has been properly soaked, it’s ready for the next step in the reclamation process.
Step 3: Soaking the Clay
If you are using the soaking method, you will need to add water to the clay to create a slurry. Begin by adding a small amount of water to the container, then adding the broken-up clay pieces. Continue adding water until the clay is fully submerged. Allow the clay to soak for several hours or even overnight until it has dissolved into a slurry.
Step 4: Breaking Down the Clay into Slurry
After the clay has soaked, it’s essential to create a smooth slurry. This can be done using a spatula or scraper, stirring the slurry until it’s even and free of lumps. Be patient and diligent, as it may take some time to ensure that the slurry is just right.
Step 5: Filtering out Impurities from the Slurry
The next step is to filter out any impurities or debris that may be present in the slurry. Pour the slurry through a filter or sieve, ensuring that all impurities are removed. This can be a time-consuming process, so it’s best to be patient and thorough. If necessary, you can repeat the filtering process until the clay is free from any impurities.
Step 6: Drying and Storing your Reclaimed Clay
After filtering, the clay should be allowed to dry out completely. This can be achieved by spreading the clay out on a drying rack, or placing it in a dry, cool place. Once the clay has dried out entirely, it is ready to be stored for future use. Keep it in a sealed container or bag, away from moisture or humidity, to ensure it remains usable and free from impurities.
Tips and Tricks for Successful Clay Reclamation
Clay reclamation can be a time-consuming and effort-intensive process. Here are some tips and tricks to ensure your success:
- Use a high-quality filter or sieve to remove all impurities from the clay slurry.
- Make sure to stir the slurry until it’s free from lumps and smooth.
- Be patient when drying the clay. It may take several days or even weeks to dry out entirely.
- Store the reclaimed clay in a sealed container or bag to prevent moisture from entering.
Common Mistakes to Avoid When Reclaiming Clay
Reclaiming clay requires patience, attention to detail, and a willingness to do things correctly. Here are some common mistakes to avoid:
- Not removing all impurities from the clay slurry, resulting in unusable clay.
- Attempting to reclaim clay that has been contaminated with chemicals or other substances.
- Not drying the clay thoroughly, causing it to spoil or become moldy.
- Storing the clay in a place where it may be exposed to moisture, rendering it useless.
How to Troubleshoot Issues During the Clay Reclamation Process
If you encounter any problems during the clay reclamation process, there are several things you can do. If the slurry is too thick or lumpy, add more water and stir the mixture until it becomes smooth. If you notice that the clay is still contaminated after filtering, you may need to repeat the process using a finer filter or sieve. If the drying process is taking too long, consider using a fan or other cooling device to help speed up the process.
Conclusion
Clay reclamation is a vital process for potters and sculptors, providing a reliable source of high-quality clay while reducing waste and costs. By following these step-by-step instructions and tips, you can successfully reclaim clay while avoiding common pitfalls and issues. Remember to take your time, be patient, and store your reclaimed clay correctly to ensure that it remains usable and free from impurities for future projects.