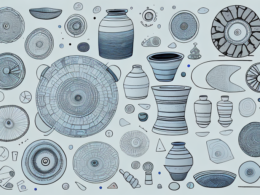
Pottery is a fragile material that can easily be damaged, but don’t worry, it’s possible to repair broken and chipped pottery using the right tools and techniques. In this article, we will guide you through the step-by-step process of repairing pottery so that you can enjoy your beautiful pottery once again.
Introduction: Understanding the Basics of Pottery Repair
Before diving into the repair process, it’s important to understand the basics of pottery repair. Pottery repair involves the process of rejoining broken or chipped pieces of pottery and restoring it to its original form. Repairing pottery requires patience, precision, and attention to detail.
One important aspect of pottery repair is selecting the right adhesive. The adhesive used should be strong enough to hold the pieces together, but also safe for use on pottery. It’s important to avoid using adhesives that contain harmful chemicals or that could damage the pottery further.
Another important consideration is the color and finish of the repaired pottery. The goal is to make the repair as seamless as possible, so it’s important to choose an adhesive that dries clear or matches the color of the pottery. Additionally, the finish of the repaired area should match the rest of the pottery, whether it’s glossy or matte.
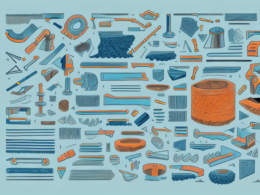
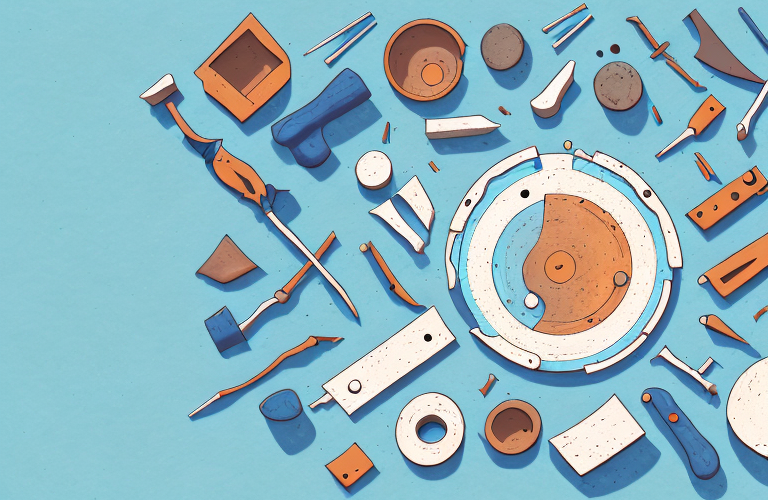
Materials Needed for Pottery Repair
Here are the materials you’ll need to repair your pottery:
- Adhesive glue that is specifically designed for pottery repair
- Clay or putty to fill in missing pieces
- Small paintbrushes
- Sandpaper
- Water
It’s important to note that the type of adhesive glue you use will depend on the type of pottery you are repairing. For example, if you are repairing a ceramic vase, you’ll want to use a different type of glue than if you were repairing a porcelain figurine. It’s always a good idea to do some research or consult with a professional before starting your repair project.
Steps to Prepare the Pottery for Repair
The first step in repairing pottery is to clean and remove any dirt or debris from the damaged area. Use a soft brush to clean the pottery gently. Then, use a damp cloth to wipe down the pottery to remove any remaining dirt, dust, or residue.
After cleaning the pottery, the next step is to assess the damage. Determine the extent of the damage and identify any missing pieces. Take note of the size and shape of the missing pieces, as this will be important when it comes to repairing the pottery.
Once you have assessed the damage, you can begin to prepare the materials needed for the repair. This may include glue, filler material, and paint. Make sure to choose materials that are appropriate for the type of pottery you are repairing and that will provide a strong and lasting repair.
Identifying the Type of Damage to Your Pottery
There are many types of damage that can occur to pottery, such as cracks, chips, and missing pieces. It’s important to identify the type of damage before starting the repair process to ensure you have the correct materials and techniques to repair it.
One common type of damage to pottery is called “crazing,” which is the appearance of fine cracks on the surface of the glaze. This can happen over time due to changes in temperature or humidity. While crazing doesn’t necessarily affect the structural integrity of the pottery, it can be unsightly and may require a specialized repair process to fix.
How to Repair Cracks in Pottery
If your pottery has a crack, use the adhesive glue to fill the crack. Apply the glue to the crack and use your fingertips to press the pieces back together. Using a clean, damp cloth, wipe away any excess glue. Let the pottery dry for at least 24 hours.
It is important to note that not all types of pottery can be repaired with adhesive glue. Porous pottery, such as unglazed terracotta, may require a different type of repair method. In these cases, it is best to consult a professional or experienced potter for guidance.
Prevention is also key in avoiding cracks in pottery. When using pottery for cooking or serving, avoid sudden temperature changes, such as placing a hot dish in cold water or a cold dish in a hot oven. Additionally, handle pottery with care and avoid dropping or banging it against hard surfaces.
How to Fix Chips and Gaps in Pottery
If your pottery has a chip or gap, use clay or putty to fill in the damaged area. Mix the clay or putty according to the instructions on the package. Then, use a small paintbrush to apply the mixture to the damaged area, gently smoothing it out to ensure it’s level with the rest of the pottery. Let the pottery dry for at least 24 hours.
It’s important to note that while filling in chips and gaps can restore the appearance of your pottery, it may not restore its original strength. If the damage is extensive or affects the structural integrity of the piece, it’s best to consult a professional or consider retiring the piece from use. Additionally, if the pottery is a valuable antique or has sentimental value, it’s recommended to seek the advice of a professional before attempting any repairs.
How to Glue Broken Pieces of Pottery Together
If your pottery is broken into pieces, use adhesive glue to rejoin the pieces. Apply the glue to one side of the broken piece and gently press it into place on the other piece. Using a clean, damp cloth, wipe away any excess glue. Let the pottery dry for at least 24 hours.
It is important to note that not all adhesives are suitable for pottery. Make sure to use a glue that is specifically designed for ceramics or pottery. Also, avoid using too much glue as it can create a messy and uneven finish.
If the broken pieces have small chips or cracks, you can use a filler to smooth out the surface before gluing. Mix a small amount of filler with water to create a paste and apply it to the damaged area. Let it dry completely before gluing the pieces together.
How to Fill in Missing Pieces of Pottery
If your pottery has a missing piece, use clay or putty to fill in the missing area. Mix the clay or putty according to the instructions on the package. Shape the clay to match the missing area of the pottery. Then, use a small paintbrush to apply the mixture to the damaged area, gently smoothing it out to ensure it’s level with the rest of the pottery. Let the pottery dry for at least 24 hours.
It’s important to note that while filling in missing pieces can restore the appearance of the pottery, it may not restore its original strength. If the pottery is intended for functional use, it’s best to avoid using it for its original purpose and instead display it as a decorative piece. Additionally, if the missing piece is significant or the pottery is of high value, it’s recommended to seek the assistance of a professional restorer to ensure the best possible outcome.
Tips for Sanding and Smoothing Repaired Pottery
After the pottery has dried, use sandpaper to gently sand down any rough areas. Sanding helps to smooth down and blend in the repaired area with the rest of the pottery.
It is important to use a fine-grit sandpaper, such as 220 grit, to avoid scratching or damaging the pottery. Additionally, be sure to wear a dust mask and work in a well-ventilated area to avoid inhaling any dust particles. Once you have finished sanding, wipe the pottery down with a damp cloth to remove any remaining dust.
How to Match Colors and Glazes When Repairing Pottery
Matching colors and glazes when repairing pottery can be challenging. If you have a color or glaze that you’d like to match, take a small sample of the color or glaze to your local pottery store. They can help you find a match that will blend in seamlessly with your pottery.
It’s important to note that even with a perfect color or glaze match, the repaired area may still be slightly noticeable due to differences in texture and finish. To minimize this, try to match not only the color and glaze, but also the texture and finish as closely as possible. Additionally, consider the placement of the repair – if it’s in a highly visible area, you may want to opt for a professional repair to ensure the best possible outcome.
Tips for Properly Curing Repaired Pottery
After the pottery has been repaired, it’s important to let it dry and cure properly. Be sure to follow the instructions on the adhesive glue and clay or putty packaging to ensure it’s properly cured.
It’s also important to note that the curing process can vary depending on the type of pottery and the extent of the repair. For example, delicate or thin pottery may require a longer curing time to prevent cracking or breaking. Additionally, if the repair involved a large piece of pottery, it may be necessary to support it with additional materials during the curing process to prevent it from collapsing or losing its shape.
Avoiding Common Mistakes When Repairing Pottery
One common mistake when repairing pottery is using the wrong type of glue or not using enough glue. Make sure to use a strong adhesive glue that is specifically designed for pottery repair, and use enough glue to ensure the pieces are firmly joined together.
Another common mistake is not properly cleaning the broken pieces before applying glue. Any dirt, dust, or debris on the surface of the pottery can prevent the glue from adhering properly. Clean the broken pieces thoroughly with a soft cloth and a mild detergent before attempting to repair the pottery.
It is also important to be patient when repairing pottery. Rushing the process can lead to mistakes and a less-than-perfect repair. Allow the glue to dry completely before handling the pottery, and avoid putting any pressure on the repaired area for at least 24 hours. This will ensure that the glue has had enough time to fully bond and create a strong, lasting repair.
How to Maintain Repaired Pottery
After your pottery has been repaired, it’s important to take care of it to prevent any further damage. Avoid exposing the pottery to extreme temperatures, and avoid placing heavy objects on the pottery.
Conclusion: Enjoy Your Beautifully Restored Pottery!
Repairing pottery can be a time-consuming process, but with the right tools and techniques, it’s possible to restore broken and chipped pottery to its original form. With this step-by-step guide, you can repair your pottery and enjoy it once again.