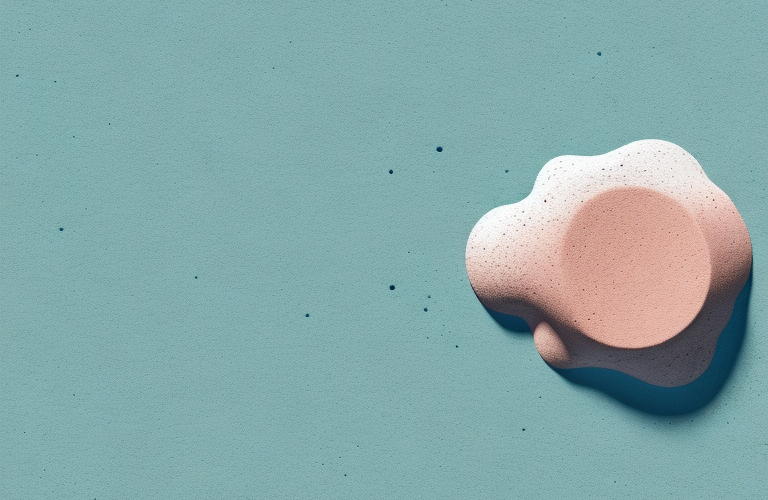
When it comes to creating art with clay, working on projects by hand is a great way to express your creativity. Handbuilding is a lovely and accessible medium that requires no costly investment in a kiln, yet gives you the opportunity to create intricate and meaningful pieces of art. However, with so many types of clay out there, how do you know which is best for handbuilding? Here is a quick guide to help you choose the right clay for your handbuilding project.
Types of Clay Suitable for Handbuilding
The best types of clay for handbuilding projects are those which are malleable, durable and easy to work with. Popular types of clay used for handbuilding include earthenware, stoneware and porcelain. Earthenware is a common type of air-dried clay that is well-suited for handbuilding as it has good plasticity and does not require firing. It is a great option for those who are just starting out, as it is easy to work with and fire in an electric kiln. Stoneware is a type of clay that is fired at a higher temperature and is considerably more durable than earthenware. Porcelain is even more durable than stoneware, but has more limited plasticity and can be difficult to work with as it can crack and shatter easily.
How to Select the Right Clay for Handbuilding
When it comes to selecting the right clay for your project, there are a few key things to consider. Firstly, think about what type of project you plan to make. Earthenware clay is suitable for beginner handbuilders and those working on small-scale projects, whereas stoneware or porcelain may be better for more advanced projects. Secondly, consider the texture of the clay – look for a malleable clay that isn’t too sticky to handle. Lastly, note that not all clays are suitable for firing in electric kilns – so check the instructions if you plan on firing your work. Once you have considered these factors, you should be able to find a suitable clay for your handbuilding project.
Benefits of Using Clay for Handbuilding
Using clay to make art has many benefits. For one, it can be an extraordinary experience to get messy and create something tangible with your own two hands. Working with clay can also help to improve your motor skills, while being an incredibly therapeutic process as it requires intense focus. Lastly, hand building with clay is also an enjoyable way to produce unique works of art that you can be proud of.
Techniques for Working with Clay in Handbuilding Projects
Once you have selected the right type of clay, there are a few basic handbuilding techniques that you can use to manipulate the clay and create interesting works of art. Pinching, scoring and slip can all be used to make basic shapes such as bowls and cups. You can also use coils to create interesting structural elements such as handles or legs, or press molds or slump molds to form more intricate shapes.
Tools and Materials Needed for Handbuilding with Clay
When planning a handbuilding project with clay, there are certain tools and materials that you might need. Common materials include clay, a potter’s wheel (optional), slip (optional), a carving tool and glaze (optional). You may also need paper towels, a sponge, a spray bottle, a palette knife and any extra tools that might help you work with the clay such as a needle tool or modelling tool.
Tips and Tricks for Successful Handbuilding with Clay
Handbuilding with clay can take some time to master. Here are some tips and tricks for successful handbuilding with clay. Firstly, it is important to prepare the clay before you begin working – to ensure it is at the right consistency, not too wet or dry. Also, ensure that you have adequate workspace and that everything is within easy reach. Lastly, don’t rush the process – take your time and enjoy the experience.
Common Mistakes to Avoid When Handbuilding with Clay
As with any art form, there are some common mistakes to look out for when handbuilding with clay. It is easy to forget the basics – ensure the correct proportions are maintained and that the clay is rolled out evenly to avoid uneven walls in your form. It can also be tempting to rush ahead – take time to make sure each step has been done properly before moving onto the next. Lastly, be careful not to overwork the clay – too much handling can cause it to crack or break.
Finishing and Glazing Techniques for Handbuilt Clay Projects
Once your project has been completed, you can choose to finish it with glaze or leave it au naturel, depending on your preference. If you plan to glaze your pieces, then there are some useful techniques that you can use. Before beginning your glazing process, it is important to make sure your piece is clean and free of dust or debris as this can affect the finish. Try a light dusting with corn starch or dabbing with sponge and soapy water. Once dry, begin by brushing on one layer of glaze with long sweeping strokes, before finishing off with two or three more layers until you get your desired effect. If you are glazing at home and not in a kiln, you should use a low-fire glaze.
Overall, handbuilding with clay is an enjoyable and rewarding experience that will give you the chance to create artwork that can last for generations. With the right type of clay, tools and knowledge of techniques, you will be able to craft pieces with amazing detail and design. Get creative and enjoy the process!