Slab method in pottery is an ancient method of shaping clay into a three dimensional form. It involves the use of slabs of clay, rolled out on a flat surface and then molded together to form the desired shape. Slab method pottery has been around for thousands of years and is still used today, with artists using the technique to create beautiful and unique works of art. In this article, we’ll take a look at the history of the slab method, tools and materials needed for the process, steps for making slab pottery and some tips for troubleshooting common problems with the technique.
History of slab method in pottery
The use of slab method in pottery dates back to the Stone Age when primitive humans fashioned handmade clay pots to store food and water. It is believed that the first people to employ the technique were the Sumerians who lived in ancient Mesopotamia around 6000 BCE. Later, the Greeks and Romans used the slab pottery method to create various types of vessels including amphorae, jugs, cups and even statuettes. The technique declined in popularity during the Middle Ages but was revived during the Renaissance period when various Italian potters incorporated the method into their repertoire. Today, many modern-day potters continue to use the technique, particularly those who specialize in hand-built ceramics.
Tools and Materials for Slab Method
In order to create a slab pottery piece, you will need a handful of tools and materials. First and foremost, you will need clay. The type of clay used should be malleable enough to roll out into a thin slab without cracking or breaking. Other tools include rolling pins, ruler, rib tool and wire cutters for shaping clay into the desired form. It is also important to have a damp sponge on hand for keeping the clay malleable and for cleaning tools. Additionally, you will need a pottery wheel, kiln and oogoo as glazing material.
Steps for Making Slab Pottery
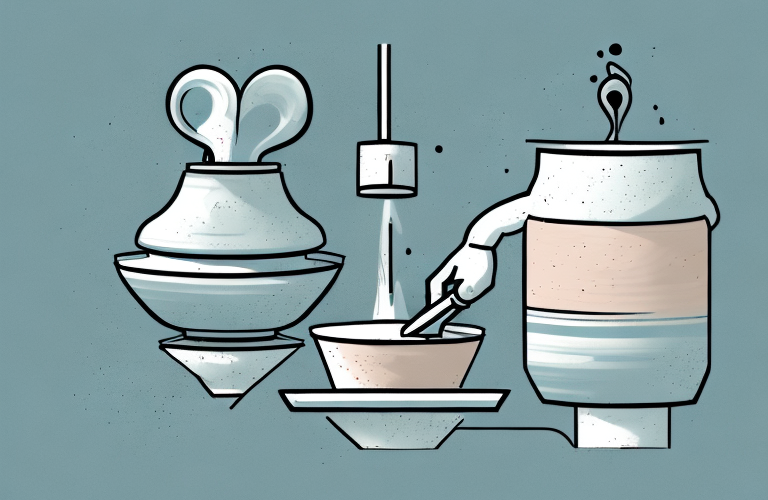
Slab pottery is created through a simple process that involves molding together clay slabs of various shapes and sizes. First, begin by rolling out a slab of clay measuring about 1/4 inch thick on a flat surface. Use your hand or base tool to gently press outside edges of the slab inwards until they meet at the center. Use your rib tool to refine the seams and give them a beveled edge. Additionally, utilize small bits of clay in your design to create texture, patterns or any other details desired.
Once you have shaped your slab into a desired 3D form, it needs to be dried. This can be done either by air-drying at room temperature for several days or by using a kiln fired ceramic kiln pre-set to 170 degrees celsius for about 5 hours. After drying and cooling, apply any glazes, embossments or decorative designs onto the clay surface by using either brush or sponge.
Benefits of the Slab Method
The slab method in pottery has many advantages that make it an ideal option for those looking to create unique pieces of art. Slab pottery is relatively simple and requires minimal tooling and materials; an efficient and cost-effective option for aspiring potters. Additionally, because it is hand-built, it gives the artist more freedom over the shape of their piece as well as being able to incorporate intricate details that would not be possible with other techniques.
Common Problems with Slab Pottery
The most common problem with slab pottery is cracking due to uneven drying. To counteract this issue, make sure that your slabs are of an even thickness (to ensure even drying) and let the piece air dry in an environment not too hot or too cold. Additionally, ensure that the structure of your piece is sturdy; a weak or floppy structure will make it more likely to crack during drying or firing.
Finishing Touches for Slab Pottery
Once your slab pottery piece has been dried and glazed, it’s time to add any finishing touches to give it that extra bit of flair. There are endless possibilities with decoration when it comes to slab pottery; from adding patterns with stamps and stencils to incorporating shells or found objects, to mangling and wire threading. Any type of creative embellishment is possible; it’s just a matter of letting your imagination take over!
Troubleshooting Tips for Slab Pottery
If you find that you have any issues when creating your slab pottery pieces, there are certain troubleshooting tips you can use; such as using tools with sharp edges for precise cutting or smoothing of seams and corners. Additionally, if parts or pieces of your structure look unsturdy or floppy, try putting them in the kiln while they are still wet; this will help strengthen them so they retain their shape once fired. Finally, if you are struggling to get your piece out of the kiln then carefully use ceramic tools to remove it.
Examples of Slab Method Pottery
Slab method pottery comes in all shapes and sizes, with talented potters creating fantastic works of art with this technique. From vases, cups, mugs and teapots, to figurines and general decorations, there really is no limit to what can be created using this time honored method. Below are some amazing examples of slab method pottery from some masterful artisans.
Resources for Learning More about Slab Pottery
For those looking to gain a greater understanding of slab method pottery there are plenty of resources available online; from tutorials on particular techniques to general information about the history and style of it. Additionally, there are plenty of books on the subject as well as workshops offered by experienced potters. With a little bit of research and dedication anyone can master the art of slab pottery.