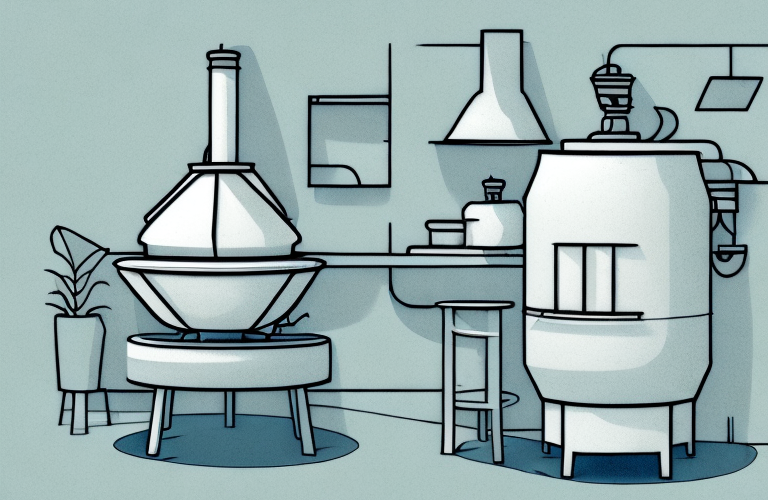
Making a kiln at home is a rewarding experience, allowing you to craft your own tableware, artwork and even specialized tools. It may seem like a daunting task, but with the right materials and tools it’s much easier than you’d think! We’ll take you from assembling the pieces of your kiln all the way to firing it and giving it a good test run. Once you’ve got your kiln, you’ll be able to start making all sorts of wonderful things. Let’s get started!
Gather Materials Needed
It’s important to have all the materials you’ll need before you start construction on your homemade kiln. You’ll need bricks, fire clay, refractory cement, fire-resistant insulation, pipe and fittings, kiln bricks, and a steel box as the base of your kiln.
You should also make sure to have the necessary tools for the job, such as a trowel, a hammer, a drill, and a saw. Additionally, you may need to purchase a thermometer to measure the temperature of the kiln during firing. Finally, you should have safety equipment such as safety glasses, gloves, and a fire extinguisher on hand.
Construct the Base of Your Kiln
Once you have all your materials, the first step is to construct the base of your kiln. You’ll want to make sure the steel box is large enough to comfortably hold everything you’ll need in your kiln. Line the inside of the box with fire-resistant insulation to protect from heat. Next, use fire clay and refractory cement to cover the walls of the base. Make sure to completely cover all the edges. Once you’ve built up a layer of cement and clay on the inner walls, use your bricks on the outside of the box.
When laying the bricks, make sure to use a layer of fire clay between each brick to ensure a tight seal. Once the bricks are in place, use a heat-resistant mortar to fill in any gaps. Finally, use a heat-resistant sealant to cover the entire base of the kiln. This will help to keep the heat in and protect the kiln from any damage.
Choose Your Kiln Type
Your next step is to decide which type of kiln you’d like to build. There are two basic types: electric and gas. If you decide to go with an electric kiln, you’ll need to install special wiring to connect it to a power source. On the other hand, if you go with a gas kiln, you’ll need to set up a venting system for it. No matter which type of kiln you choose, you’ll also need to purchase special high-heat resistant elements.
Building the Firebox and Chimney
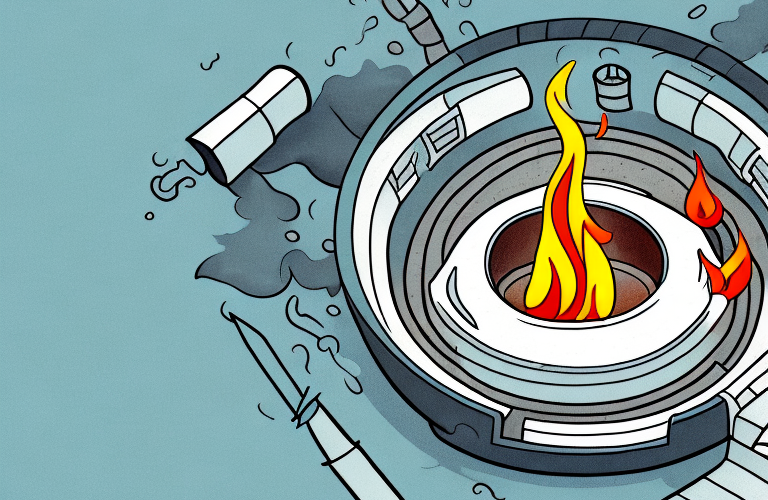
Next, it’s time to build the firebox and chimney that will house the elements of your kiln. Begin by constructing the firebox out of fire clay and any special bricks you may need. Make sure there is extra space around the edges of the firebox for air circulation. Once the firebox is complete, make sure to seal it off using more blocks of fire clay. Be sure to leave a small hole at the top for exhaust. For the chimney, you’ll want to make sure it is wide enough for air to flow through it.
Insulate the Kiln
Once you have finished building the base of your kiln and the firebox and chimney, it’s time to start insulating! Using a combination of high-heat resistant insulation materials, line the walls of your kiln as well as the firebox and chimney. Not only will this keep your kiln running at peak efficiency, but it will also help keep dangerous amounts of heat away from surrounding walls and furniture.
Install Ventilation Pipes
Ventilation pipes are essential for any good kiln. They not only keep air flowing through your kiln, but they also keep heat away from surrounding surfaces and prevent overheating as well. Use high-heat resistant piping to form a loop between your firebox and chimney. This will allow air and heat to move evenly through your entire system.
Fire the Kiln
Now that you’ve completed construction and installed all the necessary features, it’s time to fire up your homemade kiln! Fill the firebox with fuel, light it, and make sure all elements are properly in place. Give it some time to warm up, then carefully adjust the heat settings until you reach your desired temperature. A good rule of thumb is to start lower and slowly increase as needed.
Testing the Kiln
Now that you have your kiln fired up, it’s best to give it a test run before using it. Load up some materials (clay, ceramic tiles, etc.) and let them bake in your kiln for a few hours at a time. Make sure to keep an eye on your temperature readings at all times and adjust as necessary.
Troubleshooting and Maintenance
As with any homemade project, it’s important to keep up with regular maintenance and routine troubleshooting. Check your pipework at least once every few months for any signs of damage or wear. If anything looks off, replace it immediately! In addition, keep an eye on your firebox too. Make sure there is no debris buildup or any other obstructions that could prevent proper airflow.
Making a kiln at home can be a challenging but rewarding experience. Be sure to follow these steps closely for best results and stay safe throughout the entire process! As long as you have all the materials you need and stay diligent throughout construction, you should be able to create a high-quality homemade kiln in no time.