Glaze drips are an unfortunate reality faced by many people when applying glazing materials. This minor imperfection can cause a large headache trying to clean up, as many people are stumped on how to remove the drips without damaging the rest of the surface. Fear not, however, as we have compiled a series of tips and tricks to help you remove glaze drips with minimal effort and damage.
What Causes Glaze Drips?
Glaze drips can occur for a variety of reasons. Sometimes, people attempt to apply glaze too quickly, resulting in a thin coat that drips down as it dries. This usually happens when glazing with a brush. In addition, glaze material can thicken over time, and if it does not get mixed properly before application, it will leave glaze drips on the surface. Improperly cleaned surfaces can also lead to the material not adhering correctly and dripping down before it can dry.
In some cases, glaze drips can be caused by the application of too much glaze. If the glaze is applied too thickly, it can cause the material to run down the surface before it has a chance to dry. Additionally, if the glaze is applied in too many layers, it can cause the material to become too heavy and drip down the surface. Finally, if the glaze is applied in an uneven manner, it can cause the material to pool in certain areas and drip down the surface.
Preparing the Surface for Glazing
If you are planning on glazing, it is important to clean and prepare the surface for application. Before applying any glaze, use a cloth to remove any dirt and debris from the surface, especially any areas that may have come into contact with moisture. Once the surface is clean, make sure to dry it properly before applying the glaze.
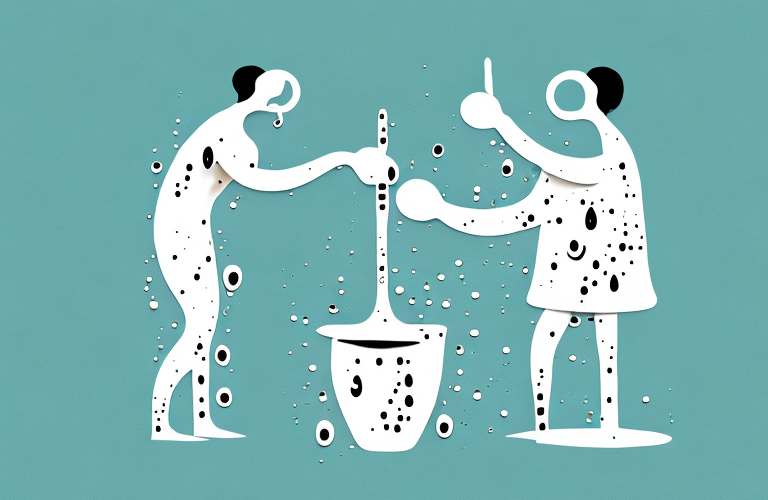
Proper Mixing of Glazing Materials
As mentioned earlier, glaze materials can thicken over time, so it is important to make sure you mix them thoroughly prior to application. If you are using a traditional glazing medium such as liquid or paste, stir the mixture with a paint stick until it is fully blended. If you are using a powdered glazing medium, mix it with a small amount of water to reach the desired consistency.
Applying Glaze
Now that the surface is prepared and the glaze material is mixed, you are ready to apply the glaze to your surface. Start by taking a brush and apply the glaze in smooth, steady strokes, making sure to coat the entire area. If you are using a brush-on glazing material, it is important to avoid applying too much pressure as this will cause the material to drip down the surface before it has time to dry. Allow ample time for the material to dry completely before proceeding.
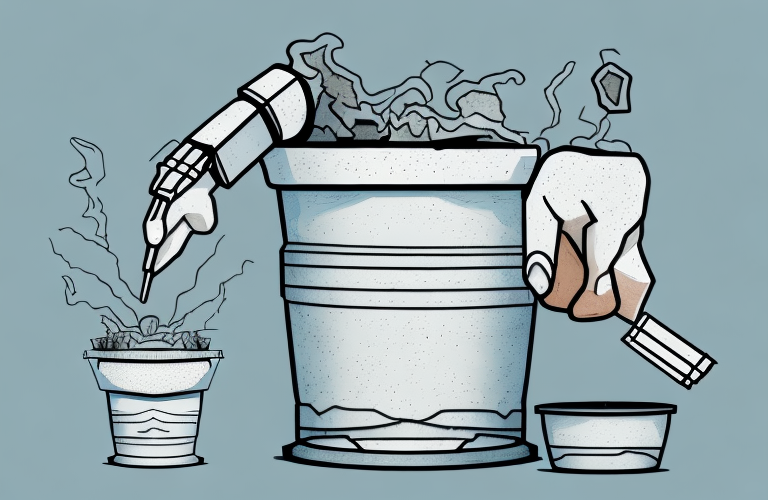
Removing Excess Glaze
Once the glaze is dry, examine the surface for any areas where there may be excess glaze. If you find any spots where the glaze has dripped down, use a razor blade and gently scrape away any excess material. Make sure not to press too hard, as this could cause damage to the surface below.
Solvents to Remove Glaze Drips
Another option to remove glaze drips is to use a solvent-based cleaner. Solvents such as methylene chloride or lacquer thinner will dissolve the glaze and allow it to be wiped away easily. However, it is important to make sure the area is well ventilated when using solvents due to their strong odors and potential health risks.
Sandblasting to Remove Glaze Drips
If you are looking for a more aggressive approach, sandblasting is also an effective way to remove glaze drips from a surface. Sandblasting requires special equipment and caution should be taken when using this method as it can easily damage delicate surfaces or components.
Acid Wash to Remove Glaze Drips
An acid wash can also be used to remove glaze drips from a surface. This method uses chemicals that break down the glaze and allow it to be wiped away easily. As with any chemical method of removing glaze, it is important to take all necessary precautions while handling these materials.
Tooling and Finishing to Remove Glaze Drips
For minor cases of glazing drips, simple tooling and finishing techniques may be sufficient for removal. With an appropriate brush or tool, delicately scrape away any excess glaze and then use a finishing material such as wax or oil to smooth out the area. With some light sanding and polishing, this method should help remove any minor glazing imperfections.
Tips to Prevent Future Glaze Drips
With these techniques in mind, here are some tips to help prevent glazing drip recurrence: First, make sure you are using a high-quality glazing medium that has not been stored for long periods of time. Secondly, thoroughly mix your glazing medium prior to application. Thirdly, allow ample time for the material to dry prior to moving on to another step. Finally, be sure to clean and dry any surfaces that will come into contact with your glazing material prior to application.
By following these tips, you should be able to get rid of glaze drips quickly and easily with minimal damage. This should help you maintain your surfaces with professional-grade results!