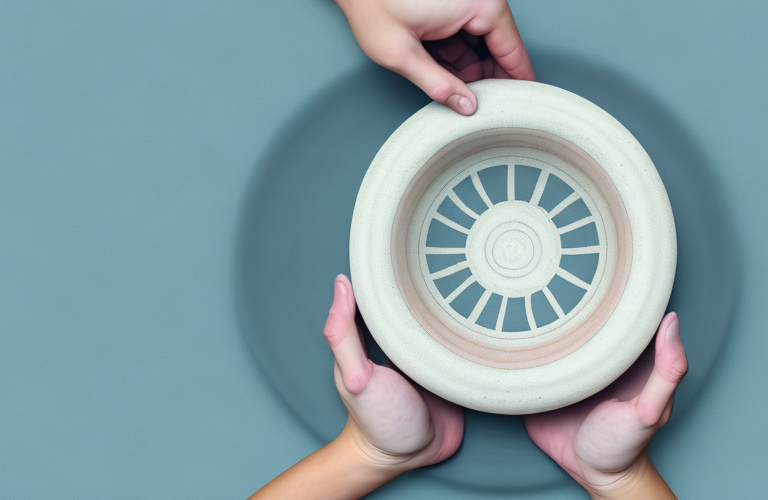
Handbuilding with clay is a timeless art form that can allow you to express your creativity and create useful objects in the process. Before you start handbuilding with clay, however, it’s important to consider whether you need to wedge your clay first. In this article, we will discuss what wedging clay entails, the types of clay that are best suited for wedging, the process of wedging clay, and tips for handbuilding with wedged clay.
What is the Purpose of Wedging Clay?
Wedging clay is the process of kneading and pressing clay to remove any air bubbles or inconsistencies that could cause the clay to explode when baked in a kiln.
Aside from reducing the risk of your work bursting in the kiln, there are also several additional benefits to wedging clay. Kneading the clay serves to make it more pliable and resistant to cracking. The wedging process also makes it easier to center your clay on a wheel, as you’ll more easily be able to form it into a perfectly even cylinder shape.
Types of Clay to Consider for Wedging
The type of clay you select will determine how easy it is to wedge. Generally, hard-baked, low-fire clays are easiest to wedge. These clays contain less water and typically require more force and time to wedge properly. Low fire clays are also less expensive and well suited for beginners.
On the other hand, earthenware and stoneware clays should be avoided for wedging projects. This is because these types of clay contain more moisture and require more moisture to remain supple. As such, they’ll be difficult to wedge without risking cracking.
Benefits of Wedging Clay
The wedging process not only helps you form a more consistent structure, but it also has some additional benefits. As you knead your clay, it will become stronger and more durable. Overworking your clay can also help to improve its aspects when it comes to adhesion, plasticity, and shrinkage.
Wedging can also help you get rid of any undissolved minerals like gypsum, quartz, and mica that may have been included in the clay in its raw form. Removing these minerals before baking is important as they can all have adverse effects on the finished result, including discoloration, cracking, warping, and other unintended effects.
The Process of Wedging Clay
Wedging your clay is not as daunting a task as it might seem. All you need to do is mound the clay on a flat surface like a slab roller or a table, and press your thumbs into the center of the mound. The key to successful wedging is to knead and press the clay vigorously for following repeated steps:
- Lift one side of the mound over the other.
- Press down on the top and rotate the clay around its axis.
- Repeat these steps several times.
As you’re wedging, watch out for any cracks in the clay—they will appear less visible against a lighter homemade self-made board or a silica based glazing compound. The wedging process should be complete when the clay forms a cylinder shape and no further inconsistencies appear.
Tips for Handbuilding with Wedged Clay
Once your clay is ready for use, here are some tips for handbuilding with wedged clay:
- Make sure the workspace is clean from any foreign substances that may have gotten into your clay.
- Keep your tools clean as you work, to avoid transferring and bacteria.
- Be gentle when joining pieces of clay together. Make sure there are no air bubbles trapped between the pieces.
- Bare hands are best when molding the clay together while it is still wet. Using tools may cause the clay to crack.
- Allow the finished clay pieces to dry slowly and naturally before baking them in order to prevent cracking.
Common Mistakes to Avoid When Wedging Clay
Though wedging your clay can seem intimidating at first, getting the hang of it only takes some practice. Here are some mistakes people often make when wedging:
- Not adding enough force when pressing into the mound—this can cause uneven texture in the finished product.
- Not working long enough—the kneading process needs to be repeated several times for a successful result.
- Not rotating the mound as you press—this can lead to surface imperfections in the finished work.
- Using tools when kneading—using your hands helps keep the clay together while allowing it to keep its form.
Alternatives to Handbuilding with Wedged Clay
If you don’t want to go through the process of wedging your clay before handbuilding, there are still several options available for making pieces without wedged clay. You can purchase pre-wedged potter’s clay, which eliminates the need for kneading. Air drying clays can also provide an alternative option, as they require no kiln firing process.
Overall, wedging your own clay is often beneficial in ensuring higher quality pieces. Nevertheless, wedging isn’t always necessary if you’re comfortable working with pre-wedged or air-drying clays. Each type of clay has its advantages and disadvantages; it’s up to you to choose which type is best suited for your project.