Welcome to the world of wheel throwing pottery! This is an exciting and rewarding craft that requires attention to detail, practice, and patience. In this article, we will be discussing everything you need to know about wheel throwing pottery. From the basics of understanding the concepts to the finished product in your hands, we’ve got you covered. We will cover choosing the right clay, preparing your work area, centering your clay on the pottery wheel, shaping your pottery, add handles, spouts, and other decorative elements, drying and trimming your wheel-thrown pottery, firing and glazing your pottery, troubleshooting common problems, and styling and displaying your finished pottery pieces. So, let’s get started!
The Basics of Wheel Throwing Pottery: Understanding the Concepts
Before you begin your pottery journey, it is essential to understand the concepts of this craft. Wheel throwing pottery is a method of creating vessels, plates, and other forms by shaping clay on a pottery wheel. The wheel spins as you manipulate the clay with your hands and tools to create a pot. In general, there are three stages of pottery making: centering, shaping, and trimming. Understanding these concepts is crucial to creating beautiful pottery pieces, and we will be discussing each one in detail throughout this article.
Another important aspect of wheel throwing pottery is the type of clay used. There are various types of clay available, each with its unique properties and characteristics. Some clays are better suited for specific forms or techniques, while others are more versatile. It is essential to choose the right clay for your project to achieve the desired results. Additionally, the firing process is also crucial in pottery making. The temperature and duration of firing can affect the final outcome of your piece, including its strength, color, and texture. Therefore, it is essential to have a good understanding of the firing process and how it can impact your pottery.
Choosing the Right Clay for Your Pottery Project
Choosing the right clay for your project is critical in making your pieces both beautiful and durable. There are two main types of clay: earthenware and stoneware. Earthenware is smooth and easy to shape, but it is not as durable as stoneware. Stoneware, on the other hand, is more durable and ideal for functional pottery pieces like mugs and bowls. The type of glaze you choose will also play a role in the final outcome of your piece. There are many types of glazes, and each will create a different effect on your pottery piece.
When selecting your clay, it is important to consider the firing temperature. Earthenware is fired at a lower temperature than stoneware, which can affect the final outcome of your piece. If you are looking for a more rustic or organic look, earthenware may be the better choice. However, if you want a more polished and refined finish, stoneware may be the way to go.
Another factor to consider when choosing your clay is the source. Some potters prefer to use locally sourced clay, as it can add a unique character to their pieces. However, if you are just starting out, it may be easier to use commercially available clay until you become more familiar with the process.
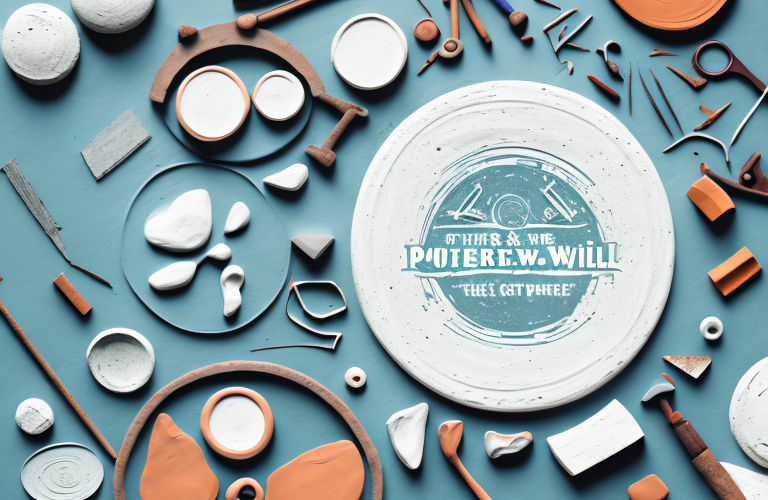
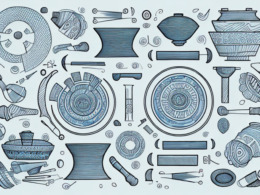
Preparing Your Work Area and Tools for Wheel Throwing
Before getting started on your project, it’s important to prepare your work area and tools. Make sure your workspace is clean, clutter-free, and well-lit. Gather all the necessary tools, including a pottery wheel, clay, throwing sponge, trimming tools, wire cutter, and water bucket. Set up your wheel in a comfortable area and adjust it to your height for optimum comfort.
Once you have gathered all your tools, it’s important to check them for any damage or wear and tear. Replace any tools that are broken or worn out to ensure that you have the best possible results. Additionally, it’s a good idea to have a spare set of tools on hand in case any of them break during the throwing process.
Another important aspect of preparing your work area is to ensure that you have proper ventilation. Pottery clay can produce dust and fumes that can be harmful if inhaled. Make sure that your workspace is well-ventilated, either by opening windows or using a fan or air purifier. This will help to keep you safe and healthy while you work on your project.
Step-by-Step Guide to Centering Clay on the Pottery Wheel
Centering clay on the pottery wheel is a crucial step in the pottery-making process. It involves shaping the clay into a symmetrical and balanced form to allow for a better overall shape. Follow these simple steps to center your clay on the pottery wheel correctly:
- Wedge your clay to remove air pockets and create a smooth texture.
- Place the clay ball in the center of the wheel, and press it down to secure it to the wheelhead.
- Turn on the wheel and wet your hands with water. Use your hands to apply pressure to the center of the clay, making sure it is centered on the wheelhead.
- Continue applying pressure until the clay is centered and symmetrical in shape.
It is important to note that centering clay can take some practice to master. Don’t get discouraged if your first few attempts are not successful. Keep practicing and adjusting your technique until you achieve the desired results. Additionally, it is recommended to use a clay that is appropriate for wheel throwing, as some types of clay may be more difficult to center than others.
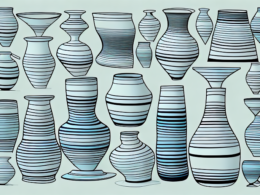
Shaping Your Pottery: Techniques and Tips for Success
Once your clay is centered, it’s time to begin shaping your pottery. Shaping involves creating the desired form by manipulating the clay on the wheel. There are many techniques and tips to shape your pottery successfully, such as using your fingers and hands to pull the clay upwards while keeping the thickness even throughout the form. Practice will help you learn various techniques, and it’s essential to build your skills gradually.
Another important aspect of shaping your pottery is paying attention to the moisture content of the clay. If the clay is too dry, it will crack and be challenging to shape. On the other hand, if the clay is too wet, it will be challenging to control and may collapse. It’s crucial to find the right balance of moisture for your specific clay and environment. You can adjust the moisture content by adding water or letting the clay dry out slightly before shaping.
Adding Handles, Spouts, and Other Decorative Elements to Your Pottery
Adding handles, spouts, and other decorative elements to your pottery is a fun way to add personality and functionality to your finished piece. Handles can be added to mugs, bowls, and even vases, while spouts can be added to teapots or pitchers. To add these elements, you can attach them to the piece using clay slip, which is a mixture of clay and water.
When adding handles, it’s important to consider the size and shape of the piece. A handle that is too small or too large can throw off the balance of the piece and make it difficult to use. Additionally, the placement of the handle should be considered for both functionality and aesthetics. A handle that is placed too low on a mug, for example, may make it difficult to hold and drink from.
Spouts can also be a fun and functional addition to pottery. When adding a spout, it’s important to ensure that it is properly attached and sealed to prevent leaks. The size and shape of the spout should also be considered for both functionality and aesthetics. A teapot with a small spout may be difficult to pour from, while a teapot with a large spout may look unbalanced.
Drying and Trimming Your Wheel Thrown Pottery: Essential Steps
After shaping your pottery, it’s time to dry and trim your pieces. Drying your pottery must be done slowly, as quick drying can lead to cracking or warping. Once the piece is completely dry, it’s time to trim. Trimming is the process of smoothing out the bottom and edges of the piece, which makes it more stable and comfortable to use.
It’s important to note that the drying time for pottery can vary depending on the size and thickness of the piece. A general rule of thumb is to allow one day of drying time for every quarter inch of thickness. Additionally, it’s recommended to cover your pottery with a plastic bag or wrap during the drying process to prevent it from drying too quickly or unevenly.
Firing and Glazing Your Pottery: What You Need to Know
After trimming, your piece is ready for firing and glazing. Firing your pottery must be done in a kiln to convert the clay into ceramics. A bisque firing is the first firing to harden the clay, while a glaze firing is done to add color and shine to your piece. Glazing your pottery involves adding a layer of colored liquid onto the piece and firing it into the clay. There are lots of techniques and styles to choose from when it comes to glazing pottery.
Troubleshooting Common Problems with Wheel Thrown Pottery
During the pottery making process, it’s common to run into problems such as cracking or warping. Understanding these issues and how to fix them is crucial to creating beautiful pottery pieces. Some solutions include adding a support coil to the bottom of the piece, slowing down the drying process, or adding a mixture of clay slip and water onto the problem area.
Styling and Displaying Your Finished Pottery Pieces
Now that you have a finished piece, it’s time to display it in such a way that it showcases its beauty. Styling and displaying your pottery pieces can be as simple or as elaborate as you like, but remember to give your piece the attention it deserves by placing it in the perfect spot in your home, office, or studio. Also, consider taking photos of your finished pieces for your portfolio or social media pages.
The Benefits of Learning Wheel Throwing Pottery as a Hobby or Profession
Learning wheel throwing pottery can be a therapeutic, relaxing, and fulfilling hobby. It also has great potential as a career, and many people have turned their passion for pottery into successful businesses. Pottery making allows you to express yourself creatively and produces a physical item that you can touch and use. So, pick up some clay and get started on your wheel throwing pottery journey today!