If you’re interested in creating pottery, then learning how to throw on the wheel is an essential skill to master. This guide will walk you through every step of the process, from setting up your workspace to firing and glazing your finished pots. By the end of this article, you’ll have all the knowledge you need to create beautiful and functional pottery on the wheel.
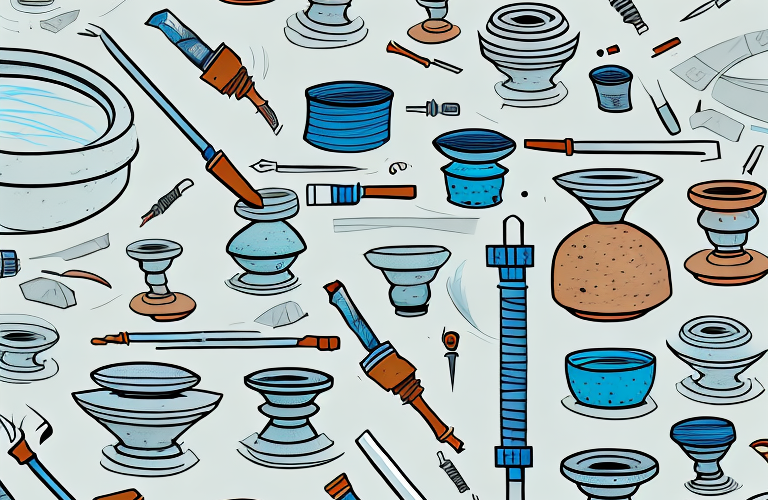
Gathering Your Materials and Tools
Before you begin throwing on the wheel, you’ll need to gather the necessary materials and tools. This includes pottery clay, which can be purchased at your local art supply store or online. You’ll also need a pottery wheel, a throwing bucket, a sponge, a wire tool, and various trimming and shaping tools. Make sure you have all of these items within reach before you begin.
It’s important to note that not all pottery clay is created equal. There are different types of clay that are better suited for certain projects or techniques. For example, porcelain clay is known for its smooth texture and ability to hold intricate details, while stoneware clay is more durable and can withstand high temperatures. Do some research or ask for advice from a pottery expert to determine which type of clay is best for your project.
Additionally, it’s important to have a clean and organized workspace before you begin. Pottery can be a messy process, so make sure you have a designated area with easy-to-clean surfaces. It’s also a good idea to have a bucket of water nearby for cleaning your tools and hands throughout the process.
Preparing Your Clay
Once you have all of your materials and tools ready to go, it’s time to prepare your clay. Start by wedging your clay thoroughly to remove any air pockets and ensure it’s evenly mixed. Next, weigh out the amount of clay you want to use for your pot, and shape it into a ball. Finally, place your clay ball on your wheel and use your hands to center it, making sure it spins smoothly and evenly.
It’s important to note that different types of clay require different preparation methods. For example, if you’re working with porcelain clay, you’ll need to be extra careful when wedging to avoid cracking or tearing the clay. Additionally, some clays may require soaking or kneading before wedging to achieve the desired consistency. Be sure to research the specific type of clay you’re using and follow the appropriate preparation steps.
Centering Your Clay
Now that your clay is on the wheel and properly positioned, it’s time to center it. This is an essential step in the throwing process, as it ensures your pot will be symmetrical and balanced. Use your hands to push the clay ball towards the center of the wheel, while simultaneously pressing it down and outwards. This should create a cone shape, with the clay perfectly centered on the wheel.
Once your clay is centered, you can begin to shape it into your desired form. Keep in mind that the pressure and speed of your hands will affect the thickness and height of your pot. Take your time and work slowly, making small adjustments as needed. It’s also important to keep your hands wet throughout the process, to prevent the clay from sticking to your fingers.
If you’re having trouble centering your clay, don’t get discouraged. It takes practice and patience to master this skill. Try watching online tutorials or taking a pottery class to learn from experienced potters. Remember, every potter has their own unique style and technique, so don’t be afraid to experiment and find what works best for you.
Opening the Clay
With your clay centered and ready to go, it’s time to make an opening in the center of your pot. Use your thumbs to press down into the center of the clay, creating a hole. Slowly widen the hole by pressing your thumbs outwards, being careful not to create too much pressure and cause the clay to move off-center. This opening will become the base of your pot, so take your time and make it as even and symmetrical as possible.
Once you have created the opening in the center of your clay, you can start to shape the walls of your pot. Use your fingers to gently pinch and pull the clay upwards, gradually creating the desired height and shape. Keep in mind that the thickness of the walls should be consistent throughout the pot, and that any unevenness can cause the pot to crack during firing. Take your time and work slowly, enjoying the process of creating something beautiful and unique.
Pulling Up the Walls of Your Pot
Now that you have a base for your pot, it’s time to start pulling up the walls. Use your hands to shape and mold the clay, slowly pulling up the walls while using your fingers to shape the pot’s form. This is a delicate process, and you should take your time to ensure that the walls are straight and even. Use your water sponge to keep the clay moist and workable as you continue to shape your pot.
As you pull up the walls of your pot, you may notice that the clay becomes thinner towards the top. To prevent the walls from becoming too thin and fragile, you can use a technique called “collaring.” This involves using your fingers to gently press the clay back in towards the center of the pot, creating a thicker and stronger wall. Collaring can also help to refine the shape of your pot and create a more uniform thickness throughout.
Shaping and Trimming Your Pot
Once you’ve pulled up the walls of your pot, it’s time to focus on shaping and trimming it. Use a variety of pottery tools to add design elements and trim away any excess clay. This can include trimming the base of the pot, adding grooves or cutouts to the sides, or shaping the lip of the pot for a more unique look.
When shaping your pot, it’s important to consider the function of the piece. If it’s meant to hold water or other liquids, you’ll want to make sure the walls are thick enough to prevent leaks. On the other hand, if it’s purely decorative, you can focus more on creating intricate designs and shapes.
Trimming is also an important step in the pottery-making process. It helps to refine the shape of the pot and remove any imperfections. However, it’s important not to over-trim, as this can weaken the structure of the pot. Take your time and use a light touch when trimming to ensure the best results.
Adding Decorative Elements to Your Pot
If you want to add any decorative elements to your pot, now is the time to do it. This can include carving designs into the pot, using slip to add texture, or adding a handle or spout. Whatever design elements you choose, make sure they complement the overall shape and style of the pot.
Finishing and Drying Your Pot
Once you’re satisfied with the shape and design of your pot, it’s time to let it dry. Carefully remove it from the wheel and place it somewhere where it can air dry for a few days. As it dries, make sure to smooth out any rough spots or edges that may have been left behind during the throwing process. Keep an eye on it as it dries, and make any necessary adjustments as needed.
Firing and Glazing Your Pot
After your pot has dried completely, it’s time to fire and glaze it. You can either use a kiln or a pottery oven to fire your pot, depending on the materials and equipment you have available. Once your pot is fired, it’s time to add a glaze to give it a finished and polished look. Choose a glaze that complements the colors and design of your pot, and evenly coat it with a brush or spray. Once you’ve applied the glaze, fire the pot one last time to set it for good.
Troubleshooting Common Wheel-Throwing Mistakes
While throwing on the wheel can be a fun and rewarding experience, it’s not without its challenges. Common mistakes include uncentered clay, uneven walls, and misshapen pots. If you’re struggling with any of these issues, try adjusting your technique, slowing down, or asking for advice from a more experienced potter. Don’t get discouraged, as it takes time and practice to master this skill.
Essential Wheel-Throwing Techniques for Beginners
If you’re just getting started with throwing on the wheel, there are a few essential techniques that you should focus on mastering. These include centering your clay, opening your pot, pulling up the walls, shaping and trimming, and adding decorative elements. Practice these techniques until you feel comfortable, and try experimenting with different designs and shapes.
Tips for Creating Unique and Beautiful Pots on the Wheel
To create truly unique and beautiful pots on the wheel, try experimenting with different techniques and designs. Think outside the box and don’t be afraid to take risks. You can also experiment with different clay types and glazes to create custom looks for your pots. And always remember to enjoy the process, as pottery is as much about the journey as it is about the finished product.
Mastering Advanced Wheel-Throwing Techniques
Once you’ve mastered the essential wheel-throwing techniques, it’s time to start experimenting with more advanced skills. These can include carving intricate designs into the clay, adding multiple handles or spouts to your pot, or experimenting with asymmetrical shapes and forms. As you continue to practice and develop your skills, you’ll be able to create even more complex and beautiful pottery on the wheel.
The Benefits of Wheel-Throwing as a Hobby or Career Choice
While throwing on the wheel can be a fun and rewarding hobby, it can also be a viable career choice for those who have a passion for pottery. In addition to the creative benefits of this craft, there are opportunities to sell your work or even teach others. Plus, it’s a great way to build a sense of community and connect with other artists in your area.
In conclusion, throwing on the wheel is a skill that everyone can learn with enough practice and dedication. Using the step-by-step guide outlined in this article, you’ll be able to create beautiful and functional pottery that you can be proud of. Whether you’re looking for a fun new hobby or a career in the arts, throwing on the wheel is a great way to express your creativity and explore your passion for pottery.