Air dry clay is a popular medium for various art and craft projects because of its convenience and affordability. However, one of the most frustrating problems experienced by crafters and artists is the cracking of air dry clay. In this article, we will explore the causes of air dry clay cracks, techniques for preventing and repairing cracks, and general tips for working with air dry clay to achieve successful projects.
Understanding the Causes of Air Dry Clay Cracks
Cracking of air dry clay can occur for several reasons, including the clay’s composition, drying too quickly, or too much moisture present. Air dry clay is usually made up of natural materials such as sand, fibers, and clay. The amount of moisture present in the clay can affect its workability, consistency, and drying time. If the clay dries too quickly or too slowly, it can cause cracks.
Another factor that can contribute to cracking in air dry clay is the thickness of the clay. If the clay is too thick, it can take longer to dry, which can cause cracking. On the other hand, if the clay is too thin, it may not have enough structural integrity to hold its shape and can also crack during the drying process.
It’s important to note that cracking in air dry clay is not always a bad thing. Some artists intentionally create cracks in their clay pieces to add texture and character. However, if you want to avoid cracking in your air dry clay projects, it’s important to take the necessary precautions, such as using the right amount of water, allowing the clay to dry at a consistent rate, and ensuring that the clay is not too thick or too thin.
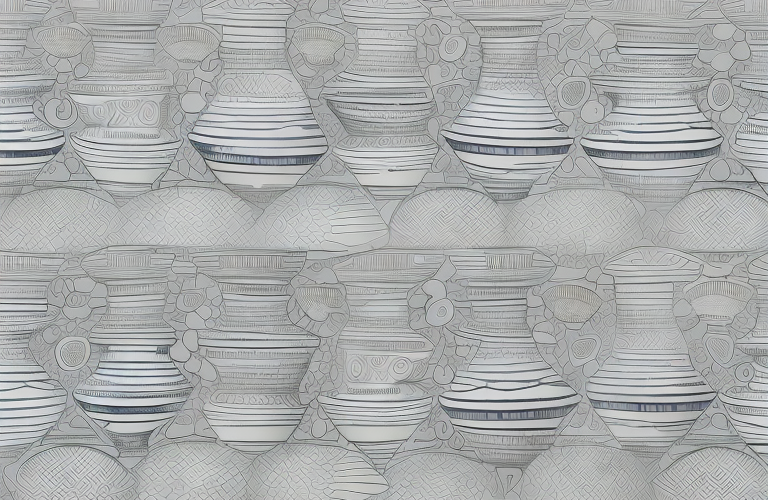
Choosing the Right Type of Air Dry Clay for Your Project
Choosing the right type of air dry clay for your project is essential in preventing cracking. Different air dry clay types have different compositions and properties that can affect their drying time, consistency, and workability. Polymer-based air dry clay is excellent for detailed and intricate projects. Meanwhile, natural air dry clay is perfect for bulk projects or larger creations.
It is also important to consider the color of the air dry clay when choosing the right type for your project. Some air dry clays come in a variety of colors, while others are only available in their natural color. If you plan on painting or decorating your project, then the color of the clay may not matter as much. However, if you want the natural color of the clay to show through, then you should choose a clay that matches your desired color scheme.
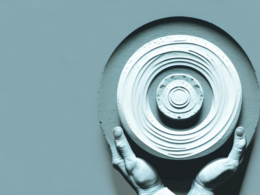
Preparing Your Workspace for Air Dry Clay Projects
Before working with air dry clay, preparing your workspace is crucial in achieving success with your projects. A clean, dust-free, and dry workspace will help you avoid common problems you may encounter while working with air dry clay, such as bubbling and cracking. To minimize the amount of dust in the air, clean your workspace thoroughly before beginning your project, and keep the windows closed if possible.
Another important factor to consider when preparing your workspace for air dry clay projects is the surface you will be working on. It is recommended to use a smooth, non-porous surface, such as a plastic mat or a piece of glass, to prevent the clay from sticking and to make it easier to remove once it has dried. Additionally, you may want to cover your work surface with a layer of plastic wrap or parchment paper to further prevent sticking and make cleanup easier.
Finally, it is important to have all necessary tools and materials within reach before beginning your project. This includes clay sculpting tools, a rolling pin, and any additional materials you may need for your specific project, such as paint or embellishments. Having everything organized and easily accessible will help you stay focused on your project and avoid unnecessary interruptions or delays.
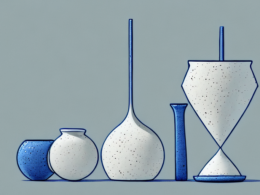
Essential Tools and Materials for Working with Air Dry Clay
There are several tools and materials that you need to work with air dry clay properly. Basic tools include a rolling pin, cutting tools, shaping tools, smoothing tools, and a damp sponge. You may also need additional materials, such as sandpaper, varnish, or paint, depending on the project you intend to undertake.
Another important tool to consider when working with air dry clay is a clay extruder. This tool allows you to create consistent shapes and sizes for your clay projects. Additionally, you may want to invest in a clay storage container to keep your clay fresh and prevent it from drying out. It’s also important to have a clean work surface and a set of measuring tools to ensure accuracy in your projects.
Techniques for Properly Kneading and Conditioning Air Dry Clay
Kneading and conditioning air dry clay are essential steps in ensuring that it is workable and pliable. Before beginning your project, knead the clay thoroughly to distribute the moisture evenly. Conditioning the clay by kneading and rolling it on your workspace will make it easy to mold into your preferred shape and texture.
It is important to note that over-kneading air dry clay can cause it to become too dry and brittle. To avoid this, periodically check the clay’s moisture level while kneading. If it starts to feel too dry, add a small amount of water and continue kneading until it reaches the desired consistency. Additionally, if you are working with colored clay, be sure to wear gloves to prevent staining your hands.
How to Roll Out and Cut Air Dry Clay without Cracking
Rolling out and cutting air dry clay are delicate and intricate processes that require precision and gentle handling. To prevent cracking, avoid rolling the clay too thin and maintain an even pressure when cutting it. It is also vital to ensure that the clay is evenly distributed across the workspace and none of its parts are thicker than others.
Another important factor to consider when working with air dry clay is the humidity level in the room. If the air is too dry, the clay may crack or dry out too quickly. To prevent this, you can cover the clay with a damp cloth or mist it with water periodically while working with it.
Additionally, it is recommended to let the clay dry slowly and evenly. This can be achieved by placing the clay on a flat surface and covering it with a plastic wrap or a damp cloth. Avoid exposing the clay to direct sunlight or heat sources, as this can cause uneven drying and cracking.
Tips for Properly Shaping and Sculpting Air Dry Clay
Shaping and sculpting air dry clay require patience, skill, and attention to detail. For best results, work with small portions of the clay, and ensure that it is moist enough to be pliable. Use shaping tools and cutting tools to create your desired texture and patterns, but avoid overworking the clay, as this can cause it to become brittle and crack.
It is also important to keep in mind that air dry clay can shrink as it dries, so be sure to account for this when shaping and sculpting. To prevent cracking, allow the clay to dry slowly and evenly, and avoid exposing it to direct sunlight or heat sources. Once the clay is completely dry, you can sand it down and paint it to add the finishing touches to your creation.
How to Smooth Out Imperfections in Air Dry Clay Projects
Smooth out minor imperfections in your air dry clay projects by using a damp sponge or sandpaper. Wet the sponge or sandpaper lightly, and gently rub it over the part of the project with a blemish. This will smoothen over the rough surface and create a more polished finish.
For larger imperfections, you can use a clay smoothing tool or a modeling tool to scrape away the excess clay. Once you have removed the excess clay, use the damp sponge or sandpaper to smooth out the surface. If the imperfection is too deep, you can fill it in with a small amount of fresh clay and smooth it out with the same technique.
Drying and Curing Methods for Air Dry Clay
Air dry clay usually takes about 24 to 48 hours to dry and cure fully. To avoid cracking, ensure that your project dries slowly and evenly. Place it in a dry area that is free from dust and moisture, and turn it over periodically to ensure that it dries evenly.
Common Mistakes to Avoid When Working with Air Dry Clay
One of the most common mistakes that crafters and artists make when working with air dry clay is applying paint or finish to the project while it is still wet. This can cause the surface to crack or bubble, ruining the overall finish. Ensure that your project is entirely dry before applying the finishing touches.
Troubleshooting Common Issues with Cracking in Air Dry Clay
If you encounter cracking issues with your air dry clay projects, refer to your workspace and tools’ preparation, drying and curing methods, and the amount of moisture present in the clay. Identifying the root cause can help you prevent similar issues from happening in the future.
How to Repair Cracked or Damaged Air Dry Clay Projects
To repair a cracked or damaged air dry clay project, moisten the broken parts slightly and apply clay to fill the gaps. Smooth the clay over the cracks and allow it to dry before sanding and refining it to match the rest of the project’s surface. You can then paint or varnish it to achieve the desired finish.
Tips for Preventing Future Cracking in Your Air Dry Clay Projects
To prevent cracking in your air dry clay projects, avoid overworking the clay, dry it slowly and evenly, and ensure that your workspace is clean and free from dust. If you encounter any cracking or shaping issues, refer to our troubleshooting tips to identify and address the root cause.
Creative Ideas for Using Air Dry Clay in Your Art and Craft Projects
Air dry clay is an excellent medium for various art and craft projects, ranging from miniature sculptures to jewelry and home decor. Experiment with mixing it with other mediums such as paint, wire, or beads to create unique textures and patterns. Some creative ideas include making wall hangings, planters, and holiday ornaments.
In conclusion, working with air dry clay requires patience, skill, and attention to detail. Preventing cracking involves proper preparation, technique, and drying and curing methods. Use the tips and tricks outlined in this article to achieve successful and stunning air dry clay projects. Happy creating!