If you’re a pottery enthusiast, then you know how important it is to understand every aspect of clay production. From the composition and properties of clay to the various stages of production, each step plays a crucial role in creating a beautiful, functional piece of pottery. In this article, we’ll take an in-depth look at the 7 stages of clay production, along with tips and tricks for troubleshooting and finding inspiration for your unique designs.
Understanding the Basics of Clay: From Composition to Properties
Before we dive into the different stages of clay production, it’s important to have a solid understanding of the basics. Clay is a type of sedimentary rock that is formed from the breakdown of other minerals and materials. It is composed mainly of silica, alumina, and water. The proportions of these elements determine the properties of the clay, such as its color, texture, and plasticity.
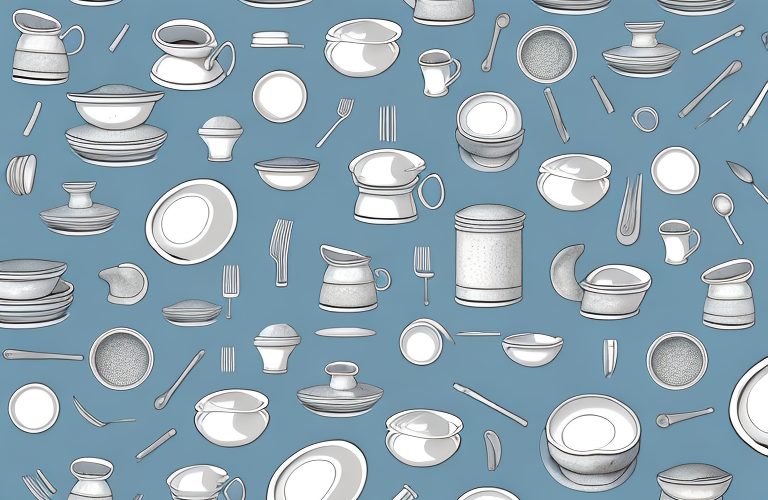
There are several different types of clay, including earthenware, stoneware, and porcelain. Earthenware clay is the most common type and is used for making dishes, pots, and other household items. Stoneware is more durable and is often used for making decorative pieces, while porcelain is known for its delicate, translucent quality.
Clay has been used for thousands of years by various cultures for a variety of purposes, including pottery, sculpture, and even as a building material. In fact, some of the oldest known pottery pieces date back to around 20,000 BCE and were made using clay.
One of the unique properties of clay is its ability to retain water. This makes it an ideal material for creating vessels that can hold liquids, such as cups and bowls. However, this property can also make clay susceptible to cracking and warping if it is not properly dried and fired.
The 7 Stages of Clay: A Comprehensive Overview
Now that we have a basic understanding of clay composition and properties, let’s move on to the 7 stages of clay production.
Preparing Your Workspace and Tools for Pottery Making
Before you begin any clay-related project, it’s important to have the proper workspace and tools. Your workspace should be clean, well-lit, and equipped with a table or other flat surface for working on. You’ll also need various tools, such as a pottery wheel, kiln, clay cutters, and scoring tools.
Stage 1: Wedging and Kneading the Clay for Consistency
The first stage of clay production is wedging and kneading. This involves working the clay back and forth in your hands to remove any air bubbles and create a consistent texture. This helps to ensure that your finished piece will be free of cracks and other imperfections.
Stage 2: Creating a Solid Foundation with Slab Building Techniques
Slab building is a technique that involves rolling out thin sheets of clay and layering them to create a textured effect. This is often used for decorative pieces and can be combined with other techniques to create unique designs.
Stage 3: Hand Building Techniques for Shaping Clay into Forms
Hand building involves using your hands and simple tools to shape the clay into various forms, such as bowls, vases, and other decorative items. This technique is often used for creating unique, one-of-a-kind pieces that are both aesthetically pleasing and functional.
Stage 4: Throwing on the Wheel to Create Symmetrical Objects
Throwing on the wheel is a classic pottery technique that involves shaping the clay on a spinning wheel. This allows for greater precision and symmetry in your finished piece. It takes a lot of practice and patience to master this technique, but it can result in beautiful, functional pieces that are sure to impress.
Stage 5: Trimming and Smoothing the Clay to Refine Your Work
After your piece has taken shape, it’s time to trim and smooth the clay to get rid of any imperfections. This is often done using a sharp blade or other trimming tool, and can take some time to get just right.
Stage 6: Decorating and Finishing Techniques for Unique Designs
Once your clay piece is trimmed and smoothed, it’s time to add some unique decoration and finishing touches. This can include carving, glazing, or stamping the clay to create patterns and textures.
Stage 7: Firing and Glazing Your Pottery to Perfection
The final stage of clay production is firing and glazing your piece in a kiln. This allows the clay to become hard and durable, and also adds a layer of protection from the elements. Glazing adds an extra layer of color and texture to your piece, giving it a unique and finished look. It’s important to follow the firing and glazing instructions carefully to ensure that your piece comes out just right.
It’s important to note that each stage of clay production requires patience and attention to detail. Rushing through any of the stages can result in a finished piece that is flawed or structurally unsound. It’s also important to experiment with different techniques and styles to find what works best for you and your artistic vision. With practice and dedication, you can create beautiful and unique pieces that showcase your creativity and skill.
Common Mistakes to Avoid During Each Stage of Clay Production
While there are many different techniques and stages involved in clay production, there are also some common mistakes that can be made along the way. One of the biggest mistakes is not properly wedging and kneading the clay, which can lead to cracks and other imperfections in the finished piece. Other mistakes include not using the proper tools or not following the firing and glazing instructions carefully. By being aware of these common mistakes and taking steps to avoid them, you can ensure that your clay pieces come out beautifully every time.
Another common mistake in clay production is not properly preparing the clay before starting to work with it. This can include not properly storing the clay, which can cause it to dry out or become too wet, or not properly conditioning the clay to make it more pliable and easier to work with. It’s important to take the time to properly prepare your clay before starting any project.
Additionally, not taking the time to properly clean and maintain your tools and workspace can also lead to mistakes in clay production. Dirty tools can contaminate the clay and cause it to become unusable, while a cluttered workspace can make it difficult to focus and properly execute your project. Taking the time to clean and organize your tools and workspace can help ensure a successful clay production process.
Tips for Troubleshooting Issues with Your Clay
If you do run into issues with your clay, there are several troubleshooting tips you can try. This can include adding a small amount of water to the clay to make it more pliable, or using a different tool to shape or smooth the clay. It’s also important to take your time and be patient when working with clay, as rushing can often lead to mistakes.
Another tip for troubleshooting issues with your clay is to check the temperature and humidity of your workspace. If the environment is too dry, the clay can become brittle and difficult to work with. On the other hand, if the environment is too humid, the clay can become sticky and hard to shape. Maintaining a consistent temperature and humidity level can help prevent these issues.
If you’re still having trouble with your clay, it may be helpful to consult with other artists or join a clay-specific community online. There are often experienced artists who are willing to offer advice and support to those who are just starting out. Additionally, taking a class or workshop can provide hands-on guidance and help you improve your skills.
Finding Inspiration in Artistic Styles and Techniques from Around the World
If you’re looking for inspiration for your own clay projects, there are many artistic styles and techniques from around the world to draw from. From Japanese raku pottery to African tribal ceramic art, there are endless possibilities for creating unique and beautiful pieces of pottery.
One style that has gained popularity in recent years is Scandinavian pottery. Known for its minimalist and functional designs, Scandinavian pottery often features clean lines and simple shapes. This style can be a great source of inspiration for those looking to create pieces that are both beautiful and practical.
Another technique to consider is the use of texture in pottery. This can be achieved through a variety of methods, such as carving, stamping, or adding texture with tools. By incorporating texture into your pieces, you can create a tactile experience for the viewer and add visual interest to your work.
The Benefits of Pottery Making for Mental Health and Stress Relief
Aside from being a fun and rewarding hobby, pottery making can also have a positive impact on your mental health and well-being. The creative process of working with clay can be meditative and calming, helping to reduce stress and anxiety. It can also provide a sense of accomplishment and self-confidence when you create a finished piece that you’re proud of.
In addition to the mental health benefits, pottery making can also improve your physical health. The process of kneading and shaping clay can help to improve hand-eye coordination and fine motor skills. It can also provide a low-impact form of exercise, as the movements involved in pottery making can help to strengthen muscles and improve flexibility. Additionally, the act of working with clay can be a form of sensory therapy, as the tactile experience of touching and manipulating the clay can be soothing and grounding.
Showcasing Your Work: Selling, Exhibiting, or Gifting Your Pottery Pieces
Finally, once you’ve created a beautiful piece of pottery, it’s time to showcase it. You can do this by selling your pieces online or at craft fairs, exhibiting your work at galleries or museums, or even gifting your pieces to friends and family. Whatever your method of showcasing your work, be proud of your creations and continue to hone your skills and techniques for even more beautiful results.
Whether you’re a beginner or an experienced pottery enthusiast, understanding the 7 stages of clay production is essential for creating beautiful, functional pieces that will last a lifetime. By following these tips and techniques, you’ll be well on your way to honing your craft and creating unique and beautiful pottery pieces that you can be proud of.
One important aspect of showcasing your pottery pieces is to properly photograph them. Good quality photographs can make all the difference when it comes to selling or exhibiting your work. Make sure to use good lighting and a neutral background to showcase the details and colors of your pieces. You can also consider hiring a professional photographer or taking a photography course to improve your skills in this area.