When it comes to ceramics, glazing is an important part of the process that adds a layer of protection, enhances the visual appeal, and can even alter the texture of your pottery. Glazing is a technique that involves applying a layer of glass-like substance onto the surface of your ceramics that will melt and fuse together during the firing process in a kiln. Whether you’re a beginner or an experienced ceramics artist, learning how to glaze your ceramics at home can be a rewarding and satisfying experience. In this step-by-step guide, we’ll walk you through the process and provide you with valuable tips and advice to achieve the best results possible.
The Benefits of Glazing Your Ceramics
Glazing your ceramics has many benefits. The primary function of glazes is to protect the surface of the pottery from scratches, stains, and general wear and tear. Glazes also enhance the visual appearance of your ceramics by adding color, gloss, and texture. Glazes can also be used to create unique effects like crackling, dripping, or pooling, that can add interest and personality to your work. Furthermore, glazes provide a surface that’s easy to clean, making your ceramics more hygienic and long-lasting.
Another benefit of glazing your ceramics is that it can make them more durable. Glazes can make your ceramics more resistant to chipping and cracking, which can be especially important if you plan to use them for functional purposes like serving food or drinks. Additionally, glazes can help to seal the surface of your ceramics, preventing moisture from seeping in and causing damage over time.
Glazing your ceramics can also be a fun and creative process. There are countless glaze recipes and techniques to experiment with, allowing you to create truly unique pieces of art. Whether you prefer bright and bold colors or subtle and understated tones, there’s a glaze out there that can help you achieve your desired look. Plus, the process of glazing can be a great way to unwind and express your creativity, making it a rewarding hobby for people of all ages and skill levels.
Essential Tools and Materials You’ll Need for Glazing
Before you begin glazing your ceramics, you’ll need to gather a few essential tools and materials. Here’s what you’ll need:
- A slip-resistant work surface
- Glazes and underglazes
- A paintbrush or sprayer
- A glaze mixer or stirring stick
- A bowl of water
- A clean cloth
- Optional: Wax resist, sponges, and carving tools
It’s important to note that the type of glaze you use will depend on the type of clay you’re working with. For example, earthenware clay requires a low-fire glaze, while stoneware clay requires a high-fire glaze. Additionally, if you’re using a sprayer to apply the glaze, make sure to wear a respirator mask to avoid inhaling any harmful particles. Finally, be sure to clean your tools thoroughly after each use to prevent any cross-contamination of glaze colors.
Understanding the Different Types of Glazes
There are various types of glazes to choose from, and each one has its own unique properties and effects. Here are the most common types of glazes:
- Clear Glaze: A transparent glaze that reflects the true color of the clay body underneath.
- Opaque Glaze: An opaque glaze that covers the existing color of the clay body and creates a solid, even finish.
- Metallic Glaze: A glaze that contains metallic particles that create a shiny, reflective surface.
- Matte Glaze: A glaze that has a dull, non-reflective finish.
- Crawling Glaze: A glaze that cracks and separates during firing, creating an irregular texture.
- Craze Glaze: A glaze that creates a crackle effect when it cools, similar to aging porcelain.
When choosing a glaze, it’s important to consider the firing temperature and the type of clay being used. Some glazes are better suited for high firing temperatures, while others work best at lower temperatures. Additionally, certain glazes may react differently with different types of clay, resulting in unexpected colors or textures.
Another factor to consider is the application method. Glazes can be applied by brushing, dipping, or spraying, and each method can produce a different effect. Brushing allows for more control and precision, while dipping can create a more even coat. Spraying can produce a more textured finish, but requires specialized equipment.
Preparing Your Ceramics for Glazing
Before you apply the glaze, it’s important to prepare your ceramics properly. This involves cleaning, drying, and sanding the surface of your ceramics to ensure the glaze adheres properly. Begin by wiping the surface with a clean cloth or sponge to remove any dust or debris. Next, allow your ceramics to air dry or use a hairdryer to speed up the process. Once the ceramics are dry, use a fine-grit sandpaper to smooth out any rough spots or imperfections.
After sanding, it’s important to wipe down the ceramics again to remove any dust or debris that may have accumulated during the sanding process. You can use a damp cloth or sponge to do this. Once the ceramics are clean and dry, you can begin applying the glaze.
It’s also important to note that different types of ceramics may require different preparation methods. For example, if you’re working with earthenware, you may need to soak the ceramics in water before glazing to prevent the clay from absorbing too much moisture from the glaze. Always research the specific requirements for the type of ceramics you’re working with to ensure the best results.
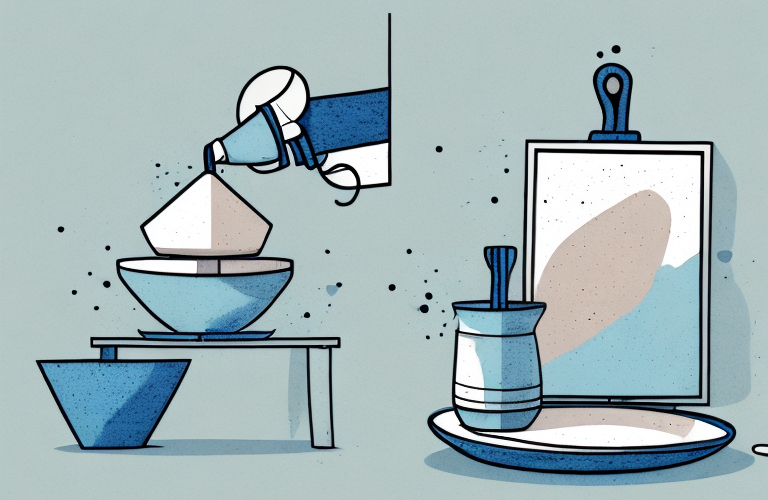
Applying the First Coat of Glaze
Now that your ceramics are prepped and ready, it’s time to apply the first coat of glaze. Before you get started, be sure to mix your glaze thoroughly, as some settling may occur. You can mix the glaze using a glaze mixer, or simply use a stirring stick to blend the glaze evenly. Using a paintbrush or sprayer, apply the glaze evenly to your ceramics, making sure to cover the surface completely. Avoid applying too much glaze, as this can cause dripping or running. If you notice any air bubbles or bumps on the surface of the glaze, gently tap the ceramics to remove them. Allow the first coat of glaze to dry completely, following the manufacturer’s instructions.
It’s important to note that the first coat of glaze is just the beginning of the glazing process. Depending on the desired effect, you may need to apply multiple coats of glaze, allowing each coat to dry completely before applying the next. Additionally, some glazes may require firing in a kiln to achieve the desired finish. Be sure to read the manufacturer’s instructions carefully and follow them closely to ensure the best results for your ceramics.
Tips for Achieving a Smooth and Even Glaze Application
To achieve a smooth and even glaze application, there are a few tips you should follow:
- Use a clean paintbrush or sprayer
- Apply the glaze in thin layers
- Avoid overworking the glaze
- Always mix the glaze thoroughly
- Avoid touching the ceramics with your fingers
- Work in a dust-free environment
Another important tip for achieving a smooth and even glaze application is to make sure that the ceramics are completely dry before applying the glaze. Any moisture on the surface can cause the glaze to bubble or crack, resulting in an uneven finish.
Additionally, it’s important to consider the firing temperature of the glaze. Different glazes have different firing temperatures, and applying a glaze that requires a higher firing temperature than the ceramics can handle can result in cracking or even breakage. Always check the firing temperature of the glaze and make sure it is compatible with the ceramics you are using.
Adding Decorative Elements to Your Glazed Ceramics
Once your first coat of glaze is dry, you can add decorative elements to your ceramics using techniques like wax resist, sponging, or carving. These techniques allow you to create unique patterns and designs on the surface of your ceramics that will stand out once the glaze is fired in the kiln. Wax resist involves applying wax to certain areas of the ceramics that you want to remain unglazed. Sponging is a technique where you use a damp sponge to remove excess glaze, creating a textured effect. Carving involves using a carving tool to create designs or patterns on the surface of the ceramics.
How to Create Unique Color Combinations with Glazes
- Experiment with layering different glazes to achieve unique colors and effects.
- Use contrasting colors to create bold designs.
- Mix your own glazes to achieve custom colors.
Firing Your Glazed Ceramics in a Kiln
After you’ve finished applying the glaze and adding decorative elements, it’s time to fire your ceramics in a kiln. Firing is a crucial step in the glazing process, as it heats the ceramics to a high temperature, allowing the glaze to melt and fuse together, creating a durable and shiny finish. The length and temperature of the firing process will depend on the type of clay and glazes you’re using, so be sure to consult the manufacturer’s instructions before you begin. Once your ceramics have cooled down, you can remove them from the kiln and admire your freshly glazed creations.
Troubleshooting Common Glazing Issues
If you’ve encountered any problems while glazing your ceramics, here are some troubleshooting tips:
- If your glaze is cracking or peeling, your ceramics may not have been prepared properly.
- If your glaze is running or dripping, you may have applied too much glaze or not allowed it to dry completely.
- If your glaze has bubbles or pits in it, you may have applied the glaze too thickly
- If your glaze is too thick or too thin, you may need to adjust the amount of water in the mix.
Maintaining and Caring for Your Finished Glazed Ceramics
To ensure your glazed ceramics last a long time, it’s important to care for them properly. Here are some tips:
- Wash your ceramics by hand with mild soap and water
- Avoid using abrasive sponges or scrubbers
- Avoid exposing your ceramics to extreme temperatures or rapid temperature changes
- Store your ceramics in a dry and clean place, away from direct sunlight
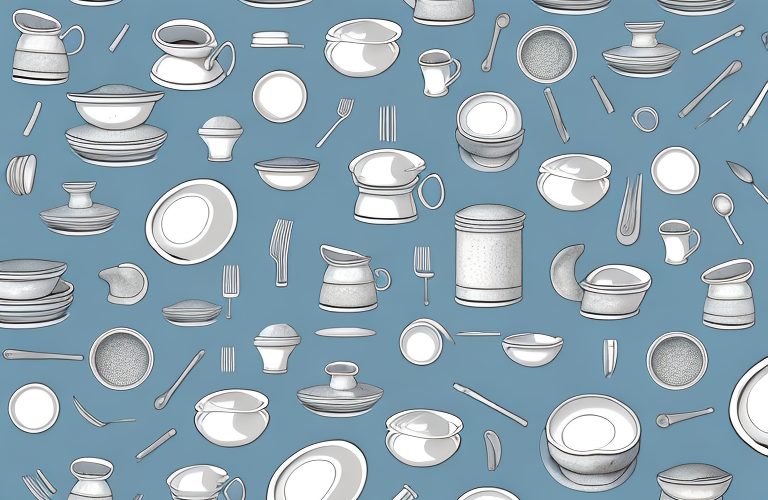
Inspiring Ideas for Using Your Newly-Glazed Ceramics
Now that you’ve learned how to glaze your ceramics at home, the possibilities are endless. Here are some inspiring ideas for using your newly-glazed ceramics:
- Create your own set of matching mugs, plates, and bowls
- Give them as gifts to friends and family
- Display them on a shelf or in a cabinet
- Use them to serve food and drinks at a party or event
In conclusion, glazing your ceramics at home is a fun and rewarding experience that anyone can do. By following these step-by-step instructions and using the right tools and materials, you can create beautiful and unique ceramics that will last a lifetime.