Working with clay is an enjoyable and creative pastime for a variety of skill levels, from beginner to expert. One of the most important steps of the process is correctly drying the clay before trimming it. It’s vital to follow the manufacturer’s instructions, as clay can crack and break if it is not allowed to dry for enough time.
Benefits of Allowing Clay to Dry Before Trimming
By allowing the clay to dry, you’ll get smoother and cleaner trims. The clay will be less likely to slip or pull away when you’re trying to trim it. The higher quality trim also makes it easier to create more intricate pieces. Additionally, drying the clay will make it more durable and reduce your chance of breakage during the trimming process.
Drying the clay also helps to prevent warping and cracking. This is especially important if you are creating pieces that need to be fired in a kiln. If the clay is not dried properly, it can cause the piece to warp or crack during the firing process. Additionally, drying the clay will help to ensure that the colors remain vibrant and true to the original design.
Different Types of Clay and Drying Times
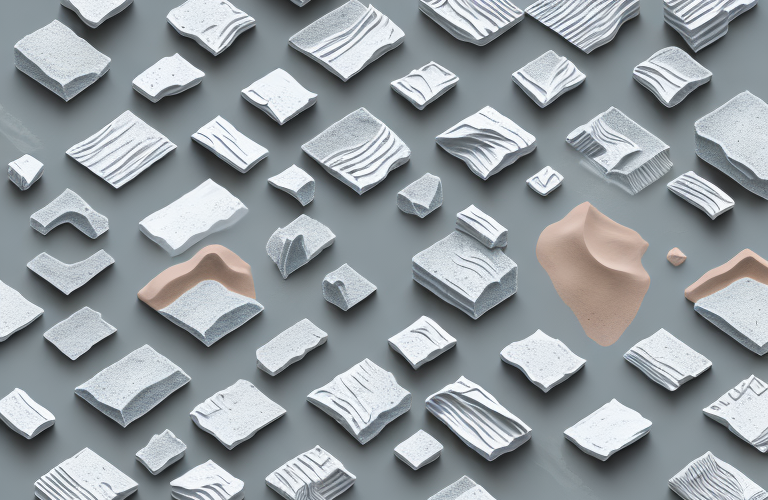
Clay can come in different forms, including moist or wet, so drying times will vary. Regular greenware or moist clay should be allowed to dry slowly and not be placed in temperatures higher than 120F. At this temperature, it will usually take up to several weeks for the clay to dry and be ready for trimming. Wet clay, like paper-mache, should be dried slowly at temperatures around 68F for up to several months.
When drying clay, it is important to keep in mind that the drying process can be affected by the environment. Humidity, air temperature, and air circulation can all have an effect on the drying time. Additionally, the type of clay used can also affect the drying time. For example, porcelain clay will take longer to dry than stoneware clay.
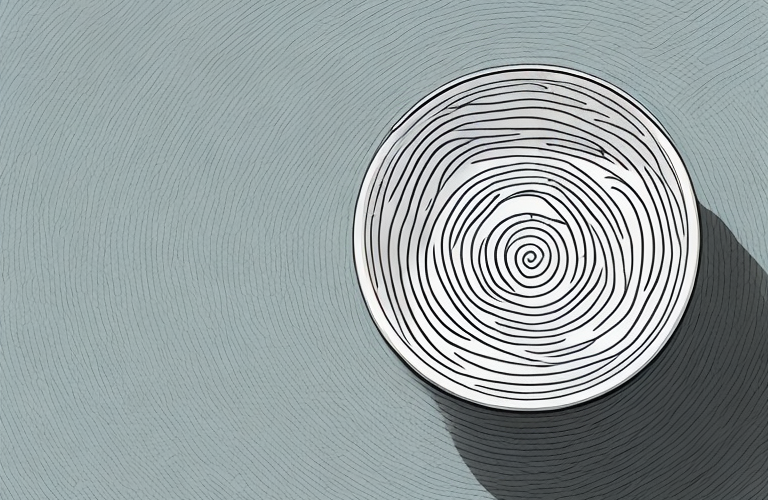
Tips for Determining When Clay Is Dry Enough for Trimming
The easiest way to tell if your clay is ready for trimming is to look for visual signs. If the color of the clay has changed from bright and glossy to powdery and dull, it is likely ready for trimming. Another way to tell if the clay is dry enough is to press your finger lightly onto the clay; if it leaves a mark, it needs more time to dry.
You can also test the clay’s dryness by tapping it lightly with your finger. If it makes a hollow sound, it is likely dry enough for trimming. If the clay is still too wet, it will make a thudding sound. Additionally, if the clay is dry enough, it will be cool to the touch. If it is still warm, it needs more time to dry.
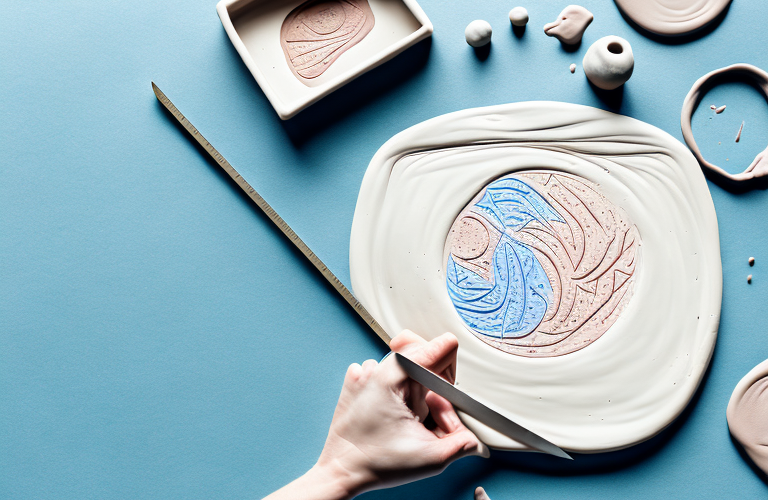
Techniques for Trimming Dry Clay
When your clay has dried sufficiently, you can use a range of tools to begin trimming. A fluted roller or clay shaper can be used to shape flat pieces of clay, while a small hand roller or roller bar can help you roll out larger pieces of clay evenly. For more intricate pieces, a scalpel is your best option.
You can also use a variety of other tools to trim your clay, such as a needle tool, a loop tool, or a ribbon tool. Each of these tools can be used to create different textures and shapes in your clay. Additionally, you can use a wire tool to cut through thicker pieces of clay.
Tools Needed for Trimming Dry Clay
You’ll need to have some basic equipment when trimming dry clay. It’s important to have a flat work surface like a tile table or wooden board in order to maintain an even trim. A sharp knife or scalpel is necessary for making fine cuts, while clay shapers and rollers help with shaping flat pieces of clay. Additionally, you may find that some slip or water are helpful when working with dry clay.
You may also want to have a sponge on hand to help with smoothing out the clay. A wire clay cutter is also useful for cutting through thicker pieces of clay. Finally, a variety of tools such as loop tools, rib tools, and texture mats can be used to add texture and detail to your clay pieces.
Common Mistakes to Avoid When Working with Dry Clay
When working with dry clay, it’s important to resist the urge to race through the process as it can result in more mistakes. Take your time and shape the clay gradually and carefully which will yield better results. It’s better not to try to rush. Additionally, not allowing enough time for your clay to dry fully before trimming is one of the most common mistakes made by those working with clay.
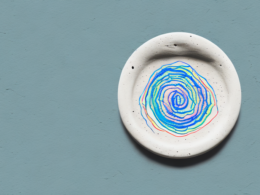
Finishing and Sealing Techniques for Dried Clay Pieces
Once your pieces are trimmed, you’ll need to apply a finishing or sealing product to protect them. A popular choice is glaze, as it helps prevent dirt and other contaminants from getting into the cracks in the clay. After glazing, you can also add decorative elements like engravings or glitters. Finally, after all treatments have been applied and the pieces have dried completely, they are ready use.