Handbuilding pottery is a great way for anyone—from beginner to experienced—to create beautiful objects from clay. But achieving a smooth finish takes practice and the right technique. In this article, we’ll take a look at the benefits of handbuilding pottery, the various steps required, and some tips and tricks for making your creations look polished and professional.
The Benefits of Handbuilding Pottery
Handbuilding pottery allows you to create one-of-a-kind pieces with beautiful detail. Depending on your skills and creativity you can craft anything from an intricate dinner plate to an organic sculpture. Unlike pottery that’s thrown on the wheel, you can create pieces that are slightly out of round and uniquely shaped. And handbuilding gives you the flexibility to make larger pieces than you could on a pottery wheel.
Handbuilding pottery also allows you to experiment with different textures and finishes. You can use a variety of tools to create interesting patterns and textures on the surface of your pottery. You can also use different glazes and finishes to give your pieces a unique look. With handbuilding, you have the freedom to create pieces that are truly unique and one-of-a-kind.
Choosing the Right Clay for Smooth Pottery
Clay comes in a variety of colors and textures, so it’s important to use the right one for your project. You might want to start with a low-fire clay, like earthenware or terra-cotta clays, which are great for beginners because they dry quickly and are easy to work with. More experienced potters may want to use stoneware clay, which doesn’t dry as quickly but is much more durable and can be used for a variety of shapes and sizes.
Basic Steps for Making Handbuilt Pottery
There are several techniques you can use to form your clay into the desired shape, such as building up the walls with coils of clay, creating a flat slab and cutting out a shape, or forming a mound into a cylinder with your hands. Make sure you keep your hands wet while working so the clay doesn’t stick to them. Your piece should also be completely dry before moving on to the next step.
Finishing Techniques for Smoothing Pottery
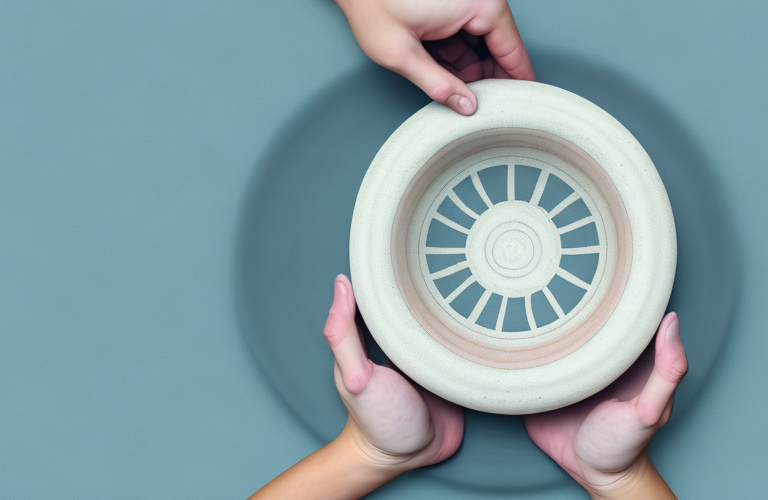
One of the most important steps in making handbuilt pottery seamless is the finishing phase. Start by scoring the piece where two sections meet before adding slip (a mixture of clay and water). Then use a wooden rib tool or metal loop tool to smooth the surface. This can be a time consuming process, but it will be worth it when you have a finished piece with even surfaces that look professionally-made.
Tools to Use for Smoothing Handbuilt Pottery
In addition to the tools used for shaping and sculpting your clay creation, there are several tools that will help with the smoothing process. A sponge can be used to soak up excess moisture and keep your piece from warping. A wire tool can help clean up edges and crevices, as well as smoothing out any rough patches. And finally, a burnishing tool will give your piece an extra sheen and bring out any details.
Tips for Achieving a Smooth Surface on Handbuilt Pottery
Achieving a smooth finish takes practice, but there are a few helpful tips you can use to speed up the process and get better results. Start with a clean work space so you have plenty of room to work. Take your time and be gentle when sculpting and shaping your piece as you don’t want it to look rushed. And finally, use the finishing tools in even strokes to avoid leaving any marks.
Troubleshooting Common Issues with Handbuilt Pottery
If your pottery is looking worse for wear, there are a few things you can do to fix it. If you have cracks or air bubbles in your piece, try wetting and re-melding the clay before shaping again. If your piece is still sticky, try adding more water or letting it dry slowly by covering it with a damp cloth. And for pieces that have warped or become distorted during drying, try restyling them on a flat surface.
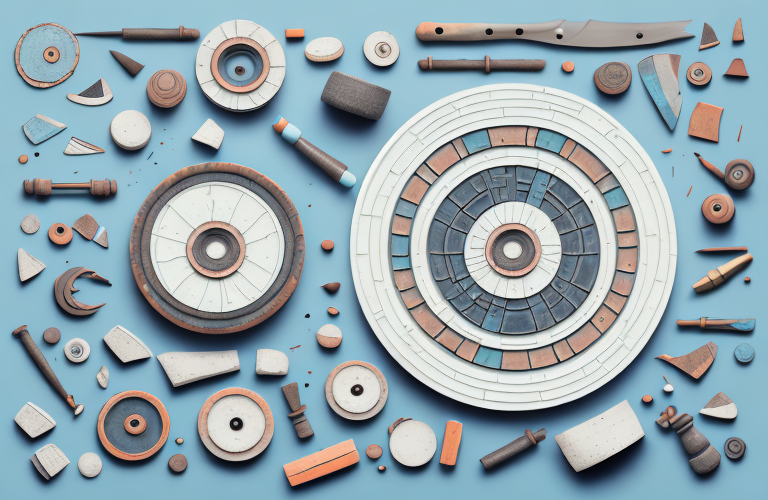
Creative Ideas for Adding Texture to Handbuilt Pottery
Adding texture to your handbuilt pottery can transform it from a bland shape to something truly unique. Texture tools such as loops, combs, stamps, and rasps can help you create interesting patterns on your clay surface. You can also create texture by pressing found objects into the clay to create a bas-relief. Or use carving tools to create ridges and grooves, or apply slip and glaze for a marbled effect.
How to Glaze and Fire Handbuilt Pottery
Once you’ve achieved the perfect texture on your pottery piece, it’s time to glaze and fire it. Glazing is important to make your pottery durable so that it’s food safe and water tight. After adding the glaze, the piece can be fired in a kiln or with an electric pottery wheel at home. Once fired, your handbuilt pottery is complete and ready to be used in everyday life.
Making handbuilt pottery smooth is a time consuming process that requires patience and practice. By following the steps outlined above and employing the right tools, anyone can achieve beautiful results with their own creations. So get out there, get creative, and have fun!