Trimming a pinch pot is an essential step in pottery-making, allowing you to clean up the shape, remove rogue lumps and bumps, and refine the surface for the perfect finish. While it might seem daunting for beginners, with the right tools, technique and practice, anyone can perfect the pinch pot! Read on for a comprehensive guide on how to trim pinch pots.
What Tools are Needed for Trimming Pinch Pots?
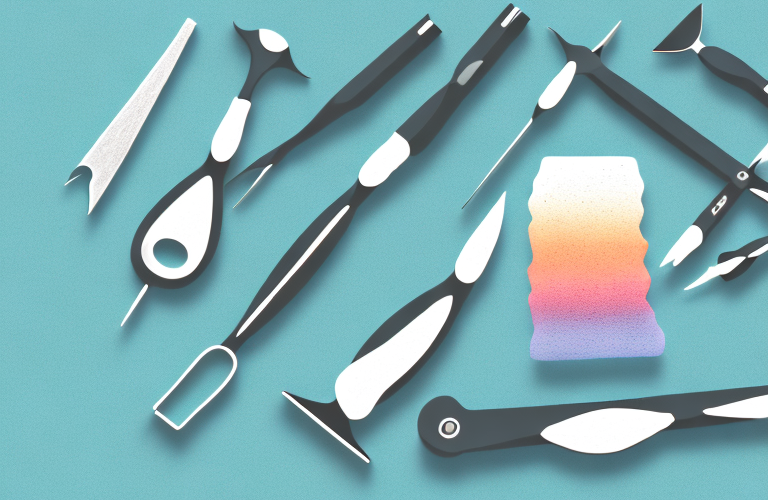
The first step in trimming your pinch pot is having the right tools. You’ll need either a pottery wheel or a pottery work surface – both will do just fine. You’ll also need some clay-working tools such as a wooden rib, double-ended loop tool, trimming tool and sponge. A variety of different sizes of these tools is recommended – having options will allow you to work with detail and finesse.
In addition to the tools mentioned above, you may also want to have a few other items on hand. A pottery knife is useful for cutting and trimming the clay, and a wire clay cutter is great for cutting off large chunks of clay. You may also want to have some water and a damp cloth nearby to help keep the clay moist and workable.
What is the Best Method of Trimming Pinch Pots?
Once you have your tools, it’s time to trim. Start by taking your pottery wheel or work surface, centring the pinch pot, and pressing down lightly as you spin the wheel. Taking your wooden rib, use it to cut away excess clay and remove any unwanted lumps or bumps. With your double-ended loop tool and trimming tool, detail the edges by carving in an upwards motion – this will create a smooth surface ready for finishing. Finally, take your sponge and gently rub over the entire surface for an even finish.
Once you have finished trimming your pinch pot, you can add any additional decorations or glazes. If you are using a glaze, make sure to apply it evenly and allow it to dry before firing. Once your pinch pot is finished, you can fire it in a kiln to harden the clay and give it a glossy finish.
Tips for Successful Trimming of Pinch Pots
Trimming can be a tricky process – so here are some handy tips to help you:
- Save some clay to repair any breaks or holes that might occur while trimming the pinch pot.
- Get up close to the edge of the pot to create sharper lines.
- Speed up the process by using a level or ruler to make sure the trimming is even.
- Turn the wheel slowly to ensure every edge is given equal attention.
- Use a wet sponge for finer detailing.
Troubleshooting Common Issues When Trimming Pinch Pots
Even with practice, mishaps are bound to occur during pottery-making. Here are some solutions to common issues:
- The edges are uneven: If you find some of the edges are uneven after trimming, re-shape them using your wooden rib and carve lightly until even.
- There’s a crack or hole: No need to panic if you come across cracks or holes while trimming – just use some of the extra clay you saved to fill in and repair the damage.
- The surface is too rough: If after trimming, you find the surface is too rough or lumpy, take a damp sponge and give it a good scrub! You can also use sandpaper after glazing.
How to Refine the Surface of a Pinch Pot
Once you’ve finished trimming, refining the surface of the pinch pot will give it that perfect finish. Start by taking a damp clay-working tool of your choice (either a loop or wire tool is great) and lightly stroke across the entire surface. Then use a spoon-like tool to gently scoop away imperfections, repeating until you’re happy with the effect. Finally, take a damp sponge and gently rub away any residue.
How to Add Decorative Elements to a Trimmed Pinch Pot
Adding decorative elements to your trimmed pinch pot can add a personal touch and make it unique. There are many ways to go about it – using slip, carving geometric patterns into the clay and sgraffito just to name a few. Experiment with different techniques and have fun with it!
Benefits of Trimming a Pinch Pot
Trimming your pinch pot brings many benefits – from allowing you to give your work an even shape and finish to enhancing its aesthetic appeal. Not only that, it’s also an opportunity to practice your technique and learn new skills like clay carving. Finally, dont forget that with care and patience, you can achieve a perfect trim!
Different Types of Glazes for Finishing a Trimmed Pinch Pot
Adding your own creative glaze gives your finished pinch pot even more character. There are many types of glazes available – be it glossy, matte, transparent, raindrop variegated or onglaze – so have fun experimenting with different combinations and create something truly unique.
We hope this article has been helpful in teaching you how to trim a pinch pot. If you have any questions or would like more advice, please feel free to get in touch. Good luck with your pottery-making!