Clay is an essential material to artists, potters, and hobbyists alike. It is a natural medium that enables people to create unique and meaningful works of art. Learning the three stages of clay processing can help you create the perfect piece of pottery or sculpture. Here, we will discuss the stages of clay processing, different types of clay used, and tips on working with clay.
Overview of Clay Processing
Processing clay is a multi-stage process that begins with preparing the clay and ends with finishing touches. The first step of clay processing is to prepare the clay, which includes wedging, slab rolling, and hand-building or molding. Once the clay is prepared, there are a variety of tools and techniques that you can use to create a masterpiece. Lastly, there are finishing touches that must be made to ensure that your piece is flawless.
Steps of Clay Preparation
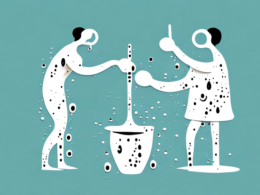
The first stage of clay processing is preparing the clay. The most popular methods for preparing the clay are wedging and slab rolling. With wedging, you use a plunger to thinly compress the clay, ensuring an even consistency throughout. Slab rolling is another popular method for preparing the clay. Here, you roll the clay out using a rolling pin to achieve the desired thickness. This can also be done by hand using a rolling pin or smooth board.
Types of Clay Used in Art and Pottery
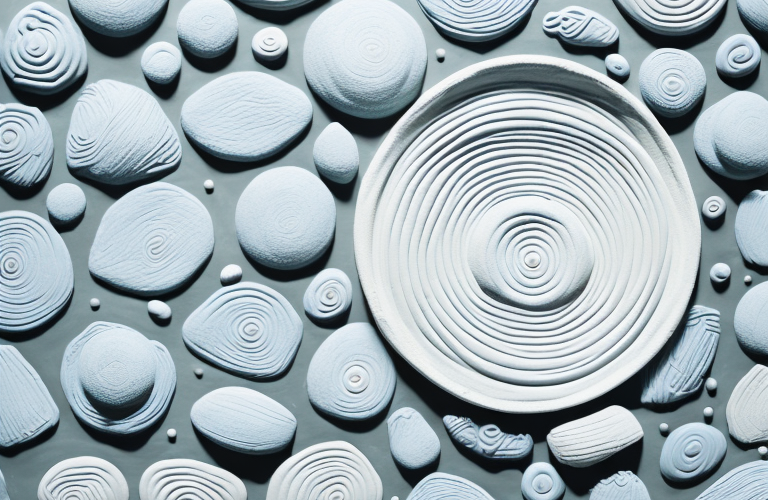
There are many different types of clay available for artisans and potters to choose from. Some popular choices are earthenware (porous clay) and stoneware (denser clay). Earthenware is known for its accessibility and affordability; however, it requires glazing to be waterproof. Stoneware, on the other hand, is more expensive but will be waterproof without glazing. Other types of clay that are used in art and pottery include terracotta (glazed or unglazed), raku (a stronger type of clay that is great for raku firing), and chamotte (a type of stoneware).
Working with Clay: Tools and Techniques
Once you’ve selected the type of clay you will be working with and it has been prepared, it’s time to start working with it. There are a variety of tools, such as rollers, sponges, ribbons, and stamps, that can be used to create beautiful pieces of art or pottery. Some techniques that are commonly used include coiling, pinching, slabbing, and sculpting. When creating a coiled pottery piece, you will begin by rolling thin strips of clay into coils which then must be joined together. Pinching is a technique used to shape the clay by using just your fingertips. Slabbing involves taking slabs of clay and joining them together in whatever shape you desire. Lastly, sculpting is best used to create more intricate shapes and designs.
The First Stage of Clay Processing: Wedging
Wedging is the first stage in the process of preparing the clay for use. This step is necessary for ensuring that the clay is free from air pockets that can weaken the finished product. Wedging also ensures an even texture and consistency throughout the clay before beginning to work with it. Before starting this stage, it is important to make sure that your workspace is free from distractions or messes and also has adequate space to move around in.
The Second Stage of Clay Processing: Slab Rolling
The second stage is slab rolling. This process involves rolling out thin slabs of clay with a rolling pin or similar tool. It’s important that the slabs have an even thickness; otherwise the finished product could have inconsistencies. The slabs can then be cut into smaller pieces and shaped into whatever design you desire.
The Third Stage of Clay Processing: Hand-building or Molding
The third stage involves hand-building or molding your clay into the desired shape. Hand-building involves creating shapes with your hands or simple tools such as cutting tools, ribbons, sponges, stamps, and more. Molding is a slightly more advanced technique involving the use of molds to create pre-defined shapes such as cups and plates. Molding requires a bit more practice but yields amazing results.
Finishing Touches for Your Clay Project
The last step to consider when working with clay is adding finishing touches to your project. These finishing touches can add the perfect touch and turn your clay project into a masterpiece. Many potters choose to add different glazes or paints that they have mixed themselves. Other popular practices include applying wax coatings or adding textures like holes and grooves. Finishing touches can vary depending on what type of project you are working on.
Tips for Working with Clay
For those who are new to working with clay, there are several tips to keep in mind. First, make sure to wear gloves when working with clay in order to keep the material from sticking to your hands. Second, keep your workspace free from any distractions or messes so that you can focus on your project. Lastly, don’t be afraid to experiment with different techniques and tools. Trying new things will help you gain experience in working with different types of clays.
Benefits of Working with Clay
No matter what skill level you may have with working with clay, there are several benefits to doing so that can appeal to everyone. One benefit is that it allows you to use your creativity in coming up with unique pieces of art or pottery that no one else has made before. Additionally, it’s an inexpensive but enjoyable way to practice patience and concentration while creating something that you can be proud of for years to come.
Working with clay can be both enjoyable and rewarding. Knowing the three stages of clay processing as well as the different types of clay out there makes it easier to create beautiful pieces that reflect your personality and style. Whether you’re an experienced potter or just beginning in this craft, it’s easy to find joy in creating something unique with this material.