Handbuilding pottery is an age-old art form that goes back to the earliest days of human civilization. This method produces unique and creative pottery pieces that can be both decorative and functional. Handbuilding pottery pieces involves shaping clay into forms by hand and adding details and designs. Knowing the basics of handbuilding pottery is important for anyone wanting to create pottery.
What is the process of handbuilding pottery
The handbuilding process for pottery involves manipulating clay into forms without the use of a pottery wheel. This process can involve a variety of techniques such as pinching, coiling, slab building, or sculpting. By using primarily manual or simple tools, the artist is able to take raw clay and shape it into a form desired. All these techniques will help create the desired shape and design of a piece.
What materials are used for handbuilding pottery?
The most common type of clay used for handbuilding is a damp clay body. This type of body requires additional handling and manipulation to be used in any form of pottery making and is the most malleable type of clay. Other types of clay include bisque and earthenware. Bisque is a type of clay that is low in shrinkage and has a low firing temperature. This type of clay is great for beginners, teaching an artist the basics of handbuilding pottery and allowing for easy modifications. Earthenware, also known as stoneware, is denser and firmer than other clays.
What tools are necessary for handbuilding pottery?
Though many tools can be used for handbuilding pottery, some basic tools are necessary for any form of pottery making. Spatulas, needle tools, and pin tools are all essential for handbuilding, as they allow an artist to manipulate their medium with precision and accuracy. Other types of tools utilized for handbuilding can be wire cutters to cut slabs of clay, clips to secure parts of the piece, or even amaranth clay ribbons to add texture to the surface of a piece.
How to create a basic pottery form
Creating a basic pottery form involves understanding the principles of coiling, pinching, and sculpting. Coiling is when clay is rolled into coils and then stacked. This creates a base for the piece, and can be used for larger pots and vases that require a stable base. Pinching involves turning a ball of clay into a desired shape by squeezing it with fingers or a tool such as a needle tool. This can be used to make small cups, bowls, and one-of-a-kind figures. Lastly, sculpting requires taking lumps or slabs of clay and using simple tools to mold them into a shape. This technique is used to create detailed sculptures such as figurines and animals.
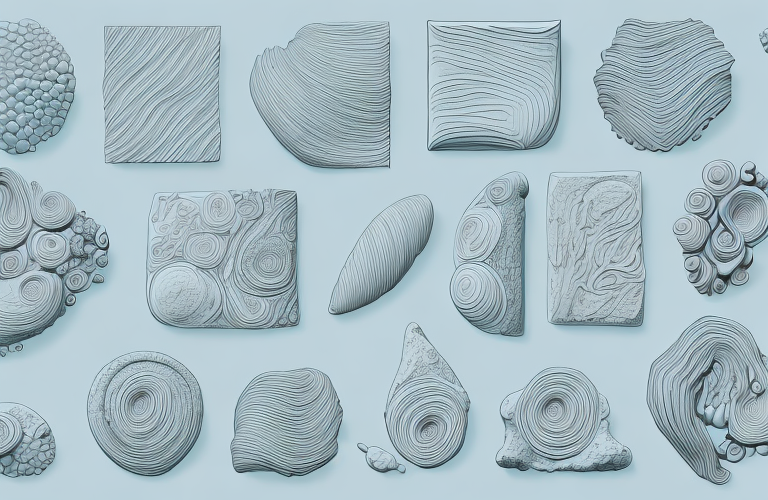
How to add texture and design to your pottery form
Adding texture and design to your pottery pieces can be done with a variety of simple tools such as needles, ribbons, sponges, slip trailers, stamps, perforated tools and other printmaking rectils. For added texture, potters can use these tools to impresses patterns or textures into the clay, creating lines, dots, or other patterns on their pieces. For added decoration, potters can use glazes and engobes with colored oxides, creating bright and vibrant designs.
Tips for successful handbuilding pottery
Handbuilding pottery can be challenging at times, but there are some tips to ensure success. The first is to use polymer-based clays, which remain wetter longer than other types of clay and don’t require additional moisture while building. It’s important to work with clay that isn’t too moist or too dry; too much moisture can weaken forms while not enough will make them brittle. Lastly, when making pieces like cups or bowls that require edges to hold shape, it’s important to use metal ribs or scrapers to create precise edges.
Common mistakes to avoid while handbuilding pottery
As with any creative endeavor, there are common mistakes that can be made when handbuilding pottery. Creating large pieces before properly warming up by practicing with smaller pieces can lead to overextension or misformed shapes. Additionally, not allowing for enough drying time between stages of finishing can cause rough edges or surface cracking. And lastly, not changing up the use of tools can lead to shapes becoming too formulaic or monotonous.
How to finish and glaze handbuilt pottery
Once your piece has been finished with the desired shape and texture, it’s time to finish your work. Potters should first use a brush or sponge to smooth any surface roughness and create an even surface. Then it’s time to apply a primer that will help the glaze bond with the clay. Once the primer is dry, select a glaze color and apply multiple layers, creating new textures as it is applied. Finally, your piece is ready to be placed in the kiln and fired.
The advantages of handbuilding pottery over wheel-throwing
Handbuilding allows for beginners to learn how to make pottery without first needing a wheel or understanding wheel throwing techniques beforehand. Additionally, because it does not require power or electricity it is ideal for those who have limited access to equipment or resources. With handbuilding you have much more control over the shape your piece takes and also have more control over details like texture and surface design.