When it comes to working with clay, one of the most important questions to answer is when to glaze it. It is essential to know when to glaze the clay, so you can apply the right type of glaze, fire it according to the glazes instructions, and ensure the pieces you have made have a smooth, glass-like finish. This article will cover when to glaze clay, prepare it for glazing, applying the glaze, and firing it, along with tips and troubleshooting common issues.
What is Glazing?
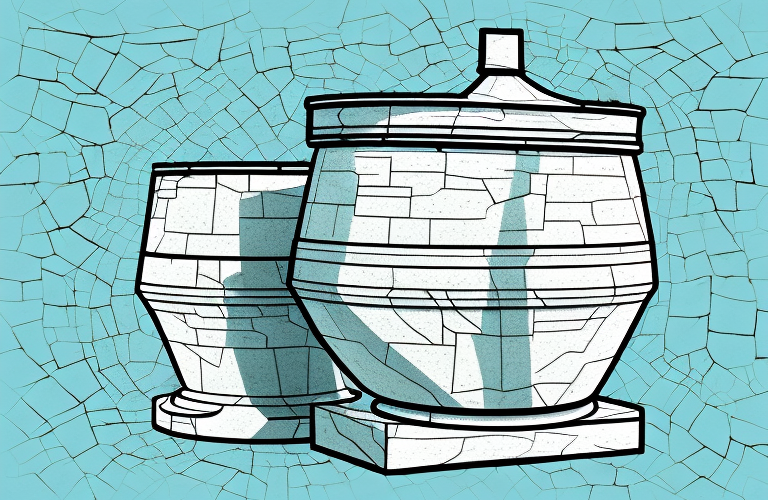
Glazing is a process applied to clay pieces, usually in the form of a liquid coating, to create a waterproof and chemical-resistant surface. Depending on the type of clay used, different glaze formulas are applied. There are two different stages of glazing – before and after the firing process. Before firing, apply the glaze to create a smoother surface and better finish. After firing, it is used for decorative effects and for protection.
The glaze is applied to the clay piece in a thin layer, and then fired in a kiln. The heat of the kiln causes the glaze to melt and form a glass-like coating on the clay. This coating is durable and can withstand wear and tear, as well as chemical exposure. The glaze also adds a glossy finish to the clay piece, making it look more attractive.
When to Glaze Clay
The first step in determining when to glaze clay is to consider what type of clay you are using. For stoneware and porcelain clays, it is best to glaze before firing. For earthenware clays, you can either glaze before or after firing, with the final decision depending on the type of glaze used. For example, certain types of glazes that contain lead must be applied after firing. If you are unsure of when to apply the glaze before or after, consult the glaze instructions on the package.
Preparing Your Clay for Glazing
When preparing your clay for glazing, you will want to make sure it is completely dry so that the glaze adheres properly. If the piece is still damp, it will be more likely to crack and warp during the firing process. To ensure your pieces are ready to be glazed, you will need to let them air dry in a cool location away from direct sunlight. Once your pieces are dry, you are ready to apply the glaze.
Steps for Applying Glaze
Before applying the glaze, read the instructions on the package and mix it with water according to the directions given. It is essential to use clean brushes and containers when applying the glaze. After applying the glaze, use a damp sponge to remove any excess that may have been left behind.
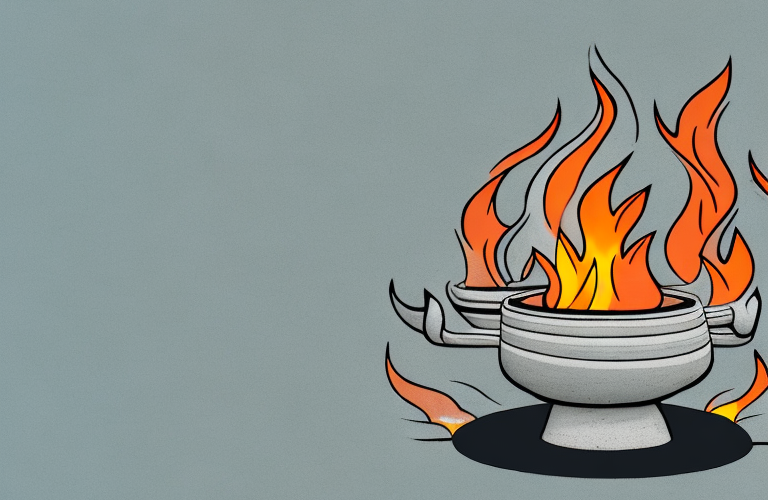
Firing the Glazed Clay
Once your pieces have been glazed, it is time to fire them in either an electric or kiln. Before firing, make sure your pieces are placed on a kiln shelf in a way that the air can circulate around them. Firing the pieces at a high temperature will cause the glaze to melt and create a smooth finish. When firing any type of glazed clay, pay close attention to temperatures as different types of clay require different temperatures for optimal results.
Types of Glaze for Clay
There are several types of glazes available for use on clay. Depending on the desired effect, you can choose from glossy, matte, colored, and transparent glazes. Each type of glaze has its own characteristics and should be fired at different temperatures. Because of this, it is important to read the instructions on the package before purchasing and make sure you have picked the right glaze for your project.
Caring for Glazed Clay
Once Fired and cooled down, you should inspect your finished pieces for any imperfections that may have occurred during firing or glazing. After you have inspected it, you will want to clean off any dust or debris from the surface before storing it. Glazed ceramic pieces can be fragile and should be handled with care.
Tips for Successful Glazing
When it comes to glazing clay successfully, there are a few tips that can help. For starters, make sure you mix the glazes thoroughly until all clumps are removed. Secondly, when using colored glazes you may want to test your colors first on a sample piece so that you don’t end up with an unexpected color result. Finally, always pay attention to firing times and temperatures as specified on the package.
Troubleshooting Common Issues with Glazing
Lumps in your glaze will cause uneven results when firing and can be minimized by mixing the glazes well before use. Bubble formation is another common issue due to 1) moisture trapped inside the clay body or 2) applying too much glaze or not letting it dry properly before firing. To prevent this from happening make sure your clay is completely dry before applying and allow enough drying time. Lastly, if your piece has an uneven finish this could be caused by incorrect firings temperatures or not allowing enough time between layers of glaze.
Now you know how to apply and fire glazes onto your ceramic pieces in order to achieve beautiful results. Remember that depending on the type of clay used you will need to adjust your firing times and follow the instructions for specific glazes closely in order to achieve optimal results.